Setup Guide for VEPTOR42 VESA 4 to 2 adapter
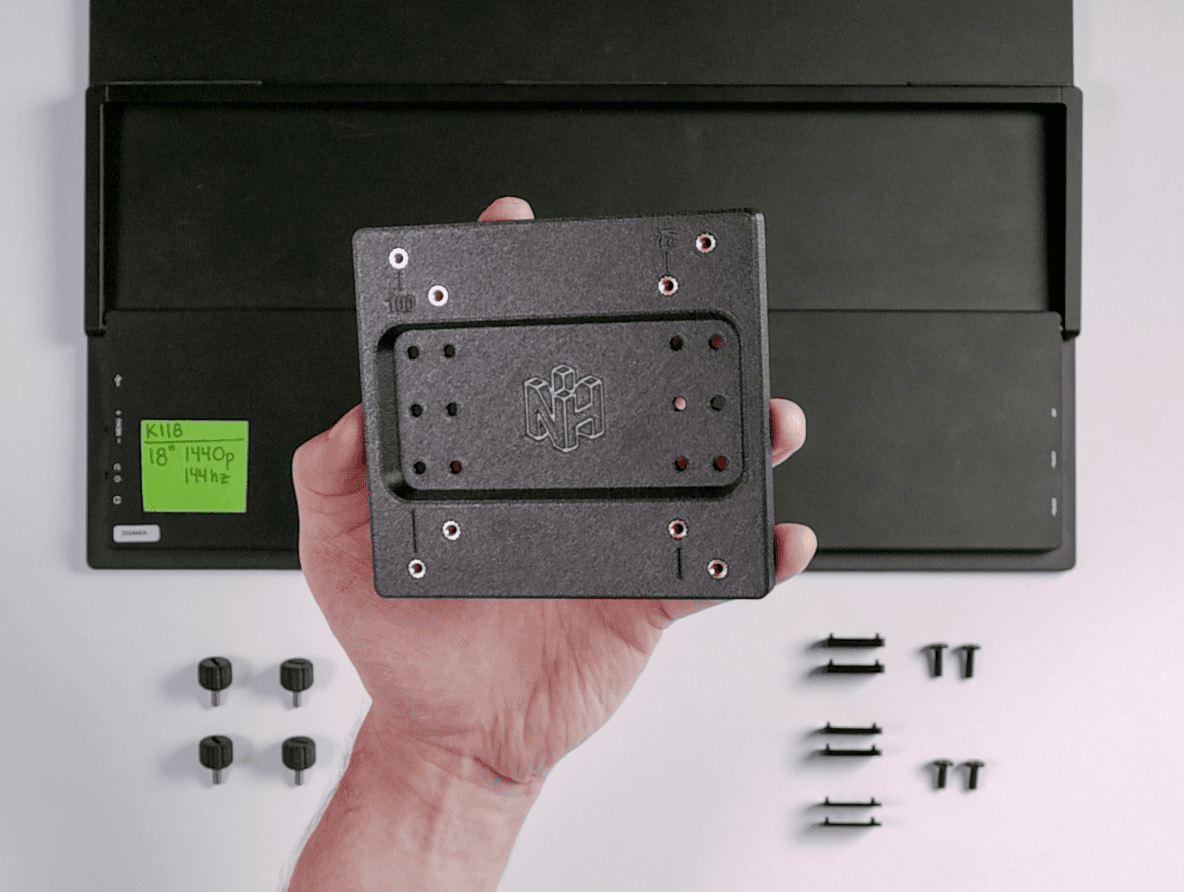
BEFORE YOU START ASSEMBLY, let's determine if you're going to need the provider spacers or not.
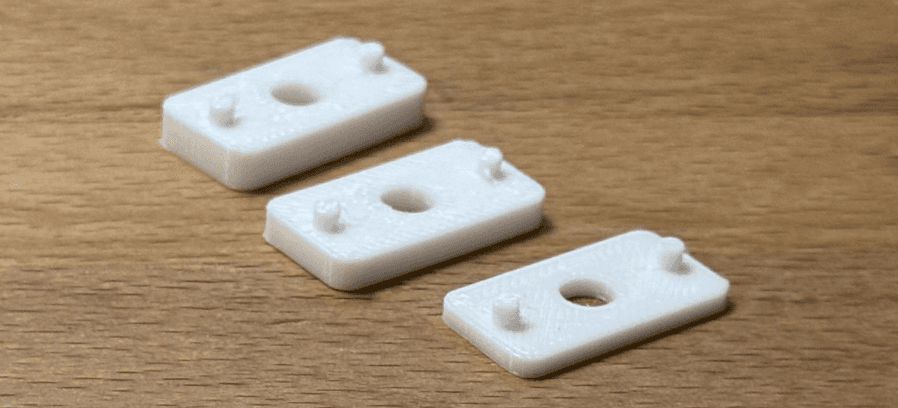
Some portable monitors have very shallow screw holes, making the m4x8mm screws I gave you too long in some cases. The included spacers will solve this problem if you run into this issue. Here's how to test and find out if you need them.
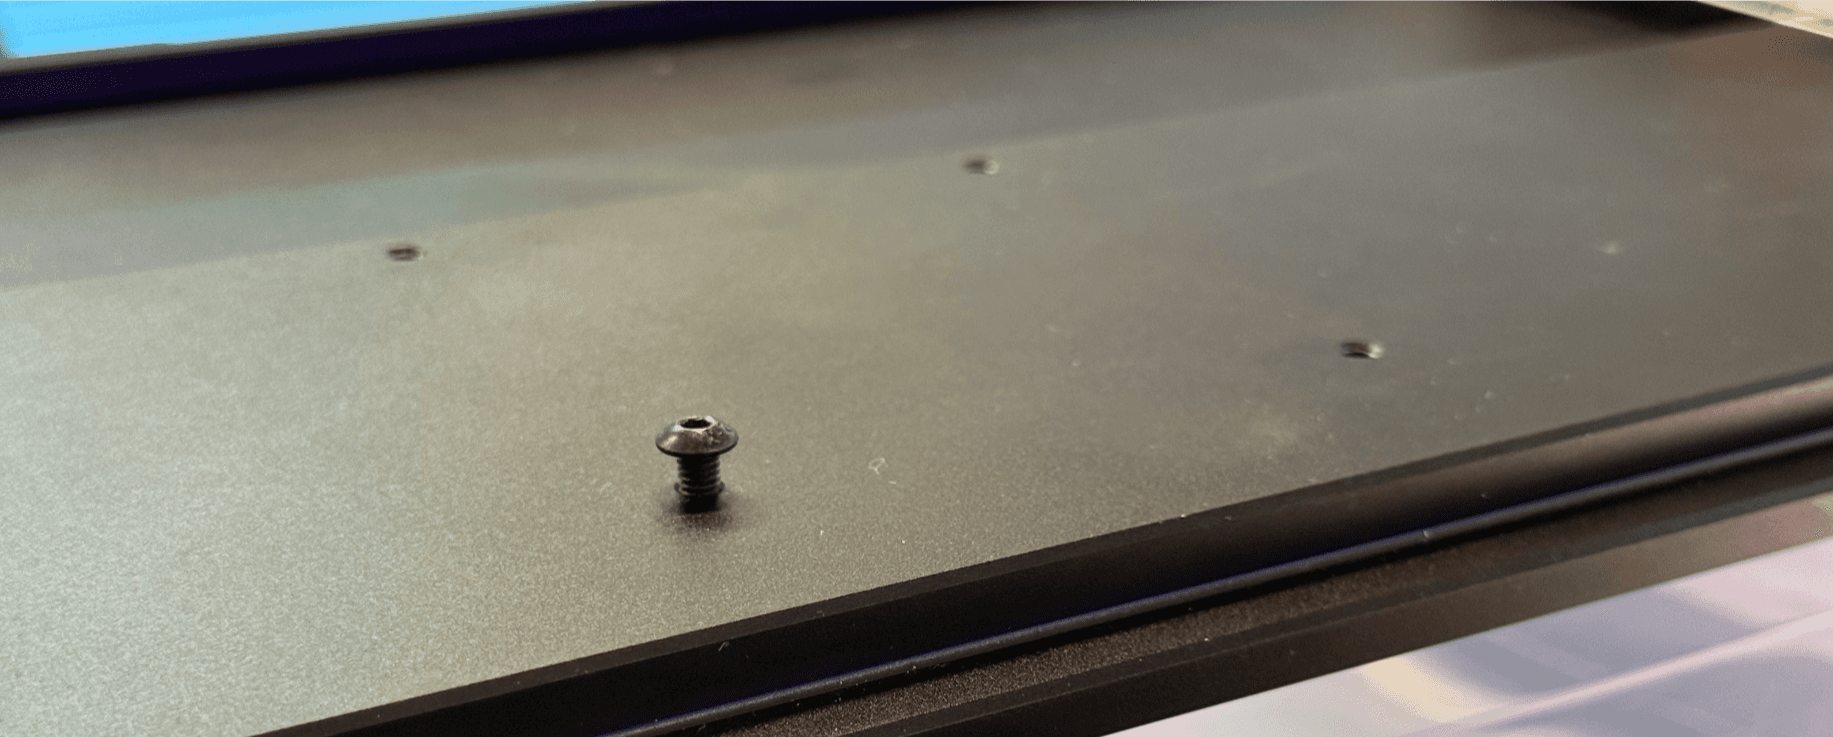
Put your monitor face down on the table, preferably on a tshirt of soft cloth to protect the screen. Line up the NackHabitat adapter holes holes with the screw holes on your monitor, and insert both of the black M4 screws into the holes. It should like like the image below. GENTLY screw both of them in until you can't any more.
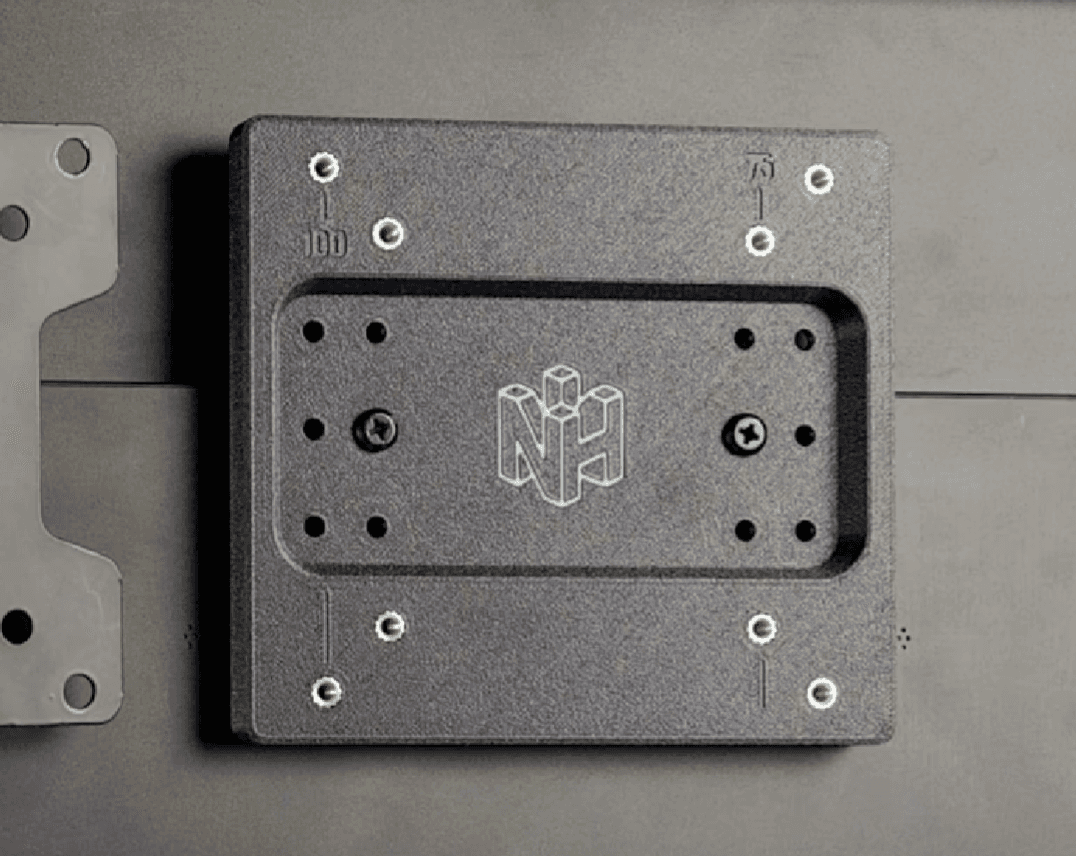
If the screws are in as far as they will go, but the adapter is not secure and you're able to jiggle it around, you need the spacers. If the bracket feels secure, you don't need spacers and you can scroll down to STEP 2 where it says "Take the black phillips head M4x8mm…"
The small posts on each of the spacer fit into the smaller holes, while the screws that you'll use to secure this adapter to your portable monitor use the larger holes.
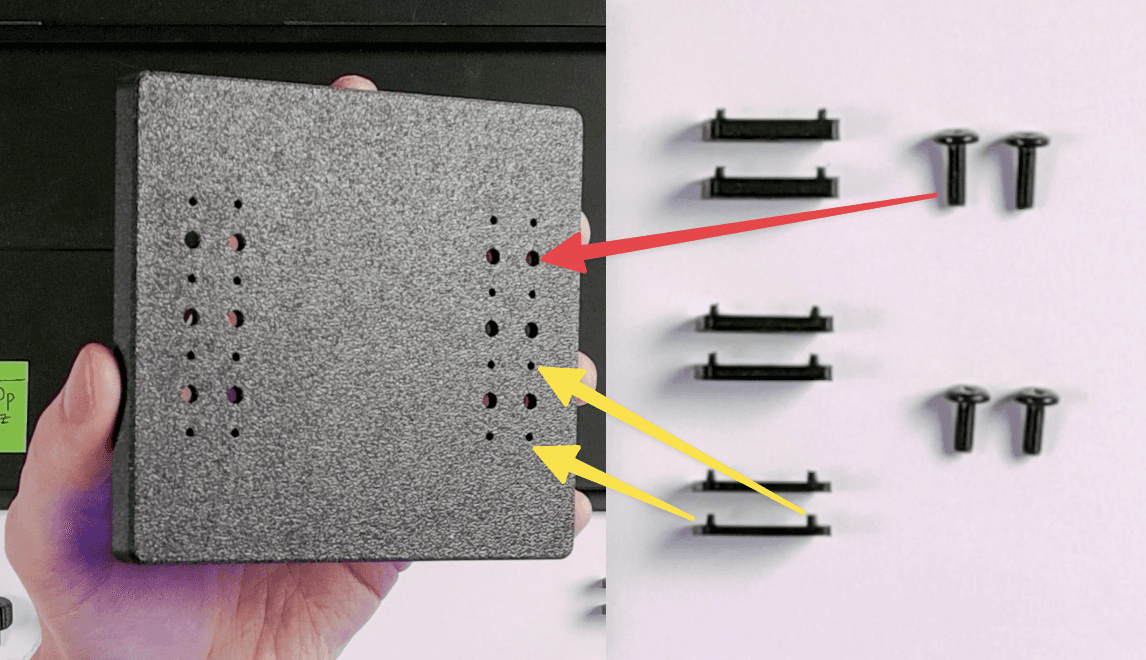
Install the m4x8mm black screws. Below is the VESA adapter with the medium spacers installed, and the M4 screw through it.
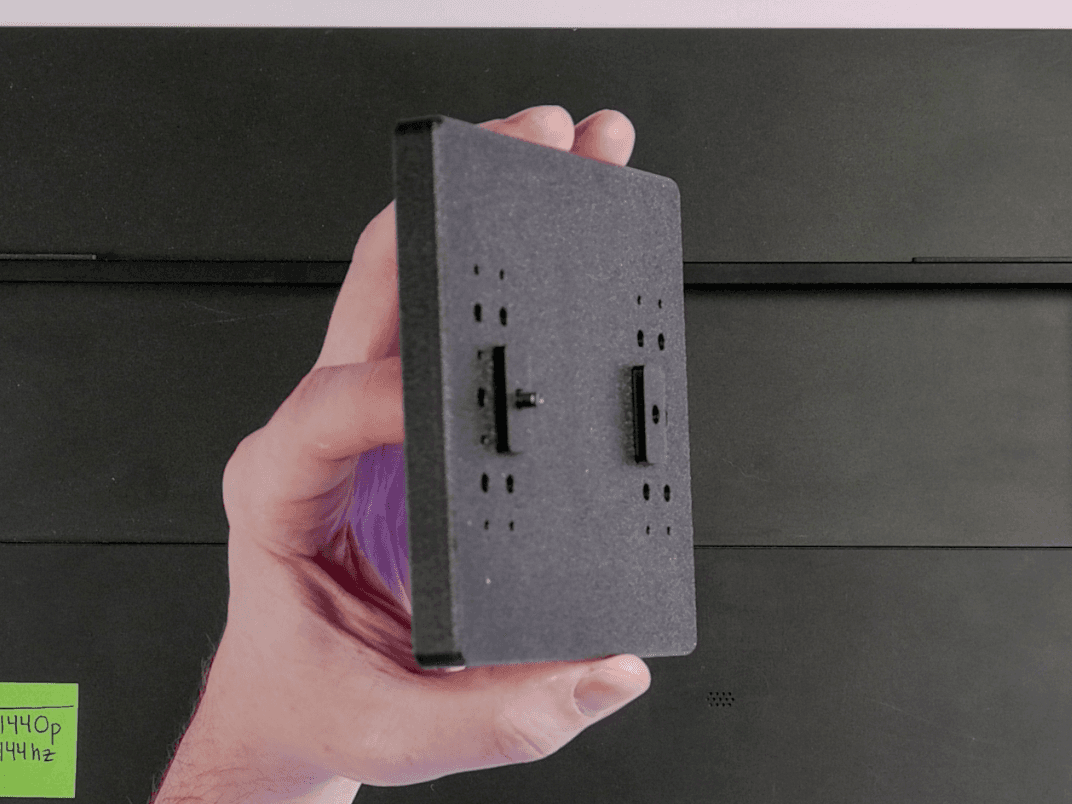
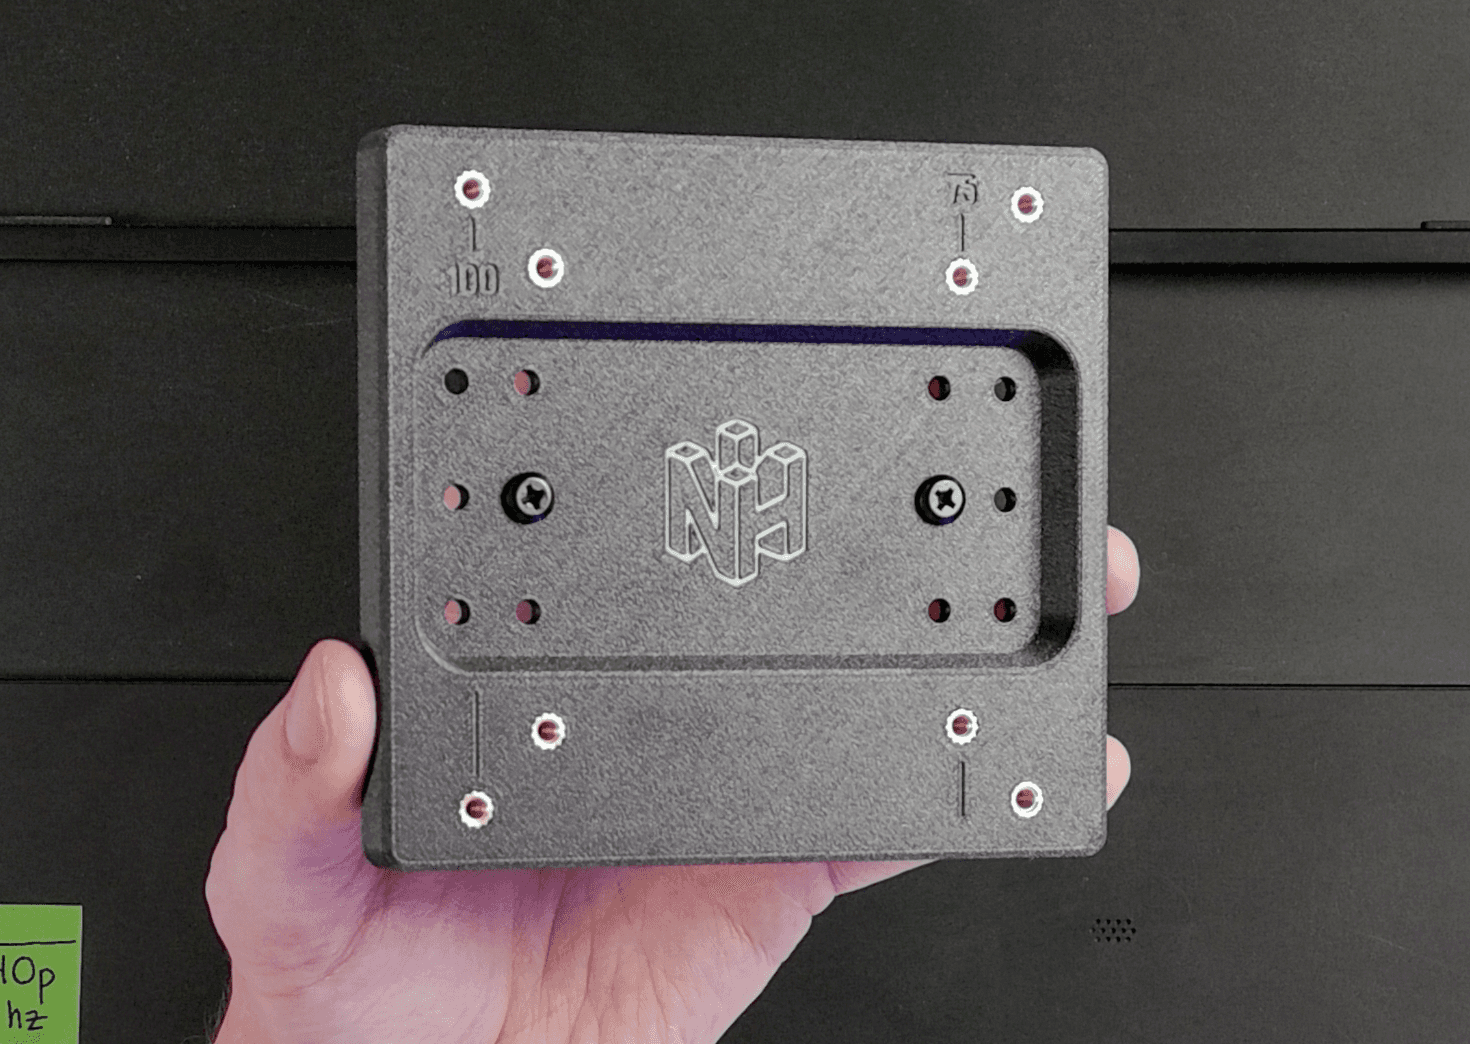
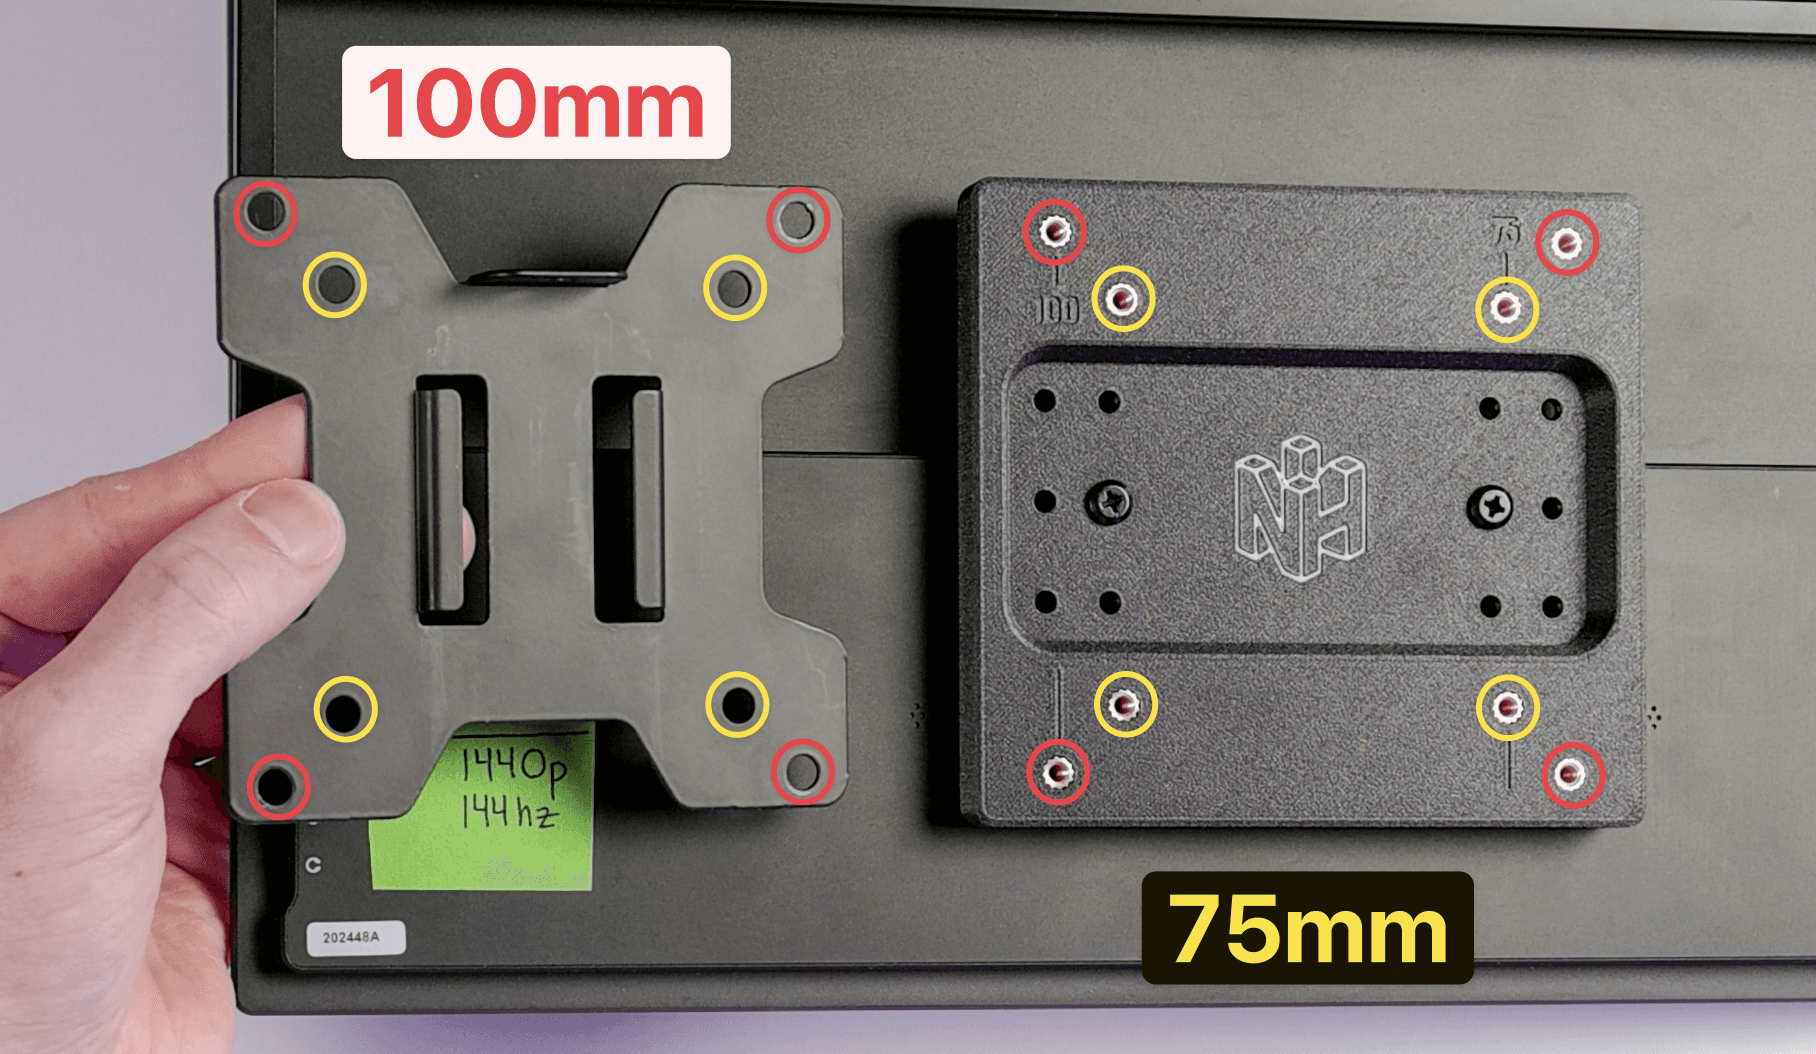
Take the black phillips head M4x8mm screws and insert them into the holes. Depending on your portable monitor and VESA mount, you choose to either mount using the 100mm VESA standard, or the 75mm VESA standard.
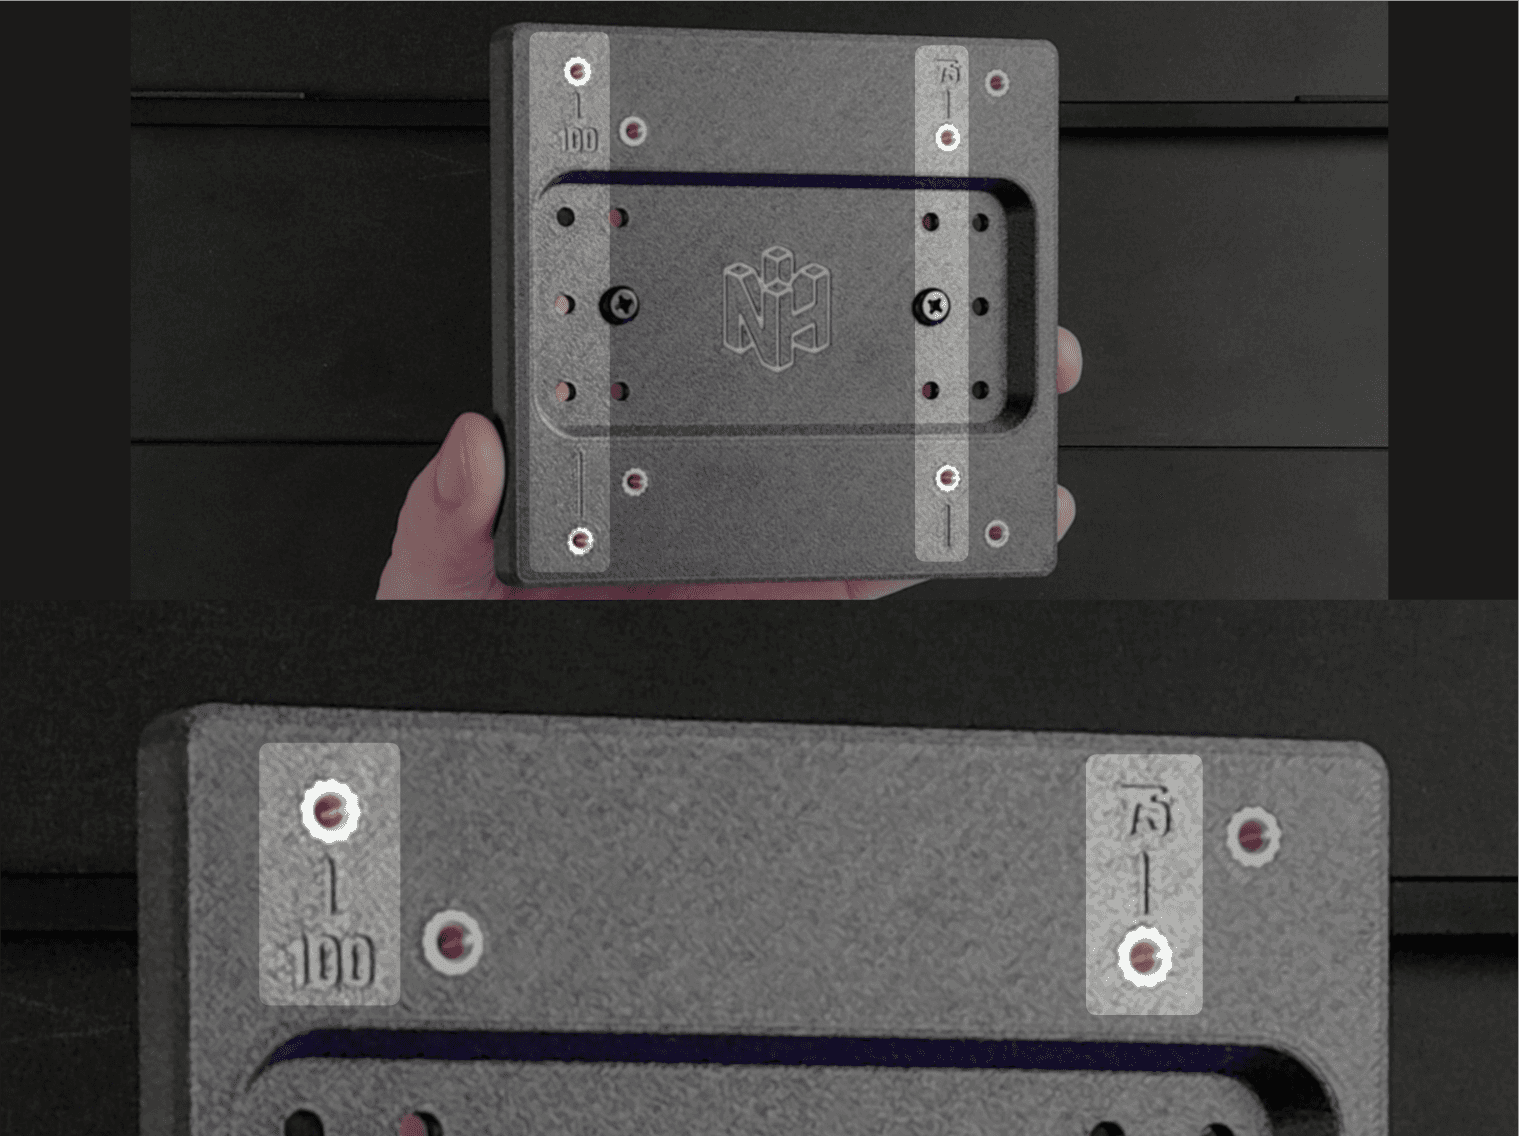
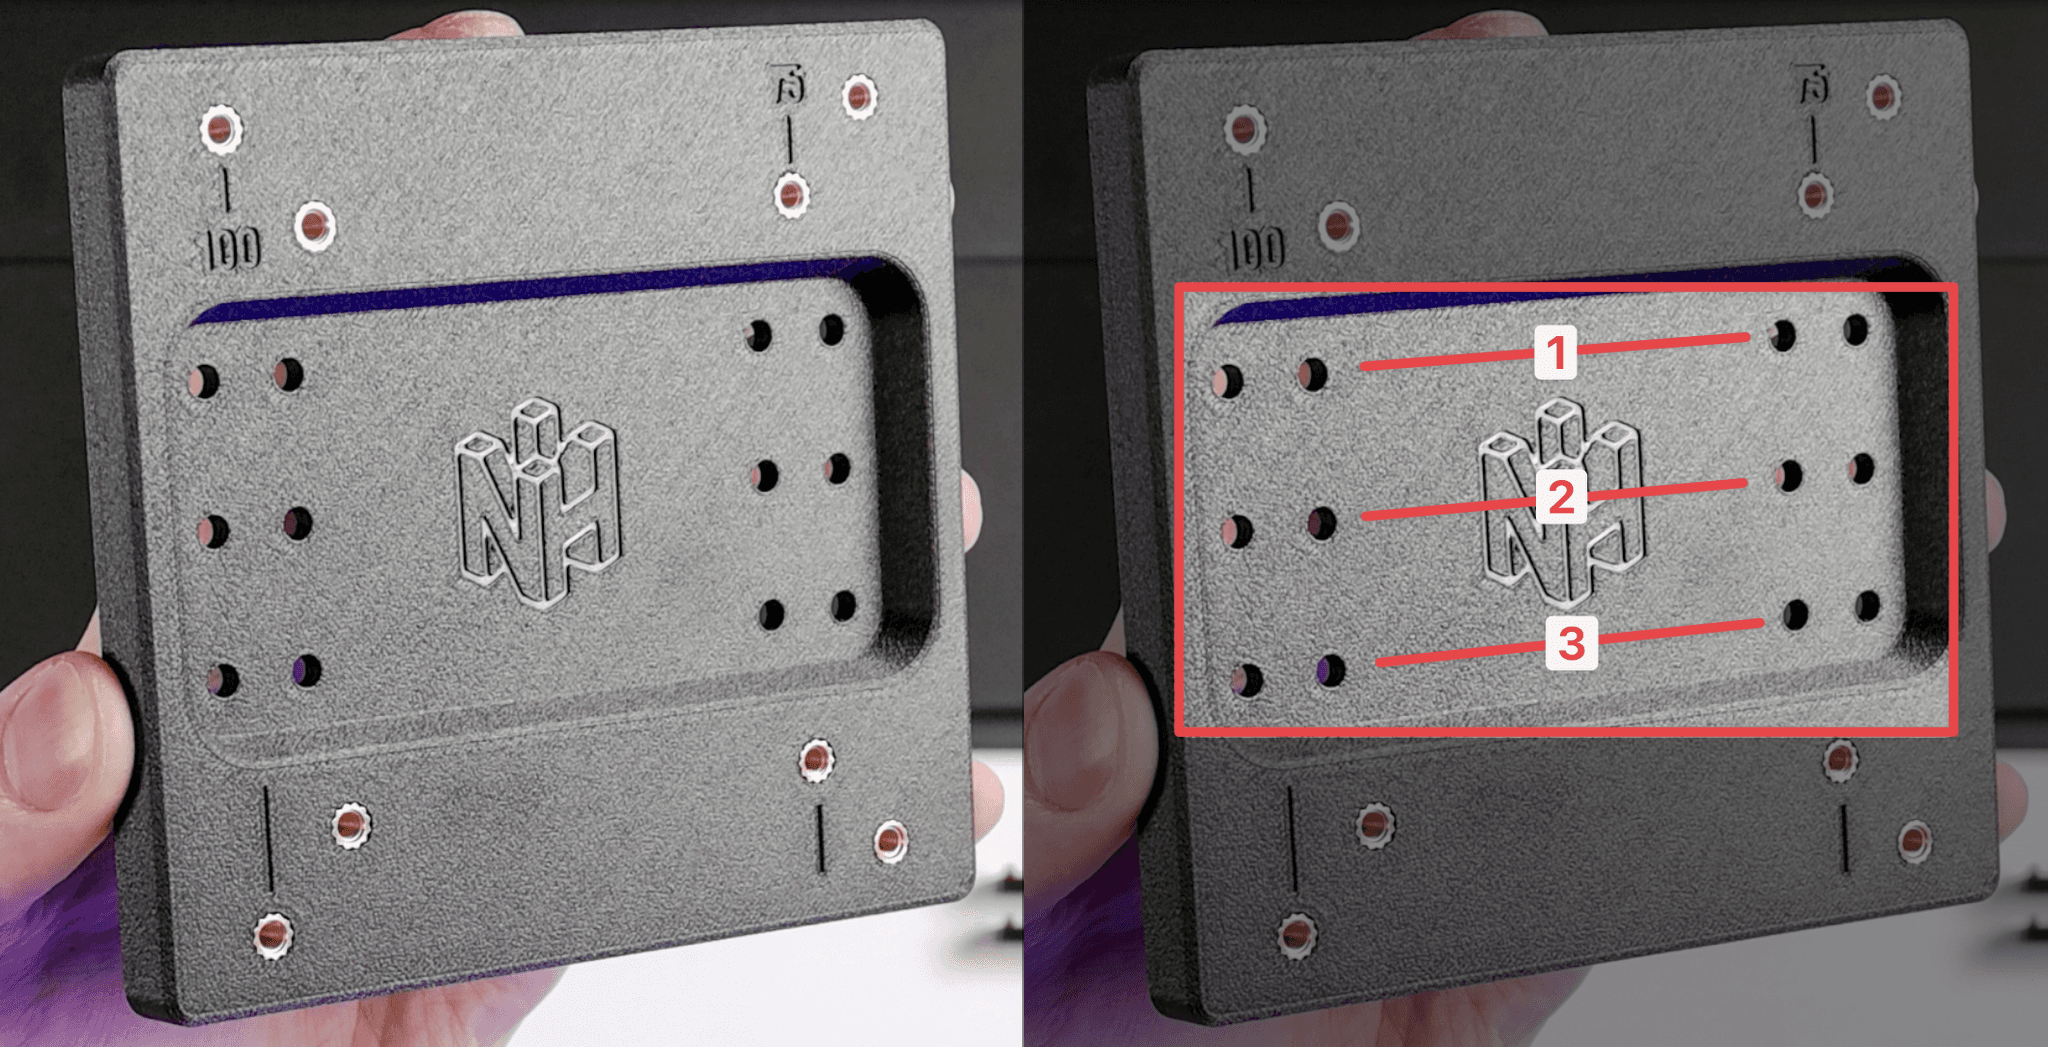
There are three different sets of holes that you can use when connecting this adapter to your portable monitor. These are designed to give the user control over the height of the mount, or in case the adapter comes in contact with monitor that prevents mounting. If you're unsure which set to use, just use number 2.
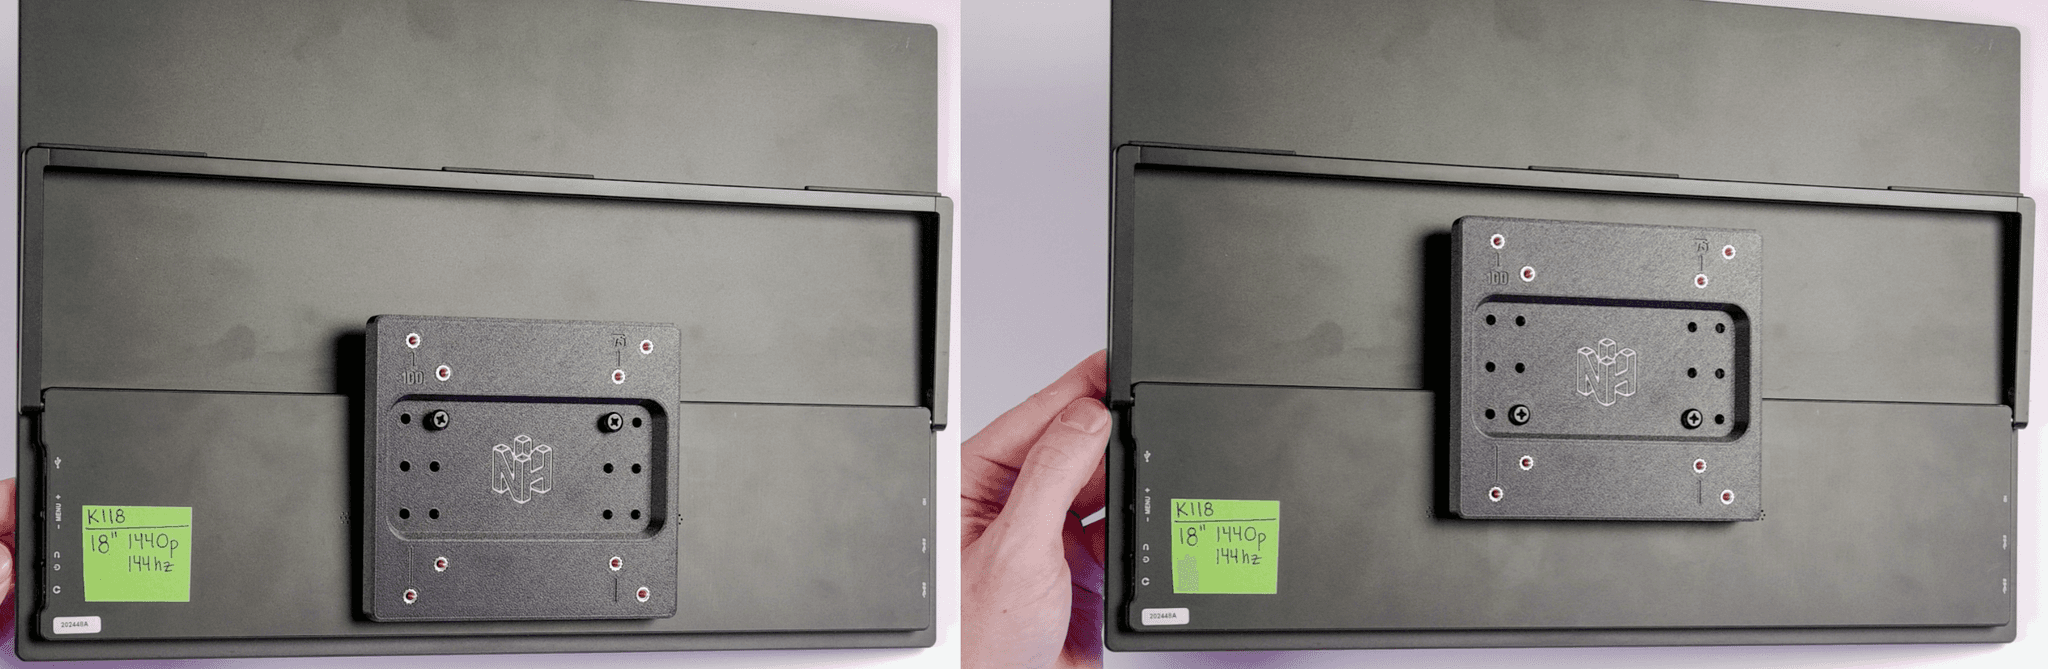
Below is the difference between using the "1" holes, and the "3" holes. Notice the difference in the vertical position of the adapter in relation to the monitor.
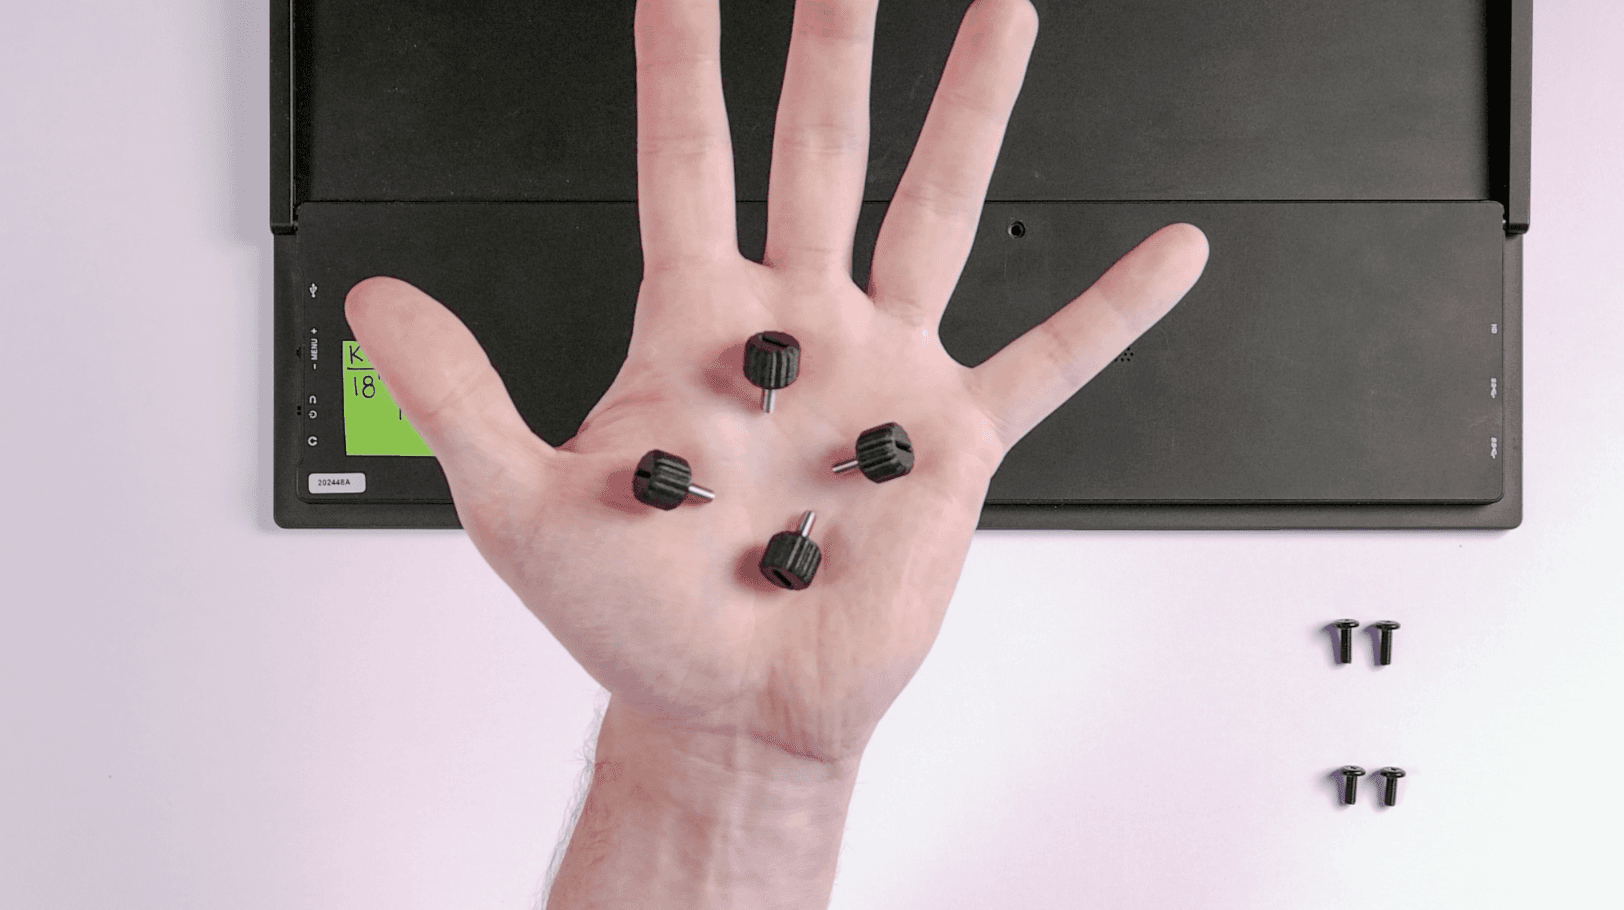
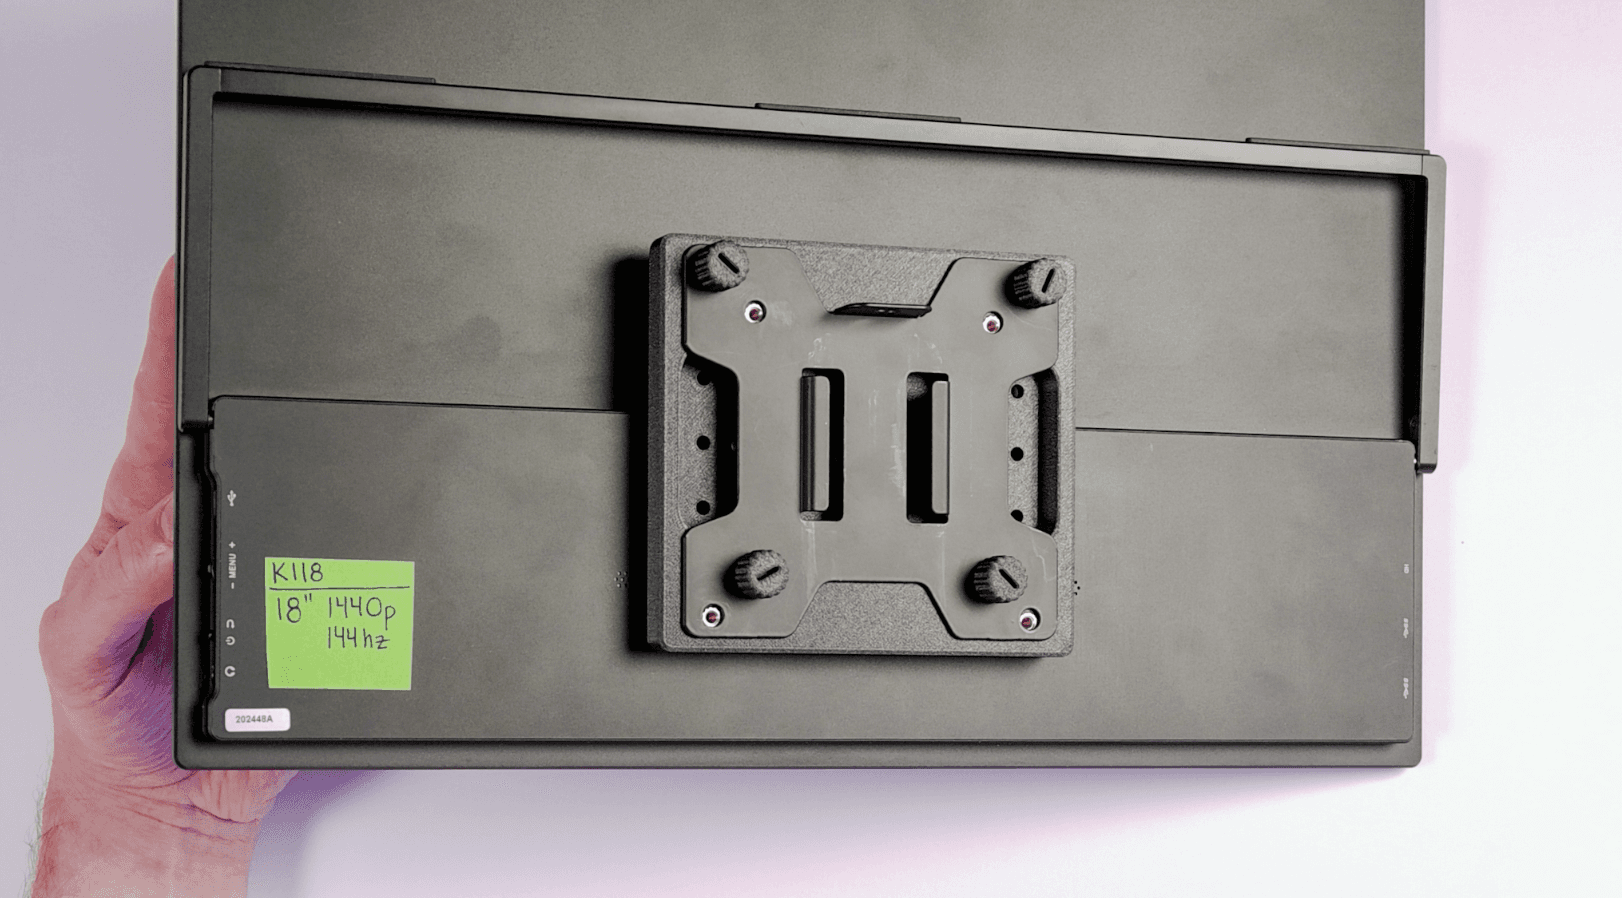
Now you're ready to mount this portable monitor onto your VESA stand. Get your (4) M4 Thumbscrews ready.
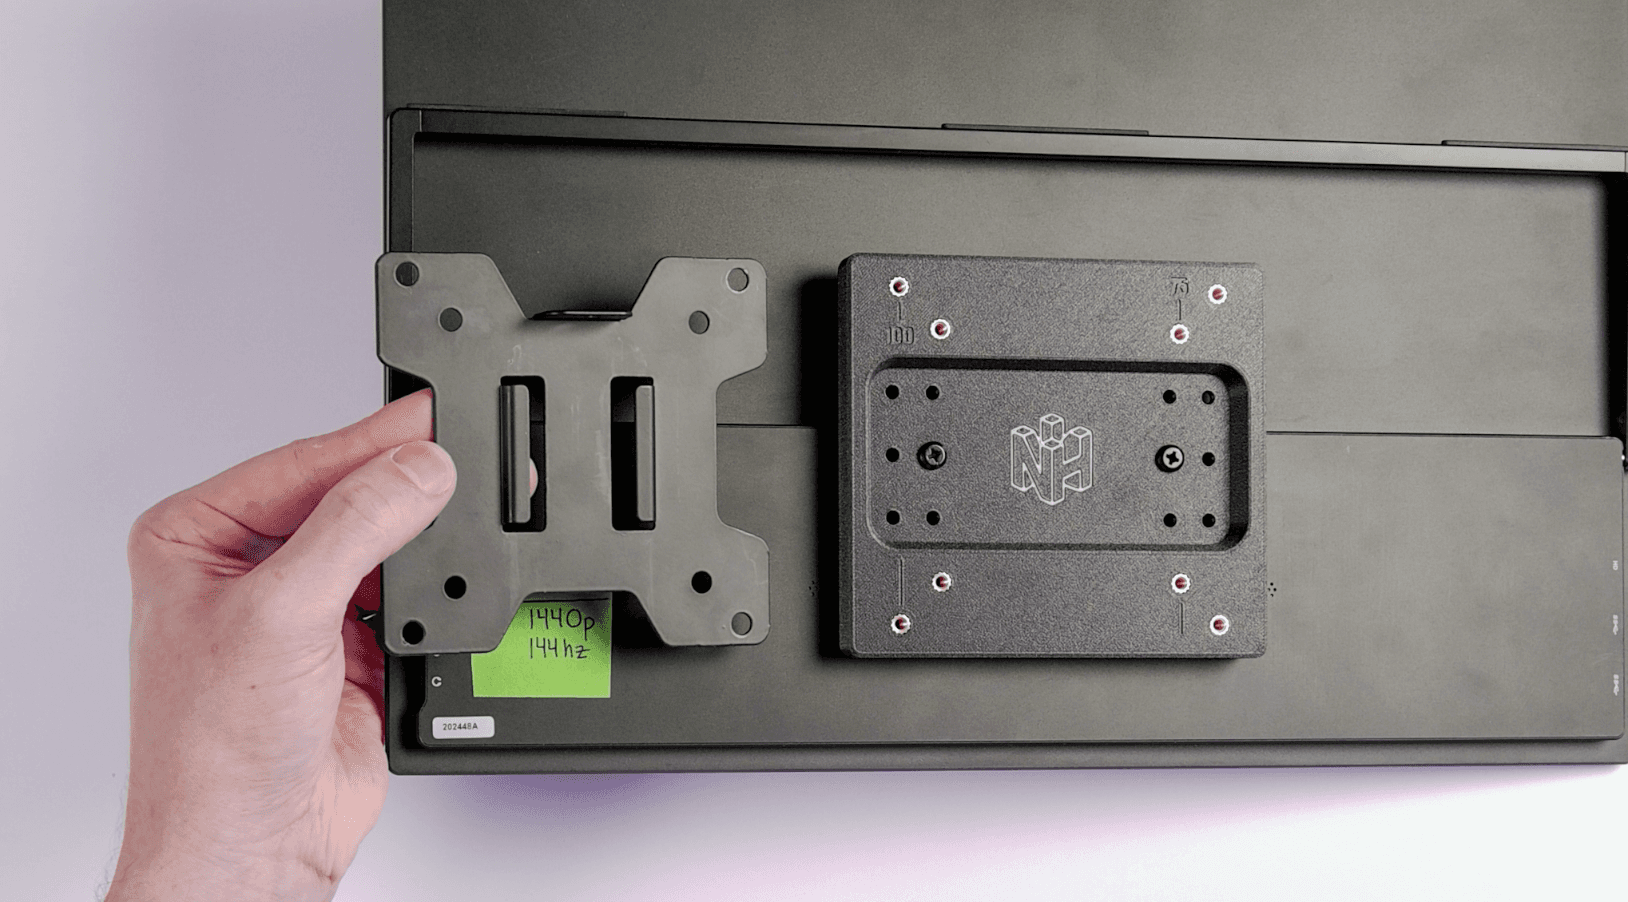
Your VESA mount or arm will have a VESA mounting plate. On some arms, this plate slides off the arm entirely. This allows you to screw the VESA plate to your monitor, and then slide it onto the arm.
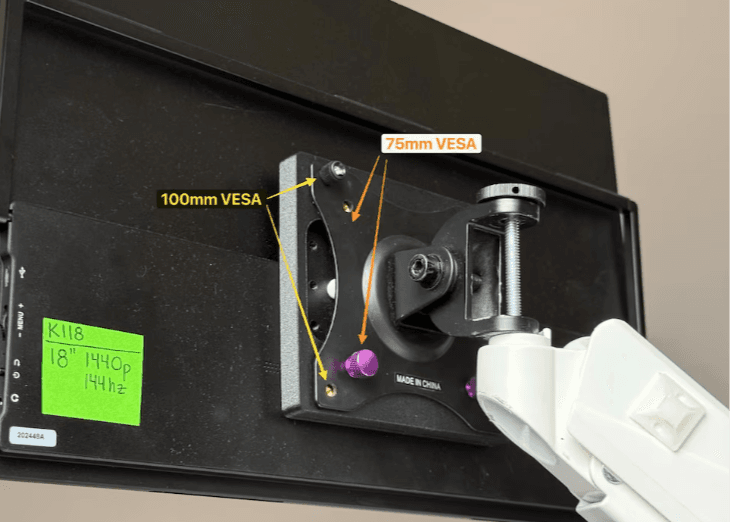
If you compare the NackHabitat adapter to the the VESA mounting plate on your arm, you can see whether you can use either the 75mm, 100mm, or both!
Secure your portable monitor to the VESA arm using the included thumbscrews. If your arm has a removable plate, it will look like this:
If you're not one of the lucky ones, you'll have to hold the portable monitor up to the arm with one hand, and screw in to secure the adapter with the other hand. When completed, it will look like this:
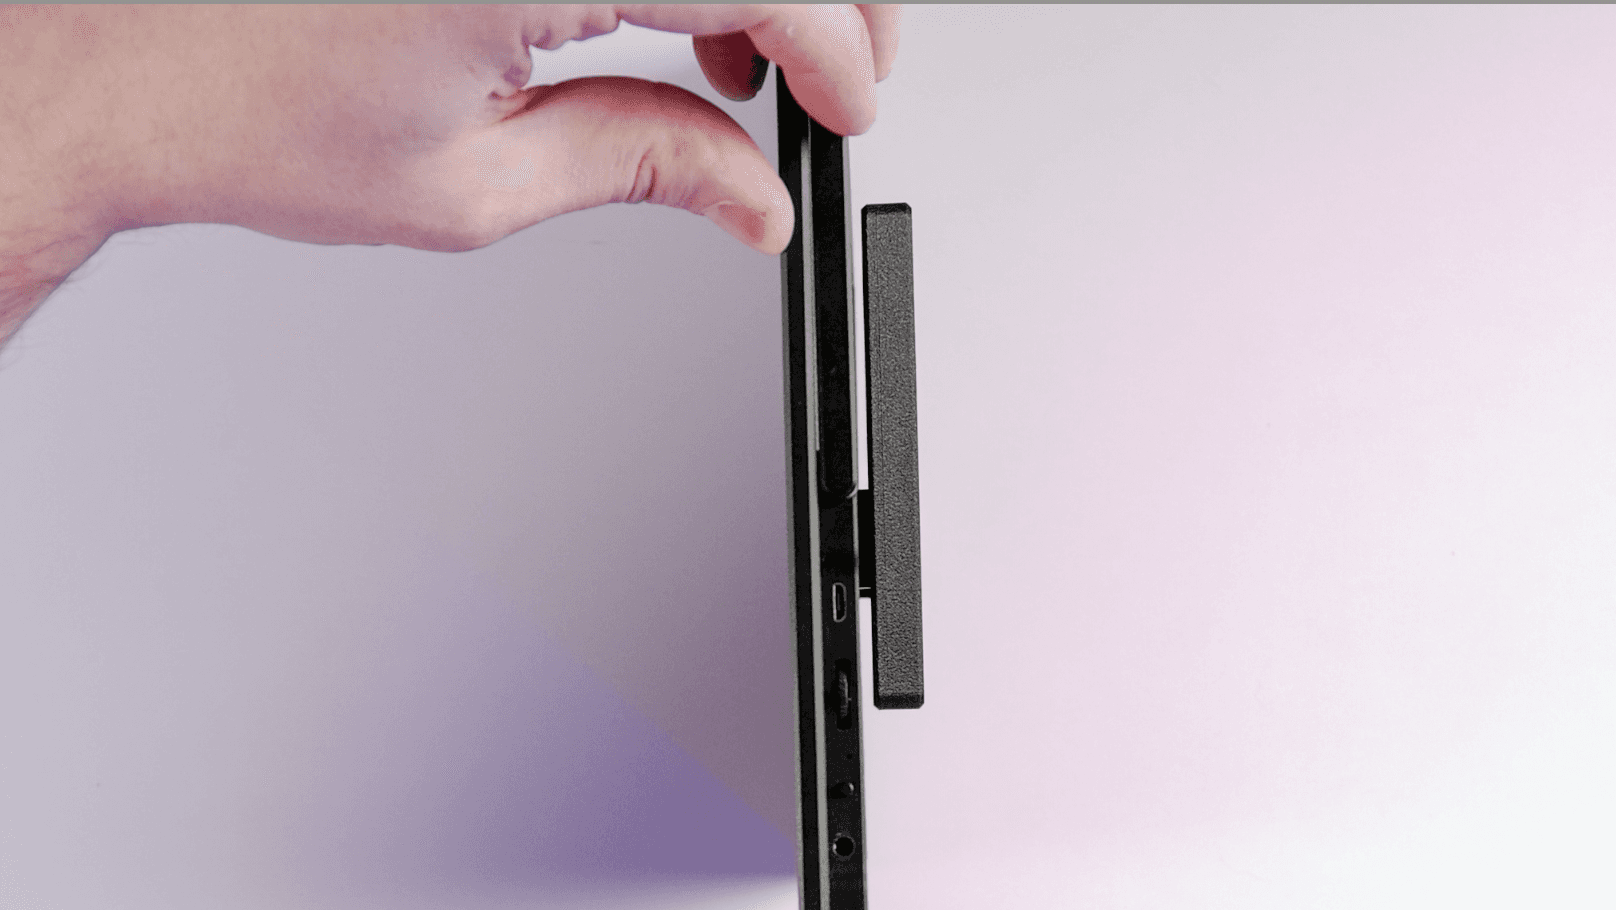
If you used spacers, there should be an even gap between the adapter and the monitor. Here is an example of the adapter and the medium spacers installed.
You did it! Well done.