Setup Guide for Tail 2
Below is a step-by-step guide on how to properly setup your OBSBOT Tail 2 camera with your Elgato Prompter.
Remove the large L-Bracket that came with your Elgato Prompter.
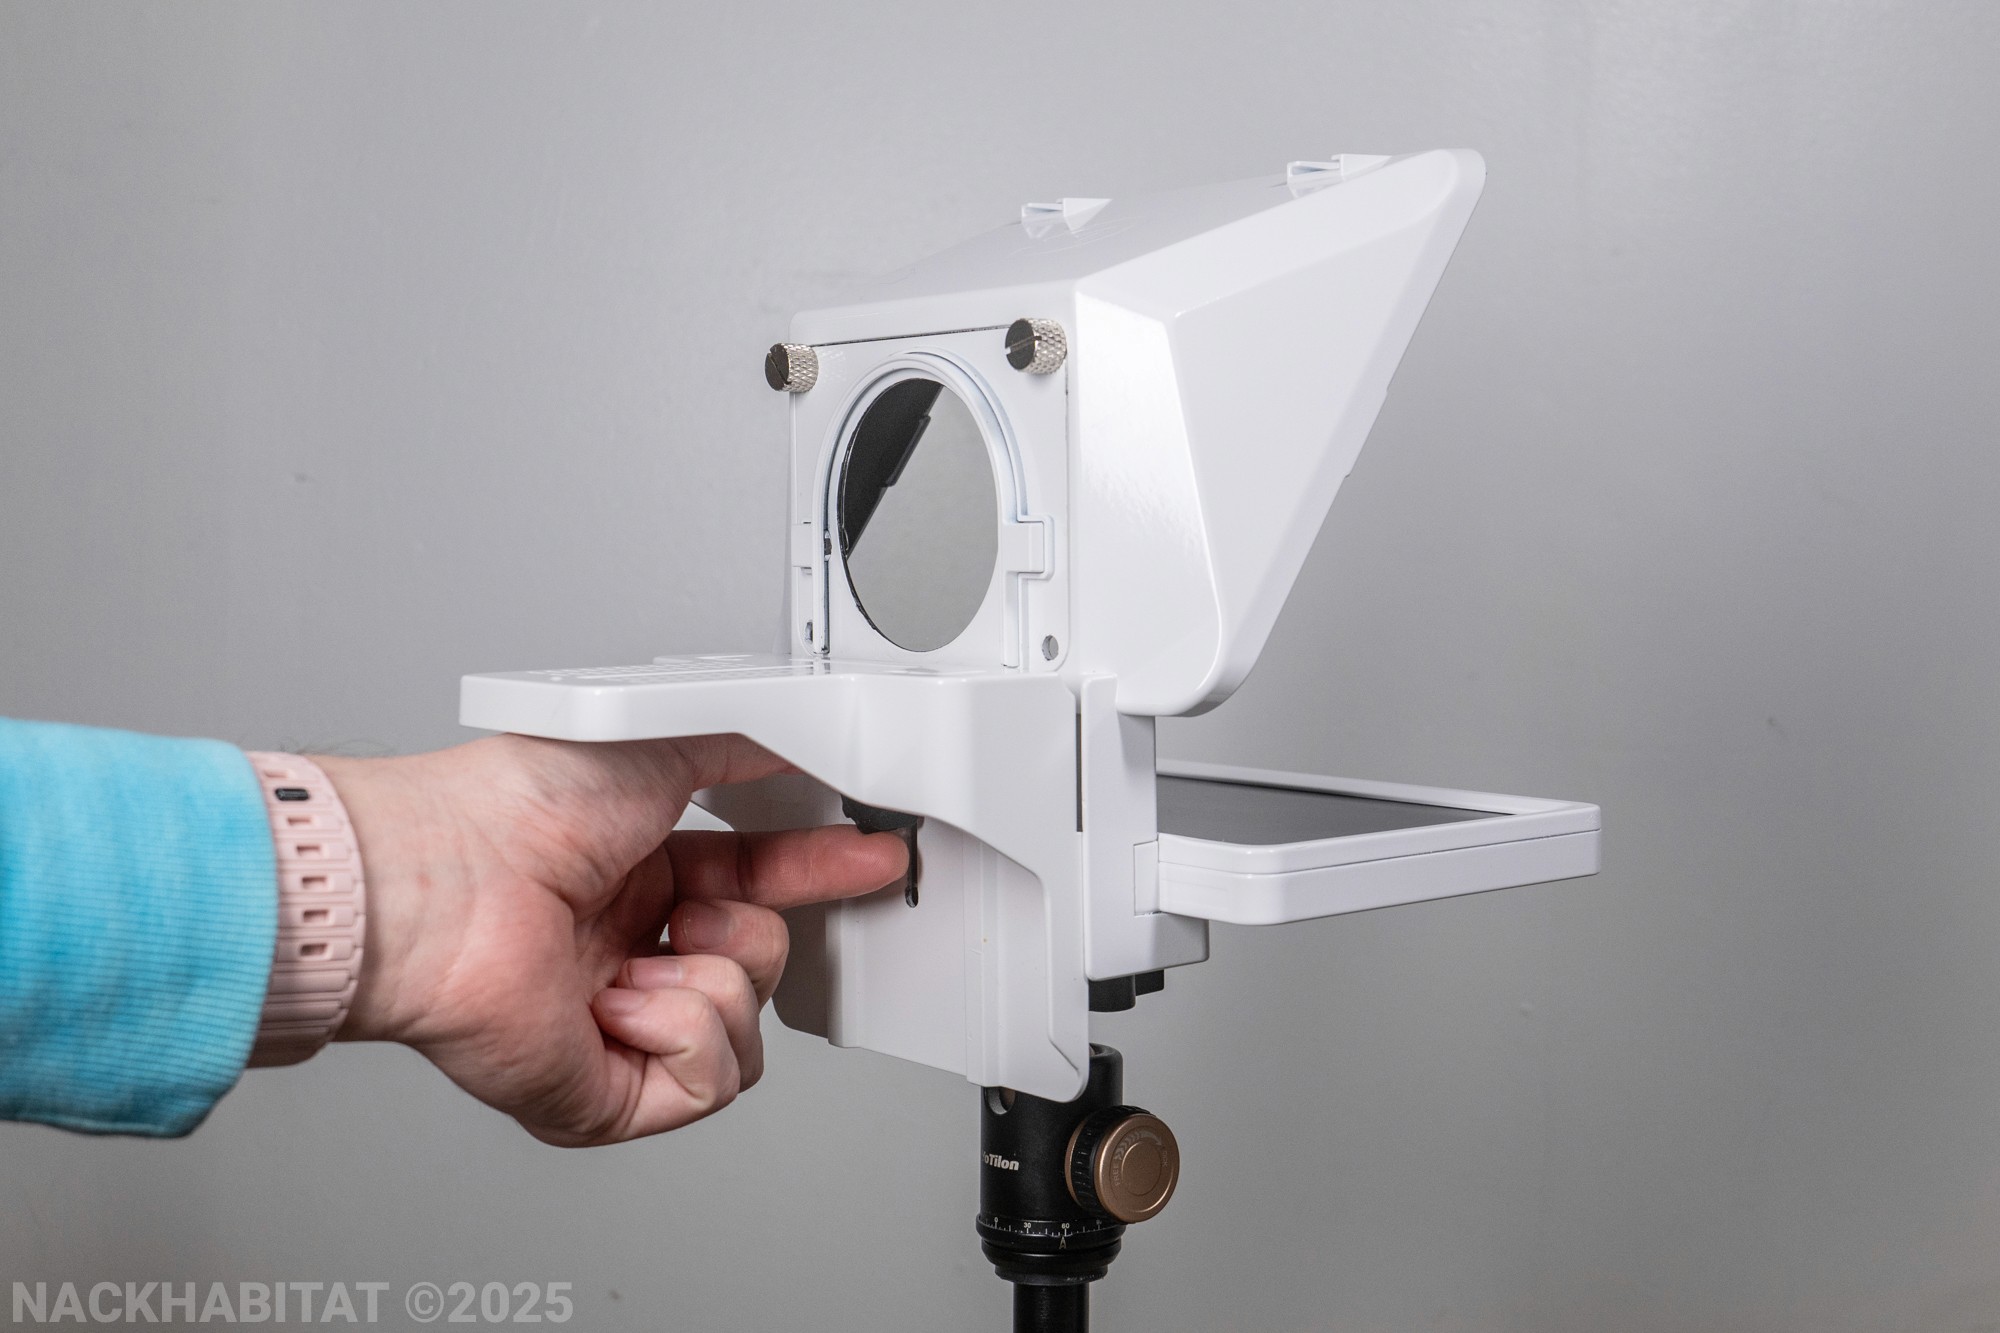
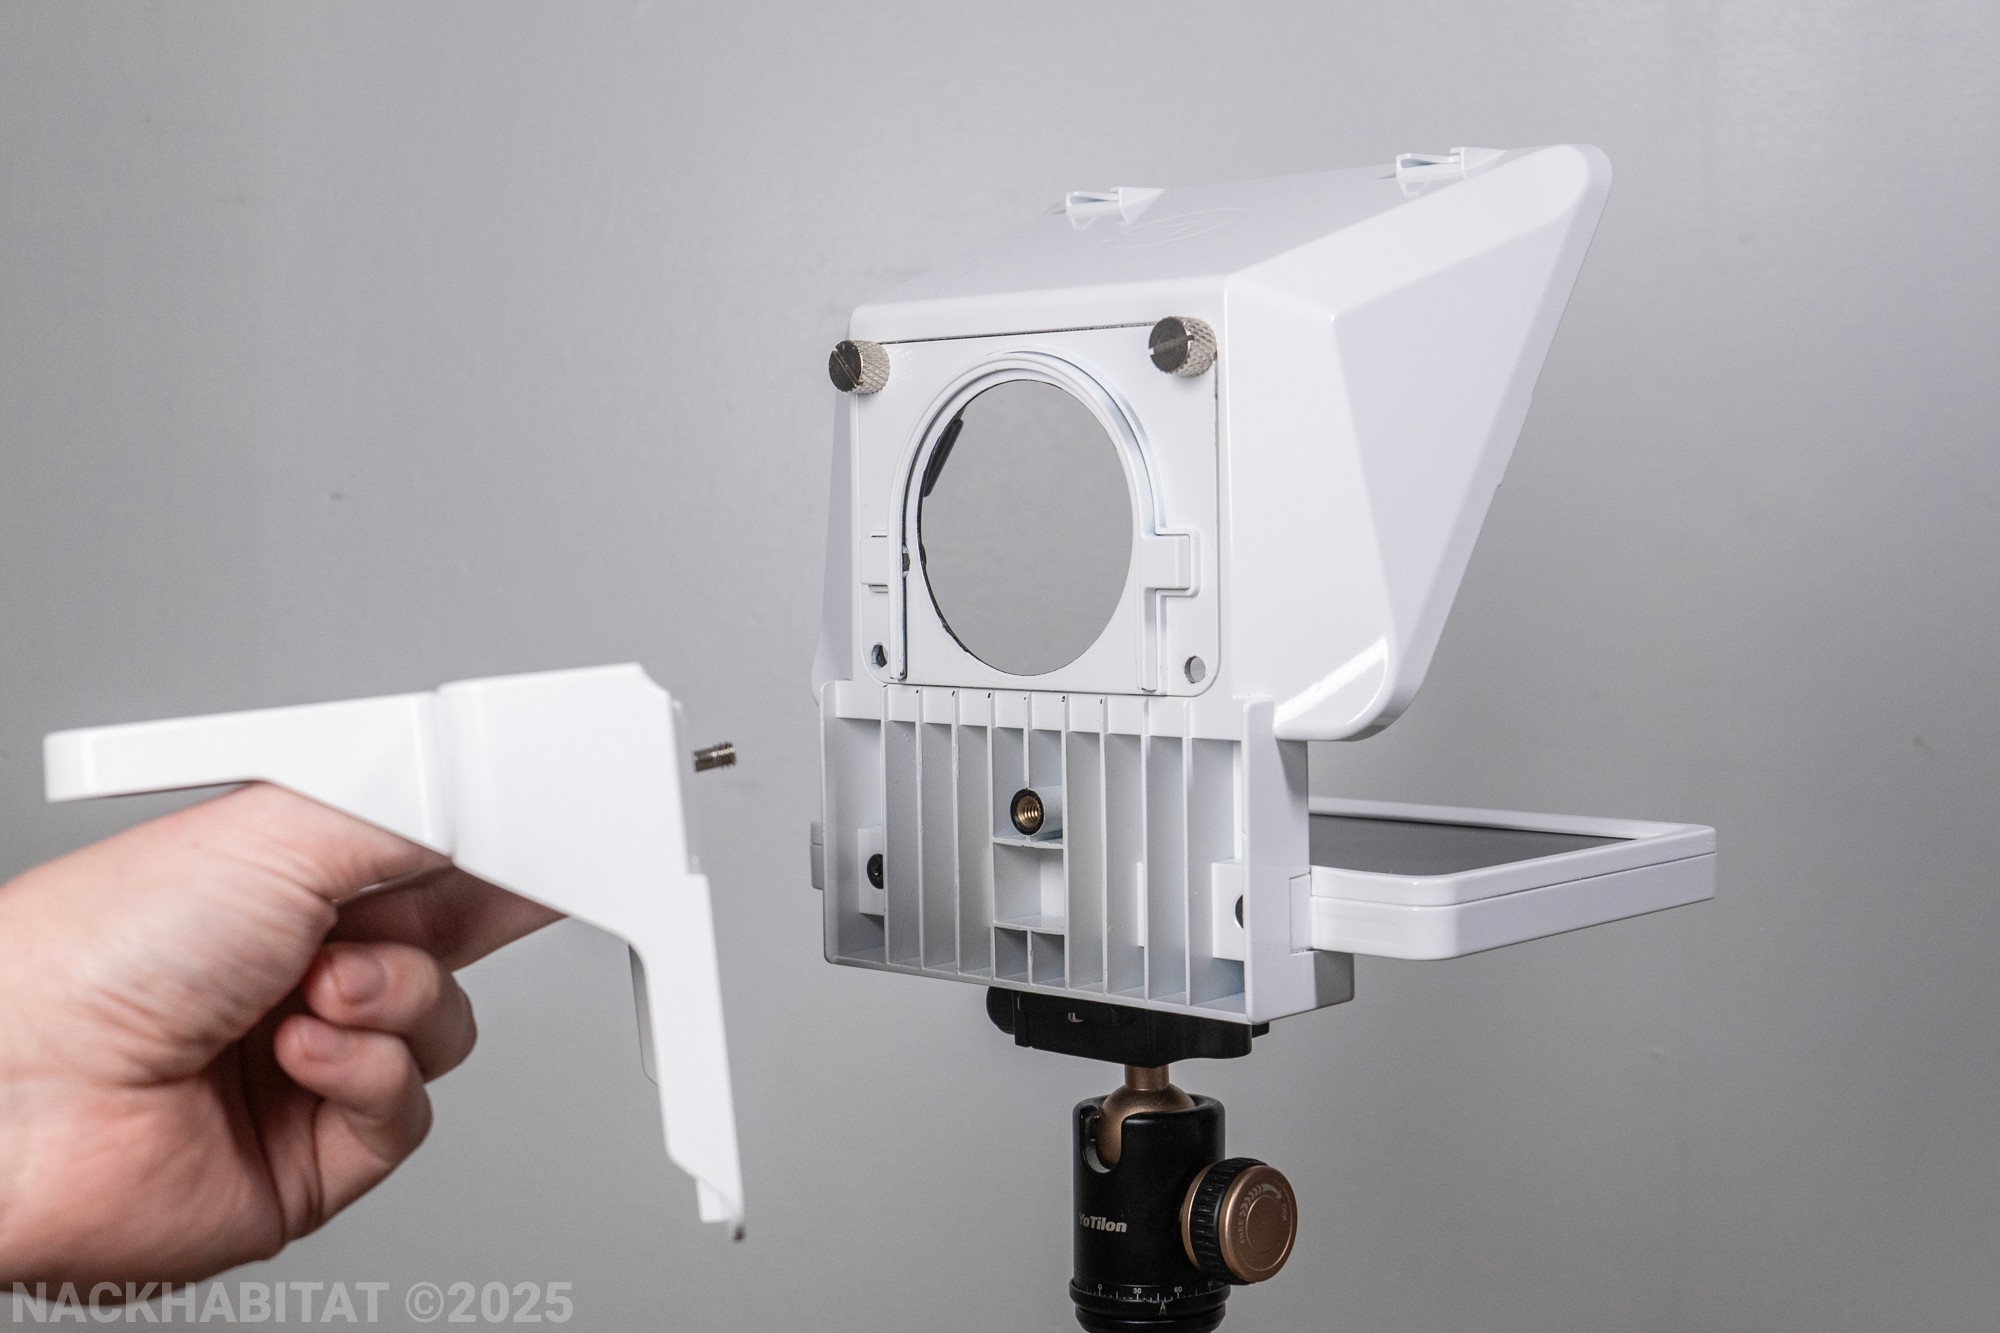
Remove the x2 Elgato knurled thumbscrews holding the lens mount plate, which will then make the Elgato lens mount plate loosey goosey and ready to remove.
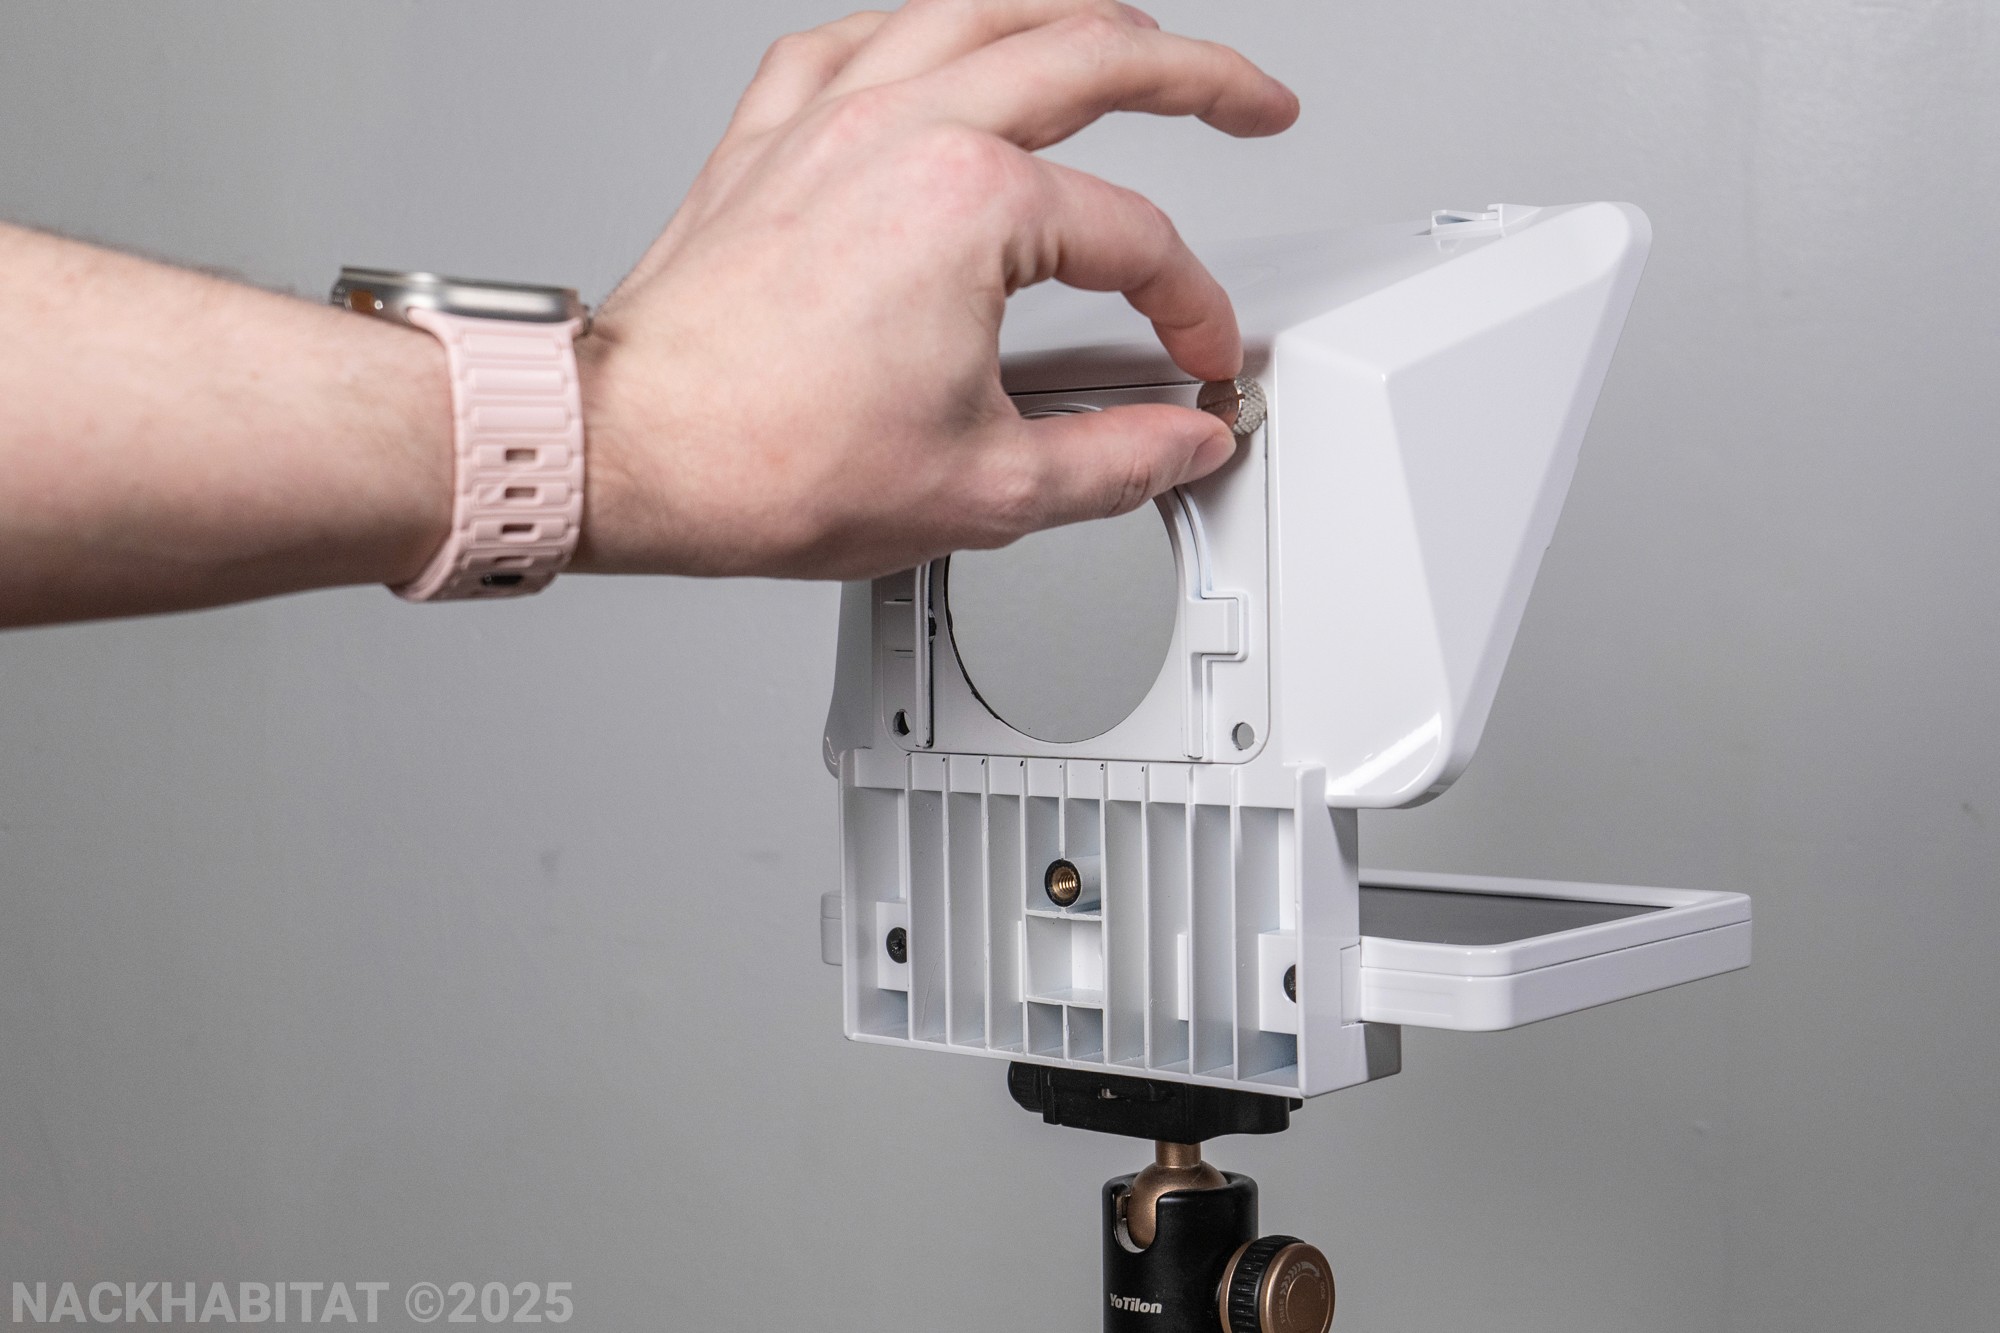
Here is what your prompter should look like.


Take the Main L-Bracket and secure it to the Elgato Prompter using the included Low Profile Thumboney Thumbscrew.


With the Main L-Bracket mounted, take the other Thumboney Thumb Screw and insert it into the bottom of the main L-Bracket.

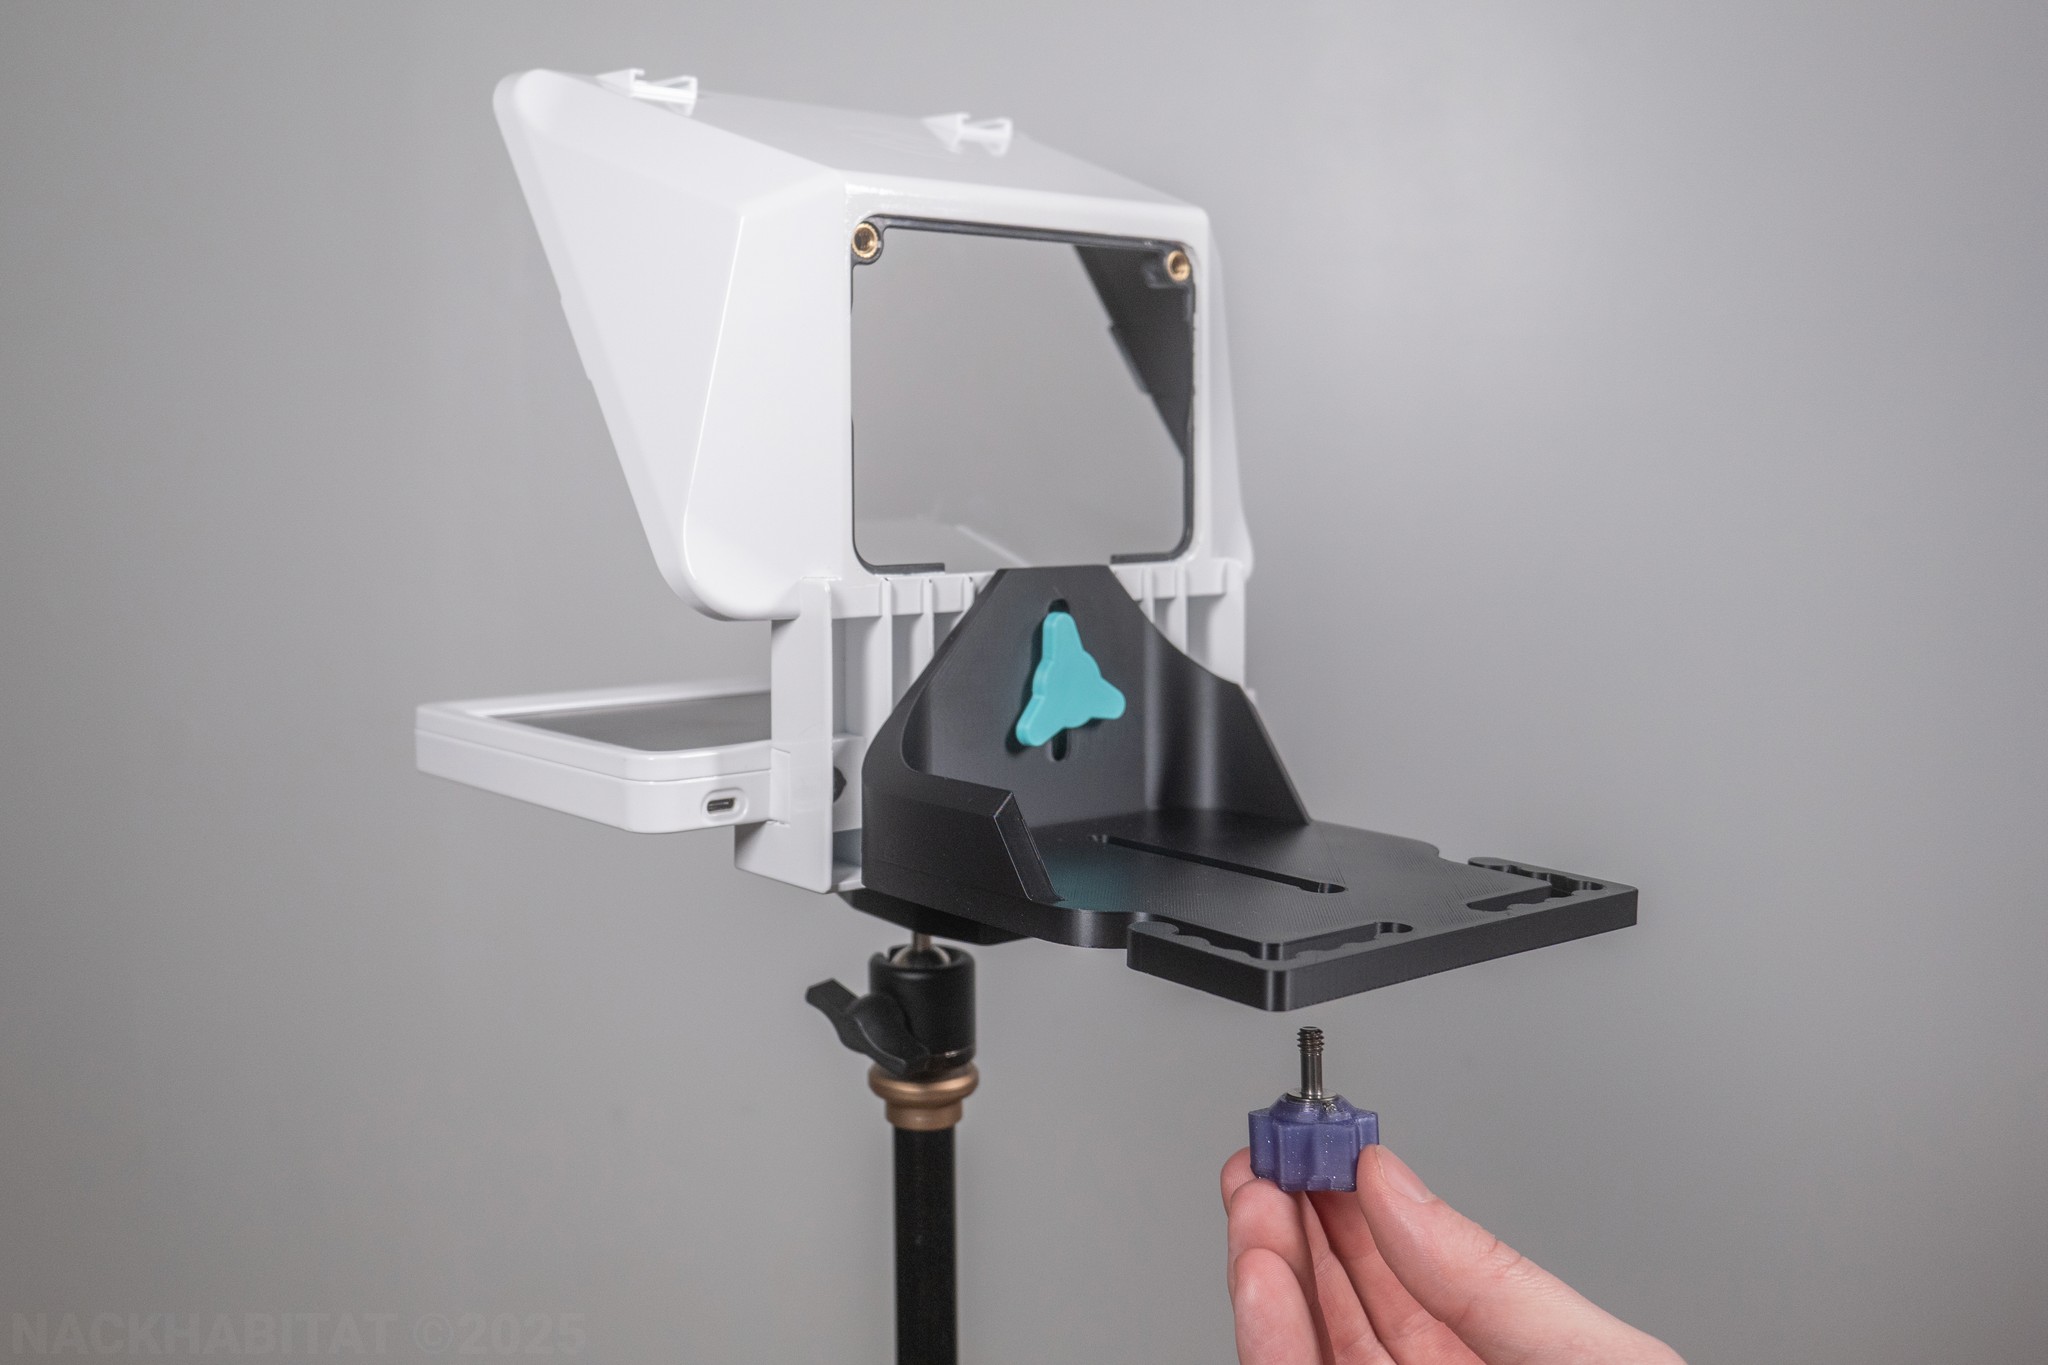

Grab your OBSBOT Tail 2 camera.

Place the OBSBOT Tail 2 on the Main L-Bracket, and secure it to the bracket using the Thumboney Thumbscrew you inserted into the bracket it the last step.

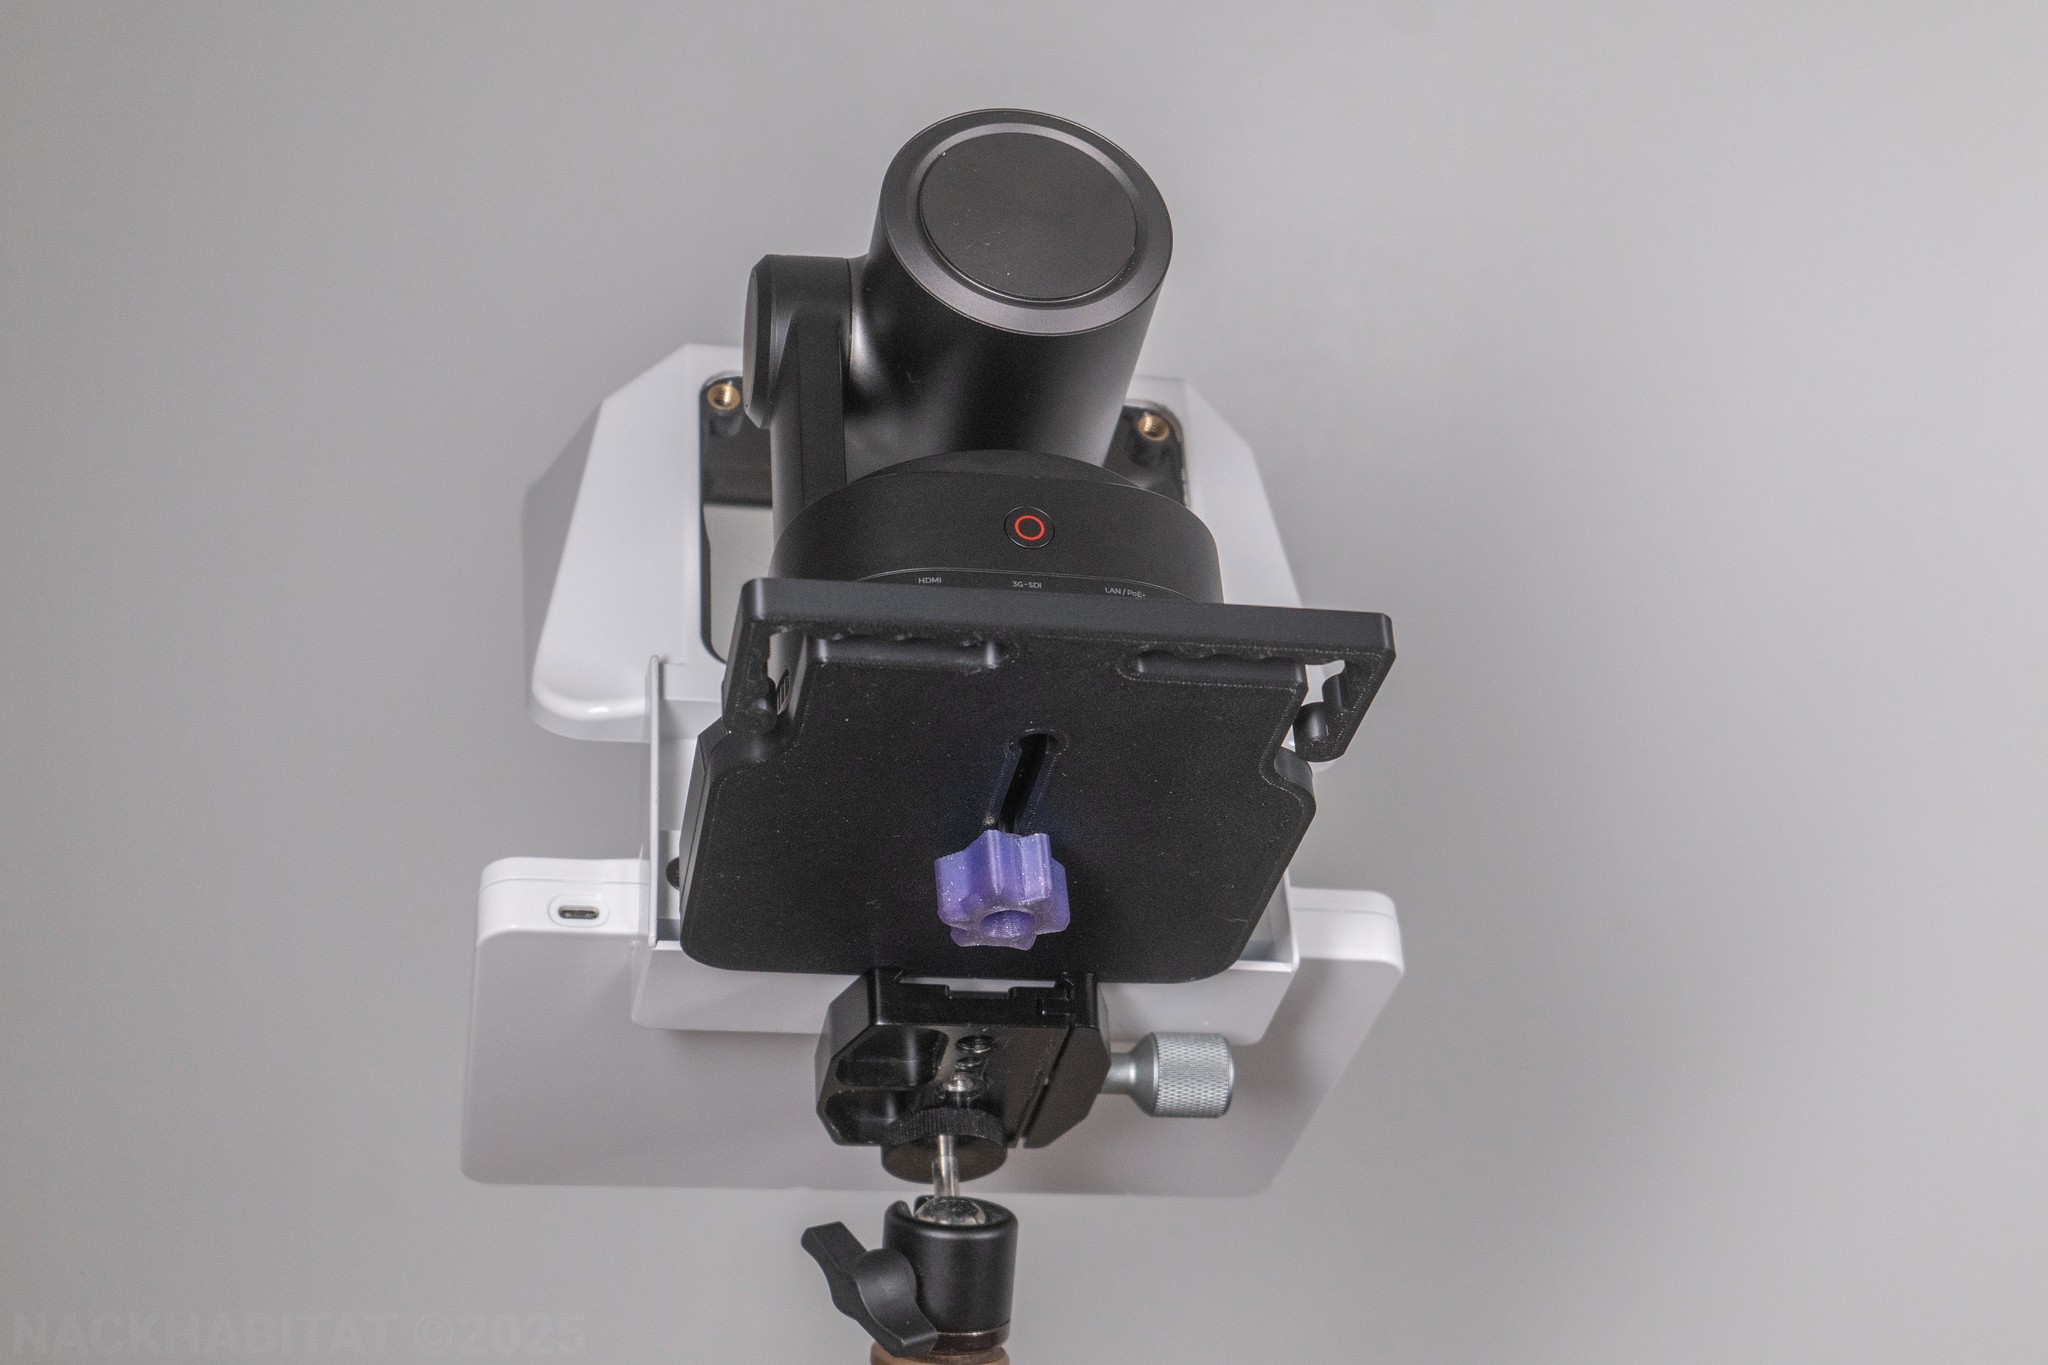
You might be tempted to push the camera all the way towards the front so the lens is as close to the prompter as possible. Don't do that quite yet.

Loosen the screw, and pull the camera back a little bit, that way you can get to the Main L-Bracket screw to adjust the height of the camera.
Adjust the height of the Main L-Bracket so that the OBSBOT Tail 2 Camera lens is as close to the center of the prompter glass as possible. Once you have done that, you can bring the camera closer to the prompter.

Install the Elgato plate that has the light blocking cloth attached to it. Since the Tail 2 is not a camera officially supported by the Elgato Prompter, this plate is the best to use with these types of cameras.

Use the cable management clips on the left and right side of the Main L-Bracket to secure your cables. Make sure to leave some slack so the cables aren't bent!


You did it! Good work.