




Last updated
September 17, 2026
01 — Parts & Materials
Aluminum Extrusion
100% off the aluminum extrusion I used for this project was purchased from TNUTZ. Extrusion comes in many different sizes, I chose to go with “10 Series Extrusion”, so all of the hardware and plates I purchased are specifically meant for 10 series hardware. Pay attention to what you’re buying! Very easy to get lost XD.
Parts list
(2) EX-1050 - 1x1x30 ”
(1) EX-1010 - 1x1x72” [Drill thru & Counterbore, Style “D”, thru “A]
(2) EX-1010 - 1x1x72 ”
(1) EX-1020 - 1x1x30 ”
(1) EX-1010 - 1x1x12 ”
(1) EX-1010 - 1x1x8 ”
(2) EX-1010 - 1x1x8 ” [Drill thru & Counterbore, Style “D”, thru “A”]
(6) EX-1010 - 1x1x7”
T-Slot Screws & Nuts
When purchasing hardware like plates, nuts, gussets, and more, it gives you the option to pick what kind of screws and nuts you want with the hardware. I did not buy any additional hardware separately, I just chose the 1/4’20 Economy nuts and bolts with every purchase. i.e. If a joining plate had 4 holes, it would come with 4 screws and 4 nuts as long as you choose this when you add to cart. After my initial purchase, I did end up buying some replacement screws and drop in nuts from Amazon that worked out great. I would highly suggest watching the videos in the “Educational Videos” section to learn about the different nuts and when to use them.
HOT TIP. Try and buy all the same kind of screws and nuts when getting hardware from different places. Because I wanted to be able to incorporate camera arms and mounts into the frame, going with 1/4-20 screws and nuts meant the most sense. Otherwise, I M6 would have been a good option.
Slide-In Nuts
Drop-in nuts
Amazon hardware
Joining Plates & Brackets
When purchasing hardware like plates, nuts, gussets, and more, it gives you the option to pick what kind of screws and nuts you want with the hardware. I did not buy any additional hardware separately, I just chose the 1/4’20 Economy nuts and bolts with every purchase. i.e. If a joining plate had 4 holes, it would come with 4 screws and 4 nuts as long as you choose this when you add to cart. Or else, you’ll get the hardware only.
Joining plates
x4 (two sets) of 45 degree angle
Brackets
Locking ratchet handle
Additional Hardware
VESA Monitor Mounting
VARIO Vesa Adapter kit
NOTE: This is NOT for 1010 series extrusion. Must be 1020 as it needs two T slots to mount.
Strut-Channel Trolley System
6 Pack Heavy-Duty 1-5/8” Strut Channel Trolley Track Hanger for P1834-EG
6 Wheel Trolley Assembly Electric Hoist Easy Installation Roller Trolley
General Fasteners & Hardware
MDF Particle Board: Rok Hardware #8 x 3/4” Coarse Screws
Sprint Nuts Deooxye 1/4-20 Steel Roll in T-nut with Ball Spring
Other screws I liked for using with nuts 1/4-20 x 1/2” (50 Pack) Flat Head Hex Socket Cap Screws Bolts
02 — Tech & Gear
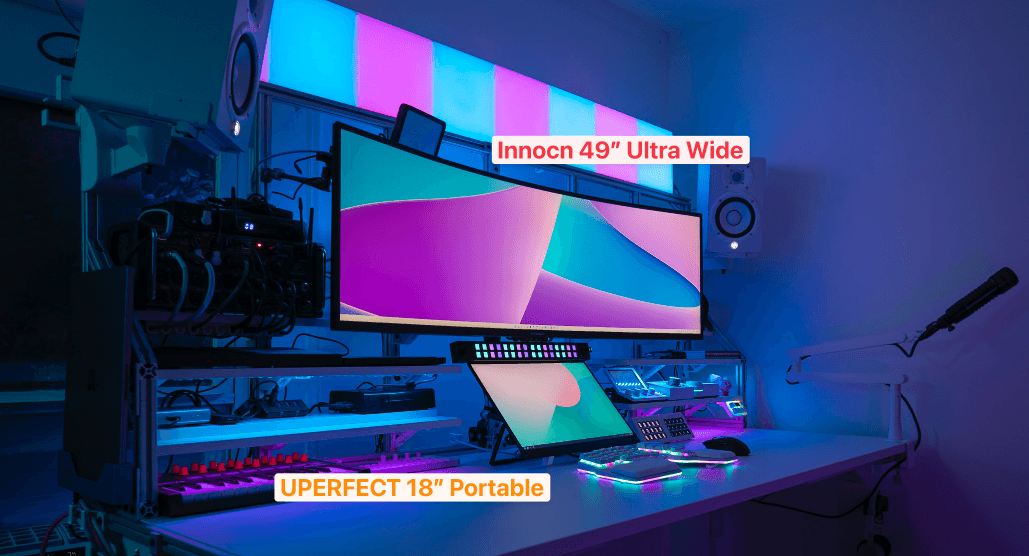
Computing, Camera & Audio
Monitors & Accessories
Keyboards, Mice & Peripherals
Cameras & Capture Cards
Audio Equipment
Lighting
WLED Lighting
Favorite LED Strip: BTF-LIGHTING WS2812B IC RGB 5050SMD
WLED Controllers Pre-Flashed: MagWLED-1 LED Controller, 5V and 12V USB-C Power Delivery,
https://amzn.to/4k2lMk220-Gauge 3 Wire Electrical Wire: 20FT 20 Gauge Wire 3 Conductor, 20AWG Electrical Wire
JST Connectors: BTF-LIGHTING 20 Pairs JST SM 3 Pin Connectors
WAGO Lever Nuts: WAGO Lever-Nuts Inline Splicing Connector for Solid and Stranded Conductors
LIFX Tiles
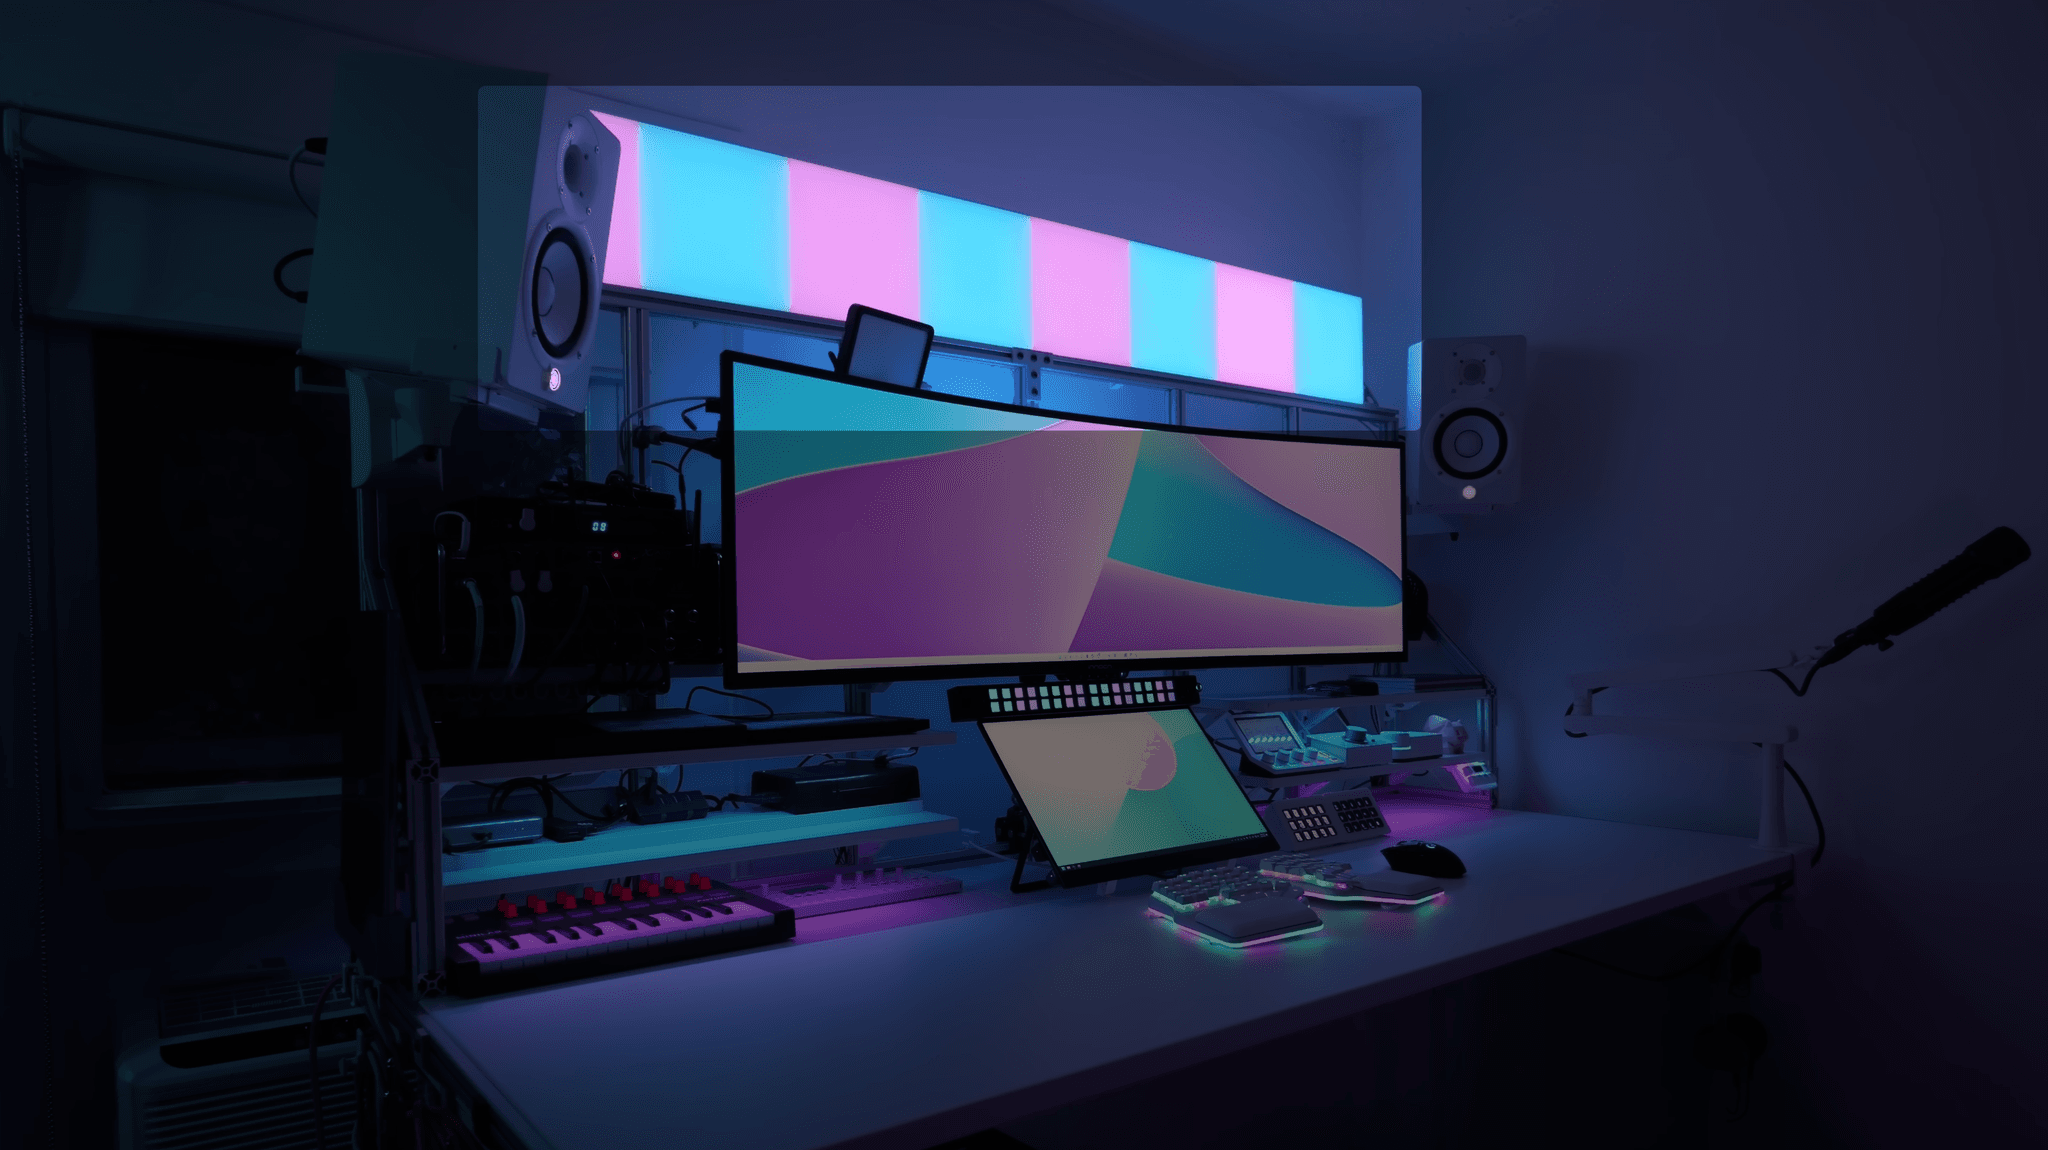
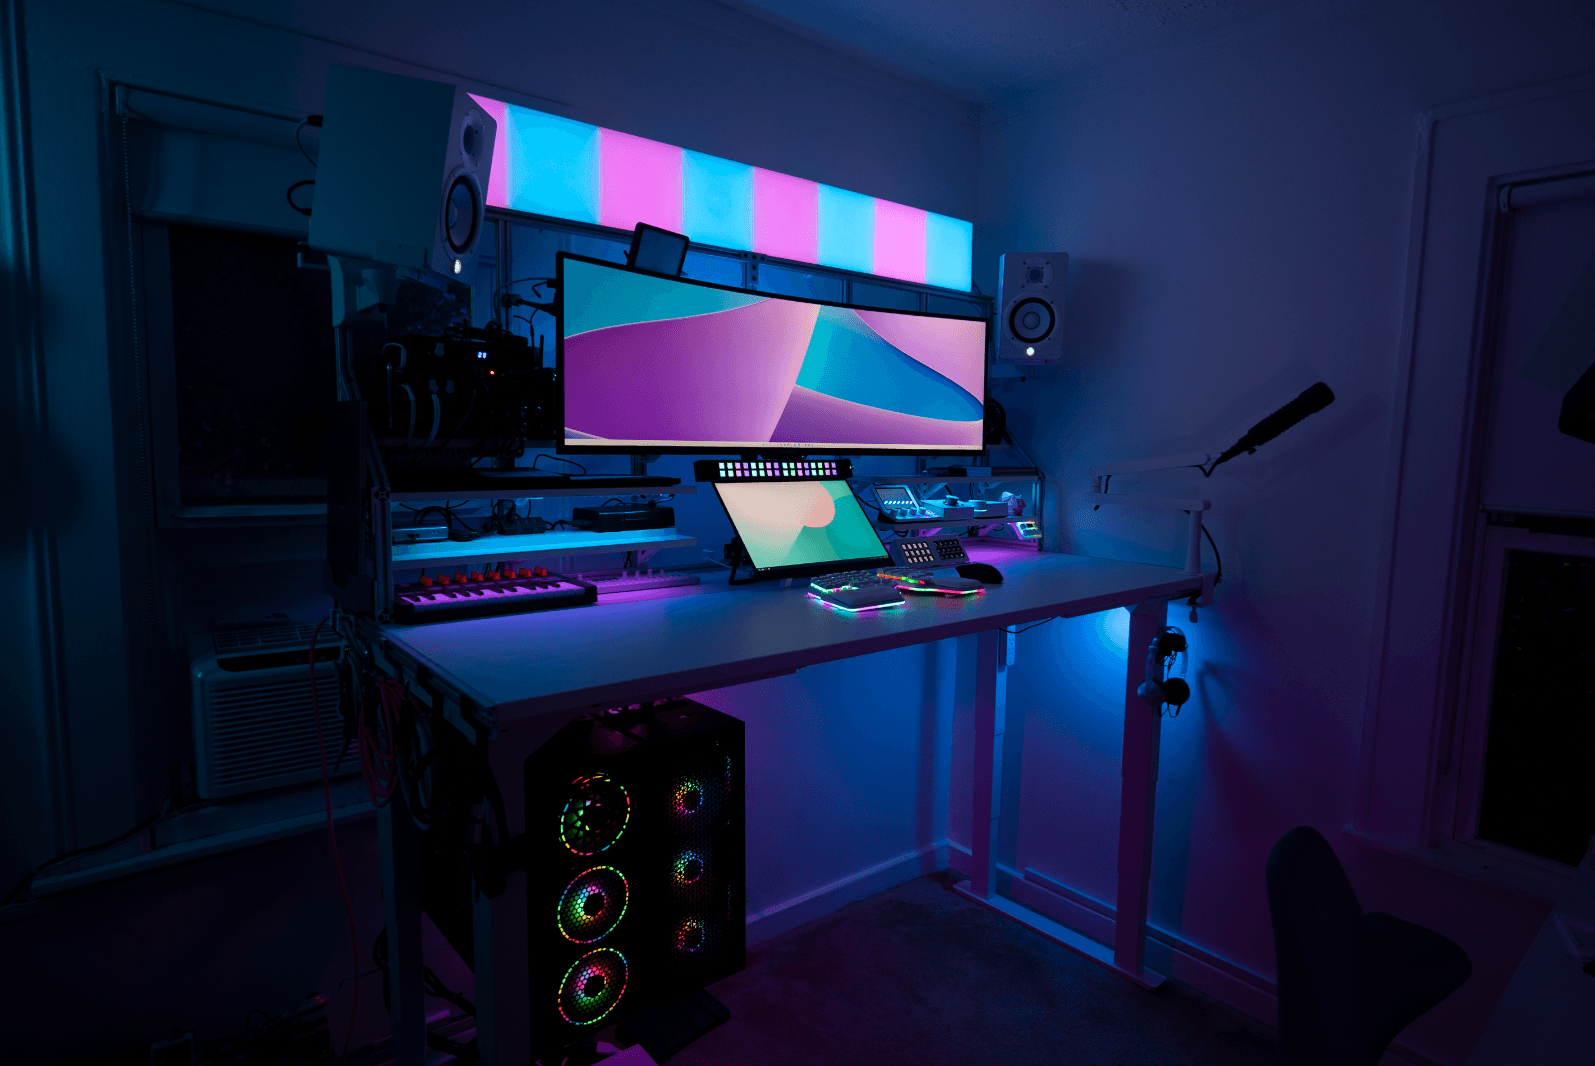
The LED panels that are on top of my build are called LIFX Tiles. Unfortunately, these were discontinued in 2020. They are by far my #1 favorite LED panel of all time, and miraculously we’re heading into 2026 and their app still supports these lights and making changes to scenes. I’ve seen them available on ebay in the past, but I would be weary of purchasing them. They have homekit and non-homekit version of these lights, and there’s no telling how long they are going to be supported for.
https://support.lifx.com/hc/en-us/articles/14509215128215-LIFX-Tile-Setup-Discontinued
03 — Tools
Please assume all links on this page are affiliate links and revenue generating. If you choose to make a purchase using one of these links, I greatly appreciate your support. Thank you.
04 — Build Notes
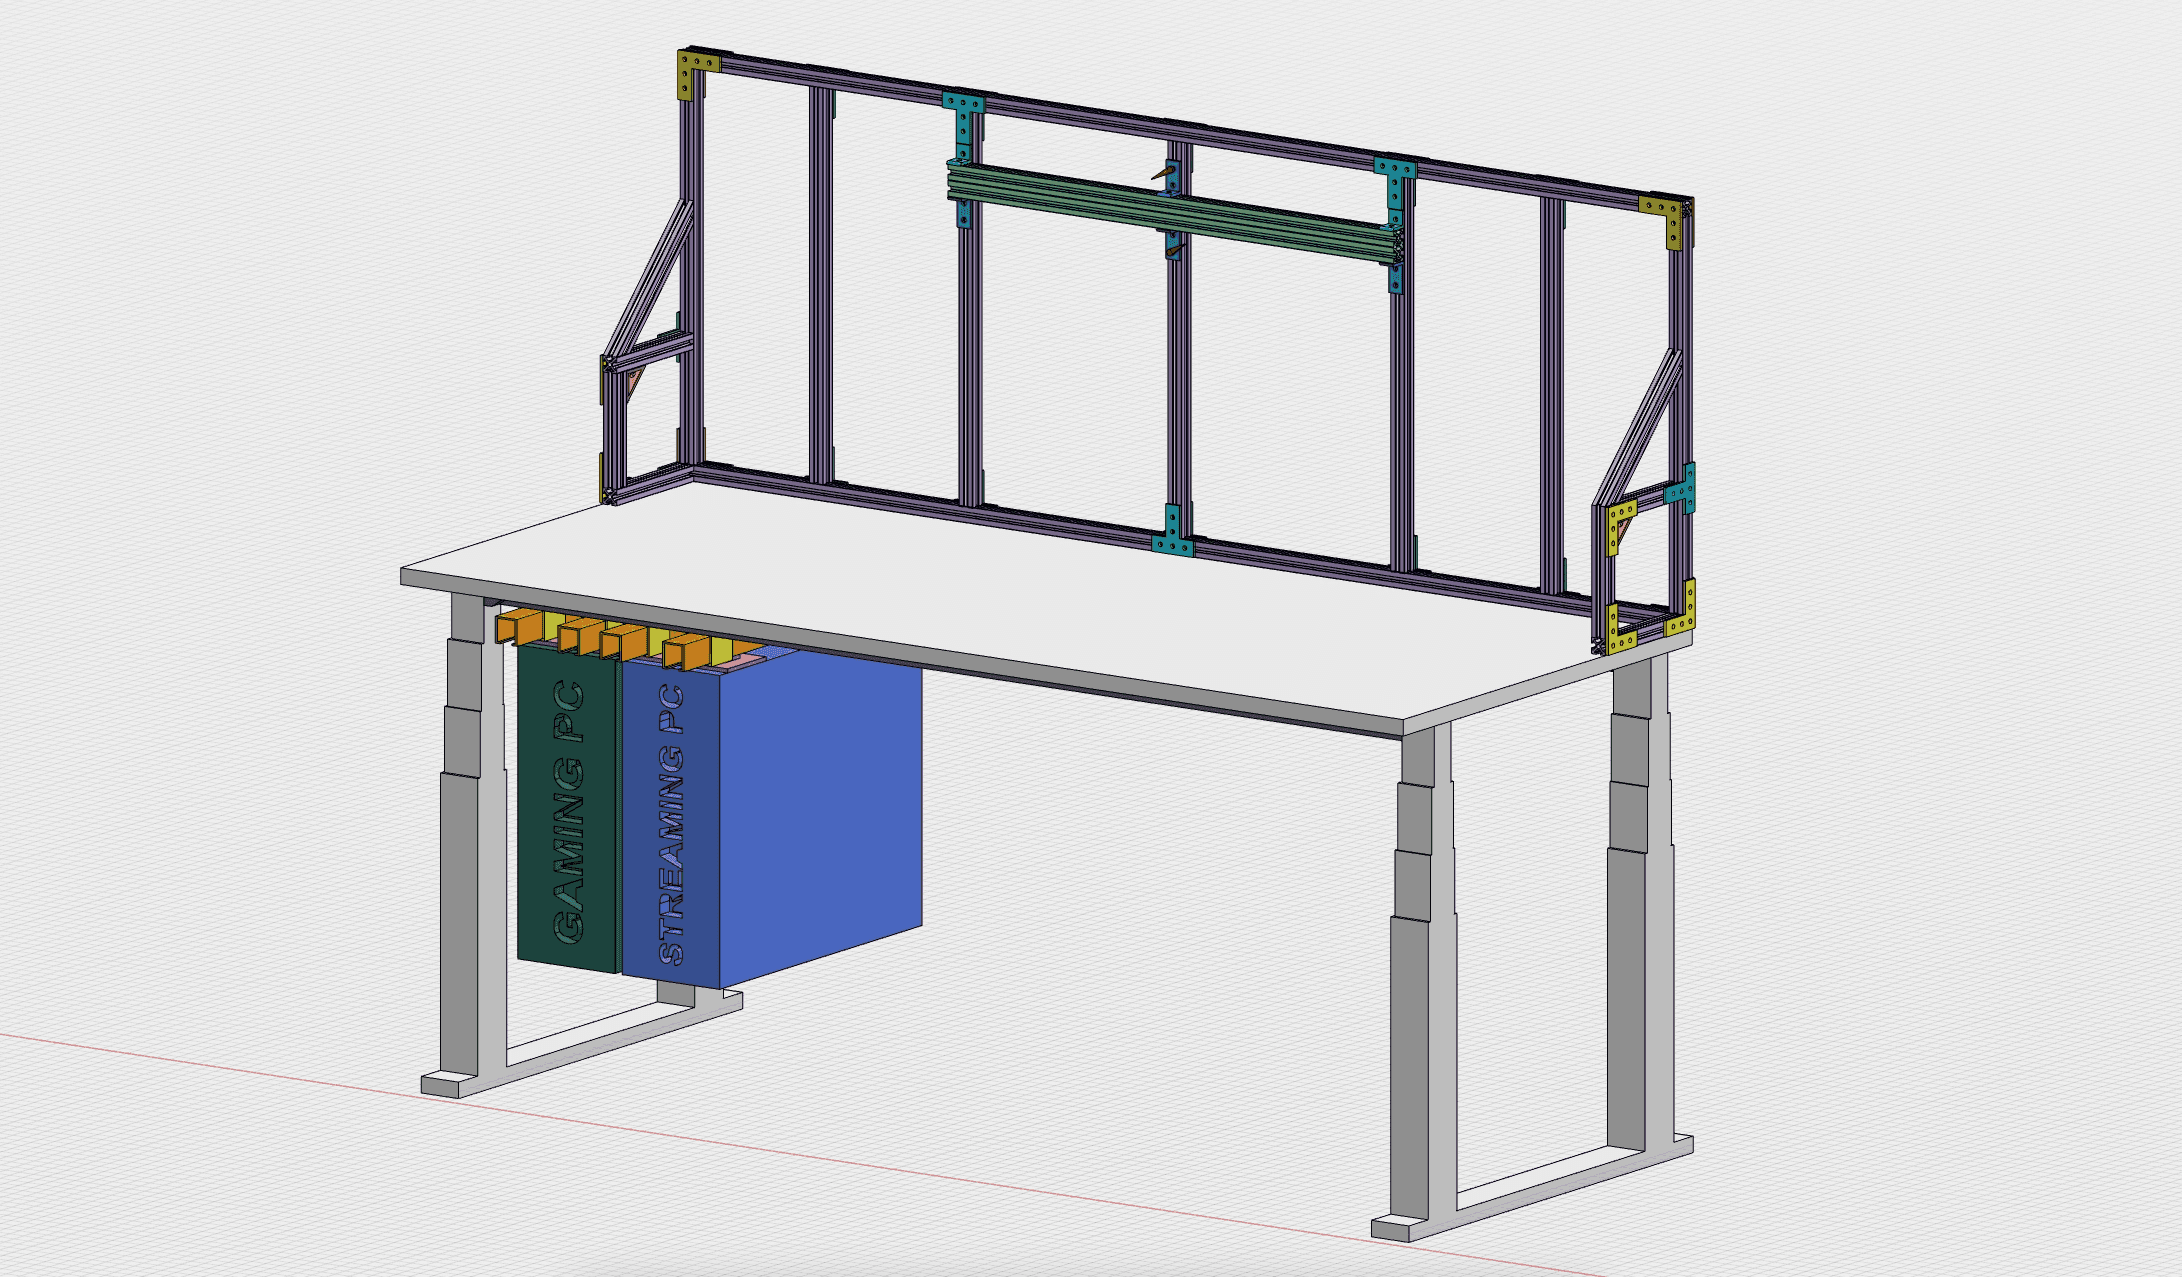
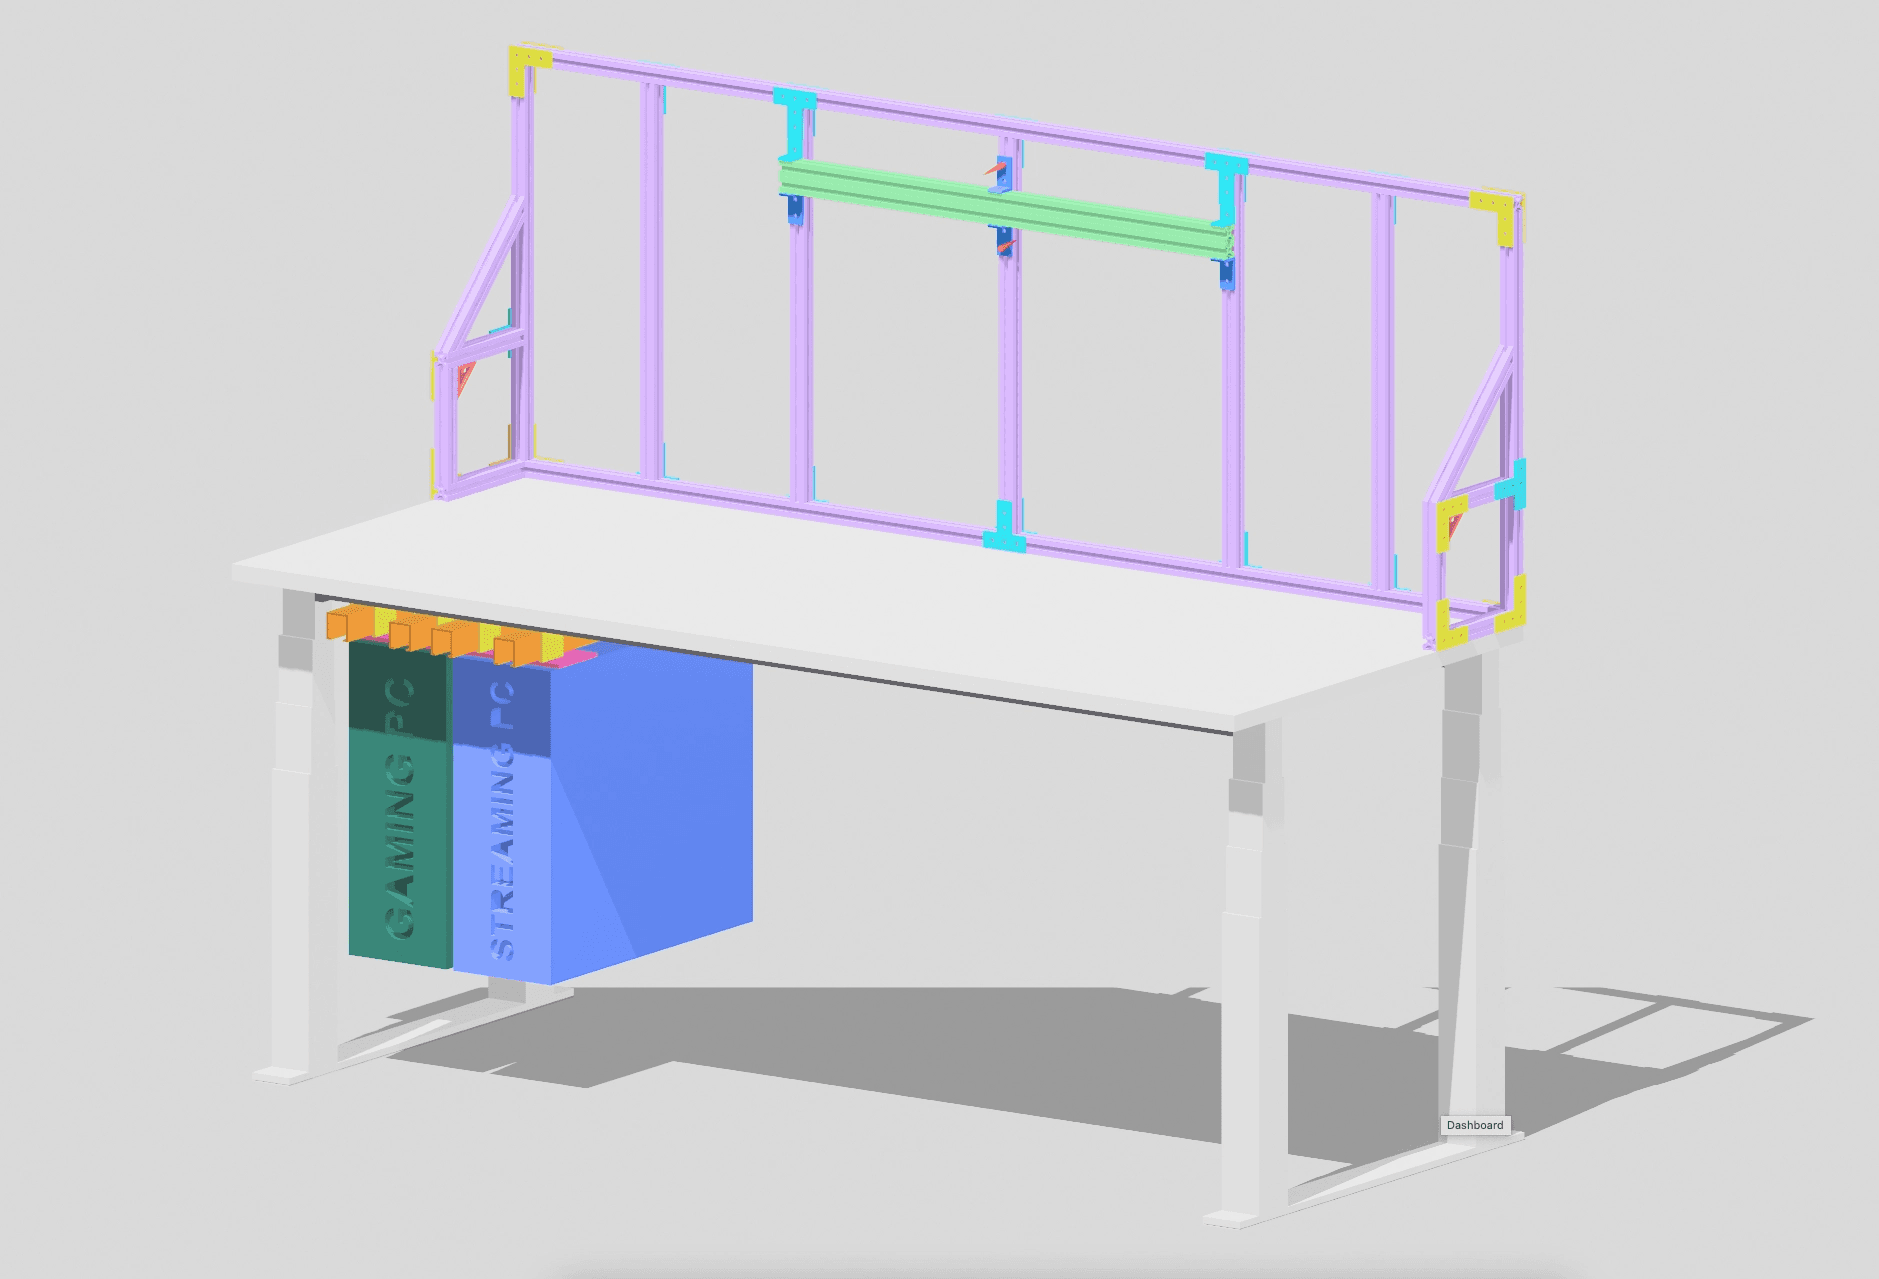
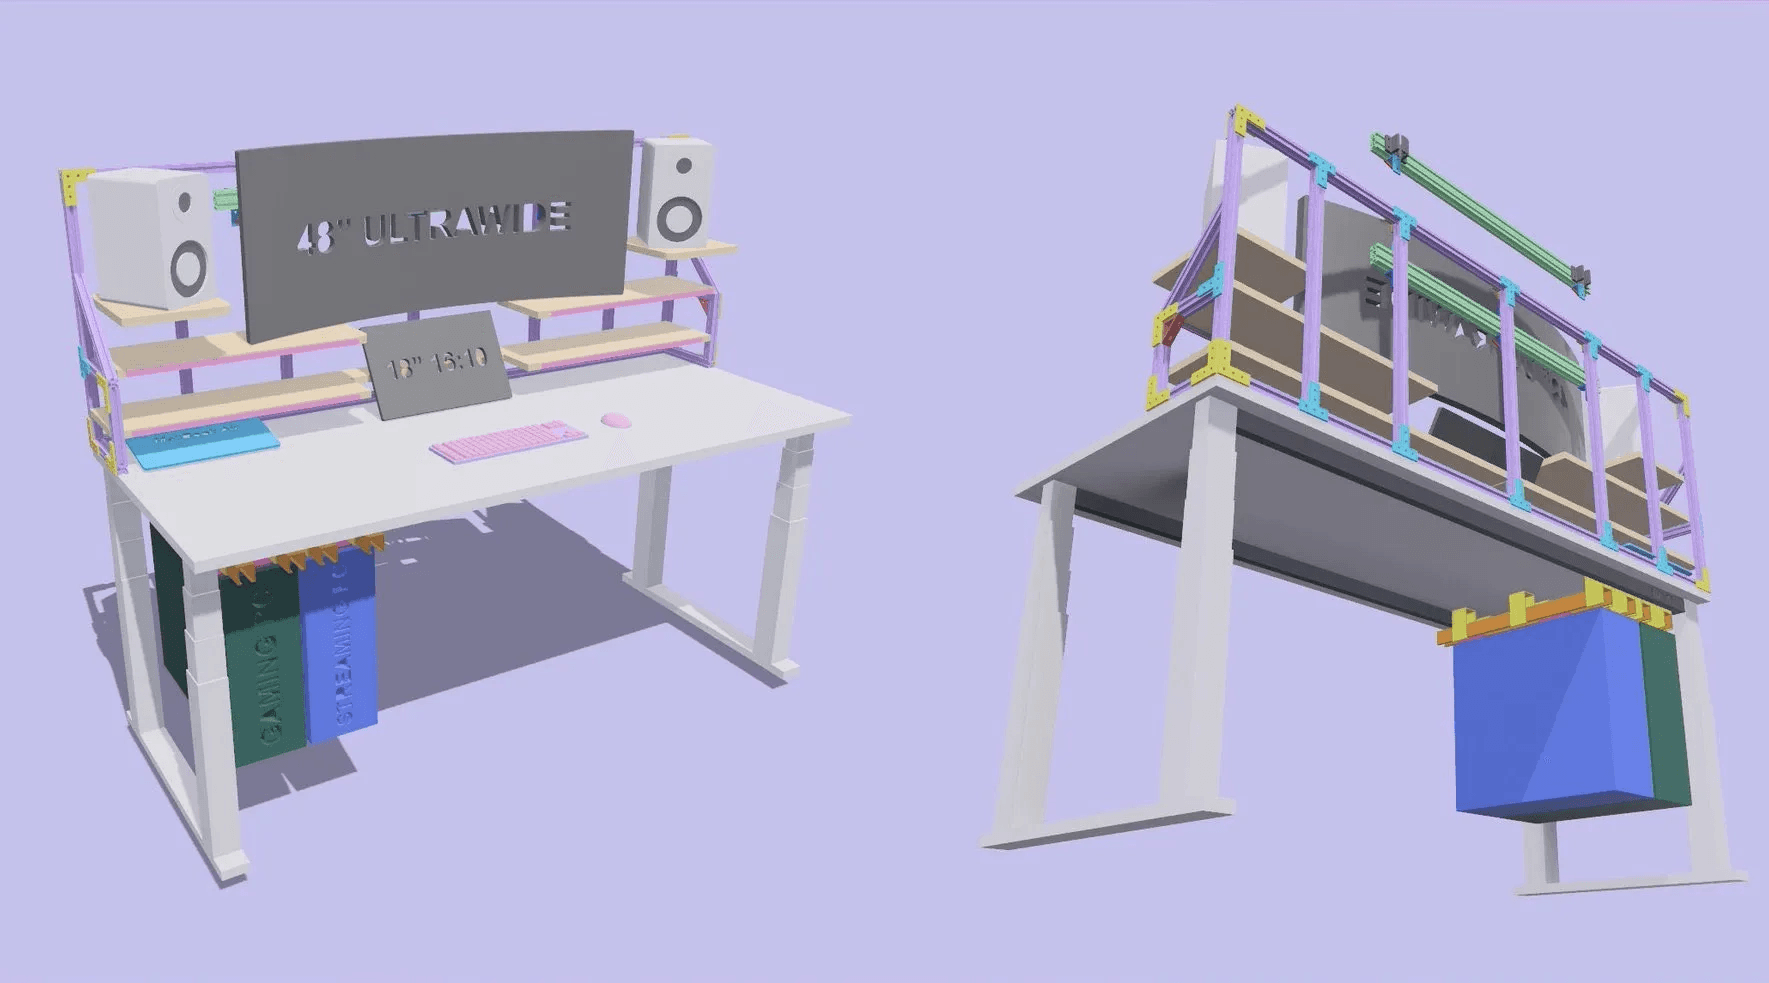
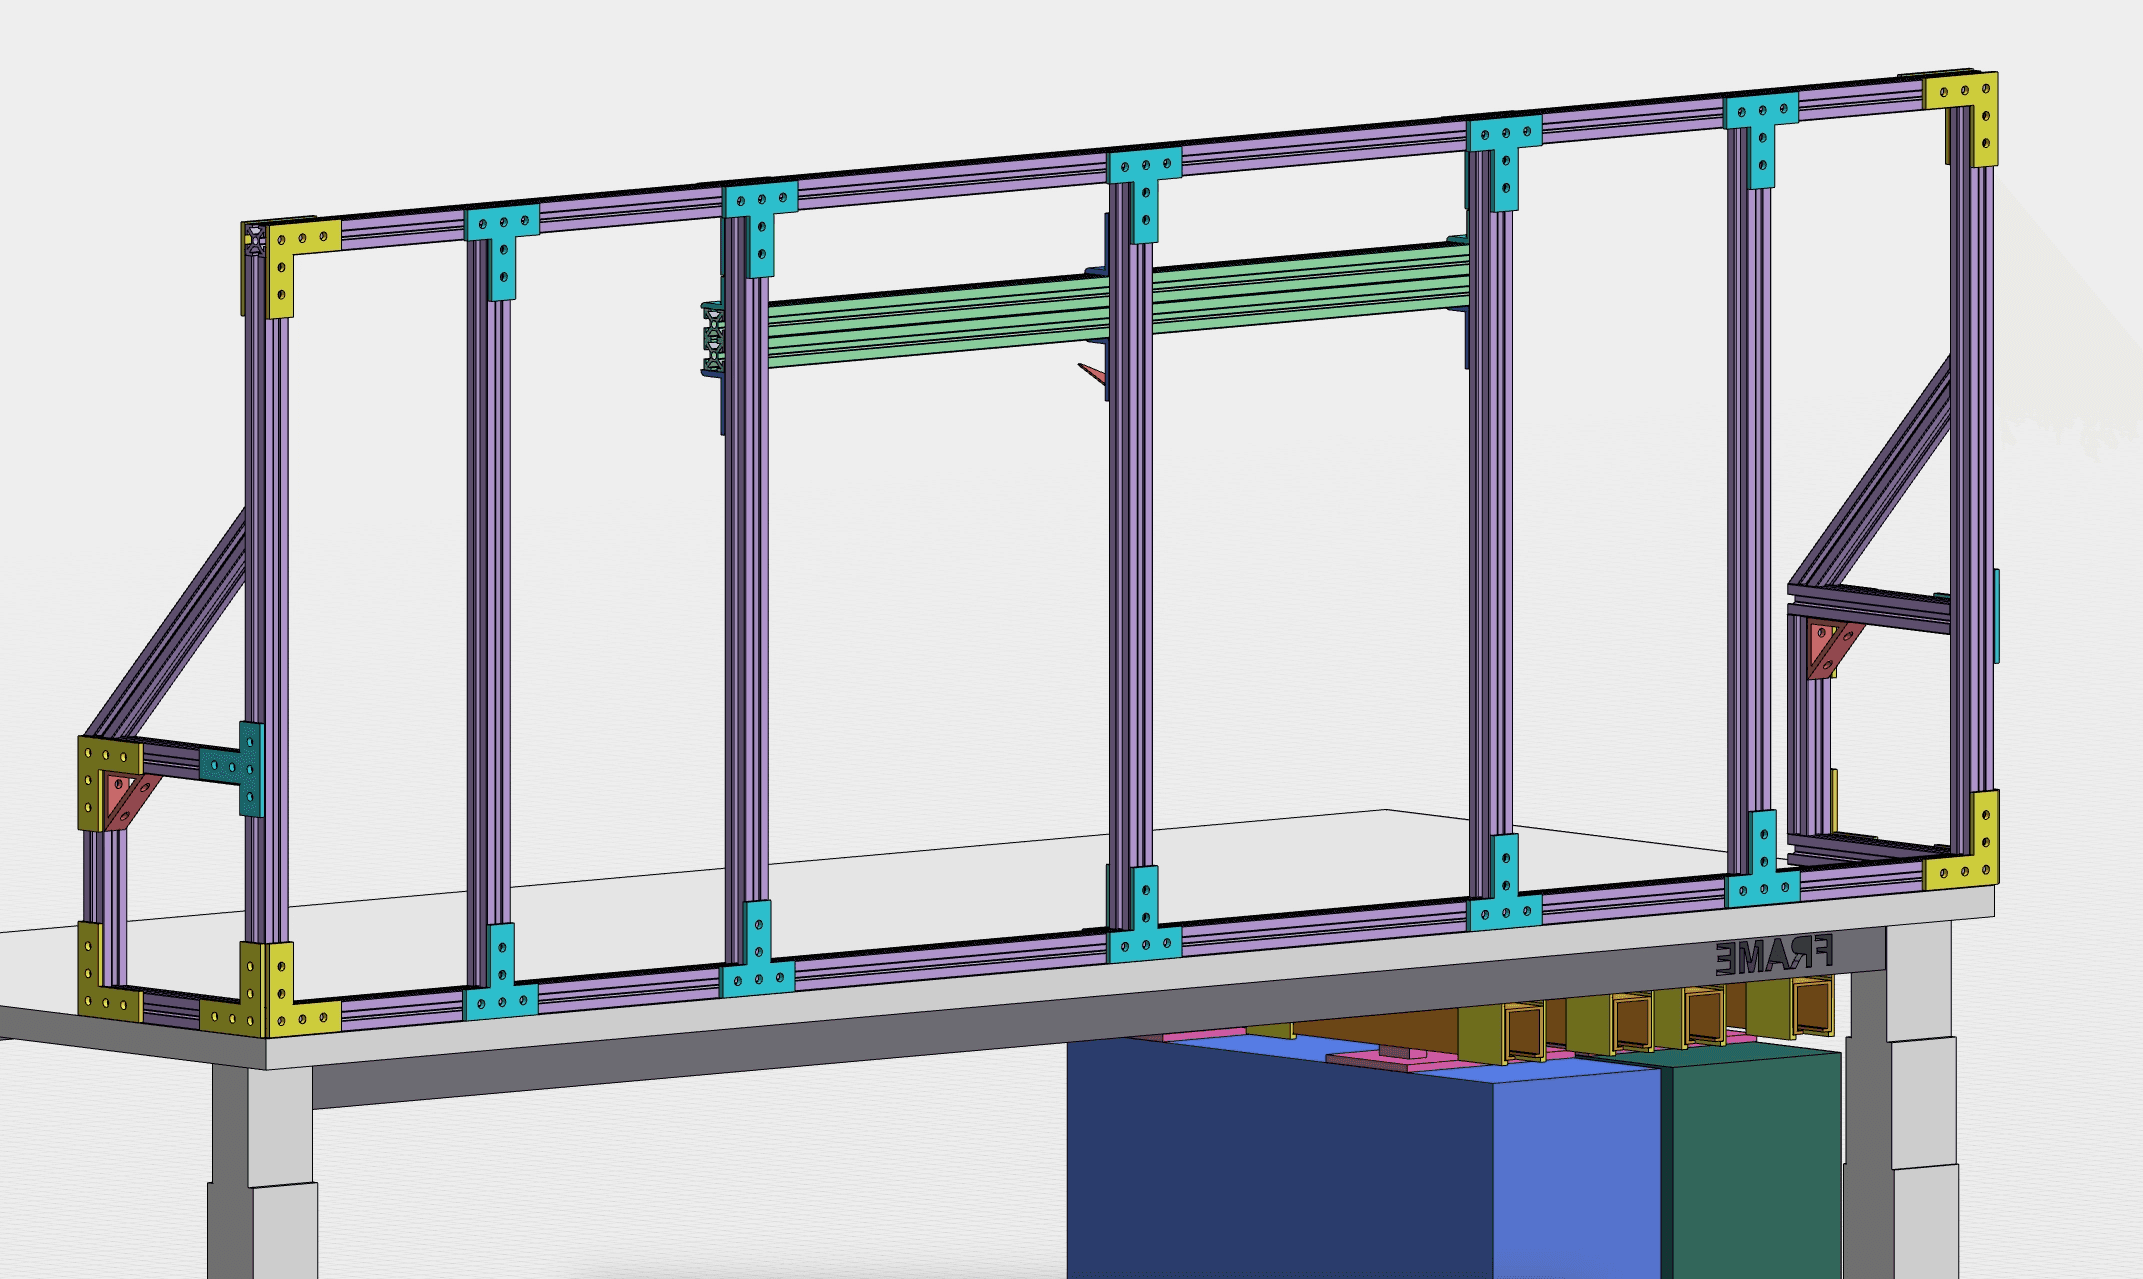
UPLIFT Desk + 1010 Frame
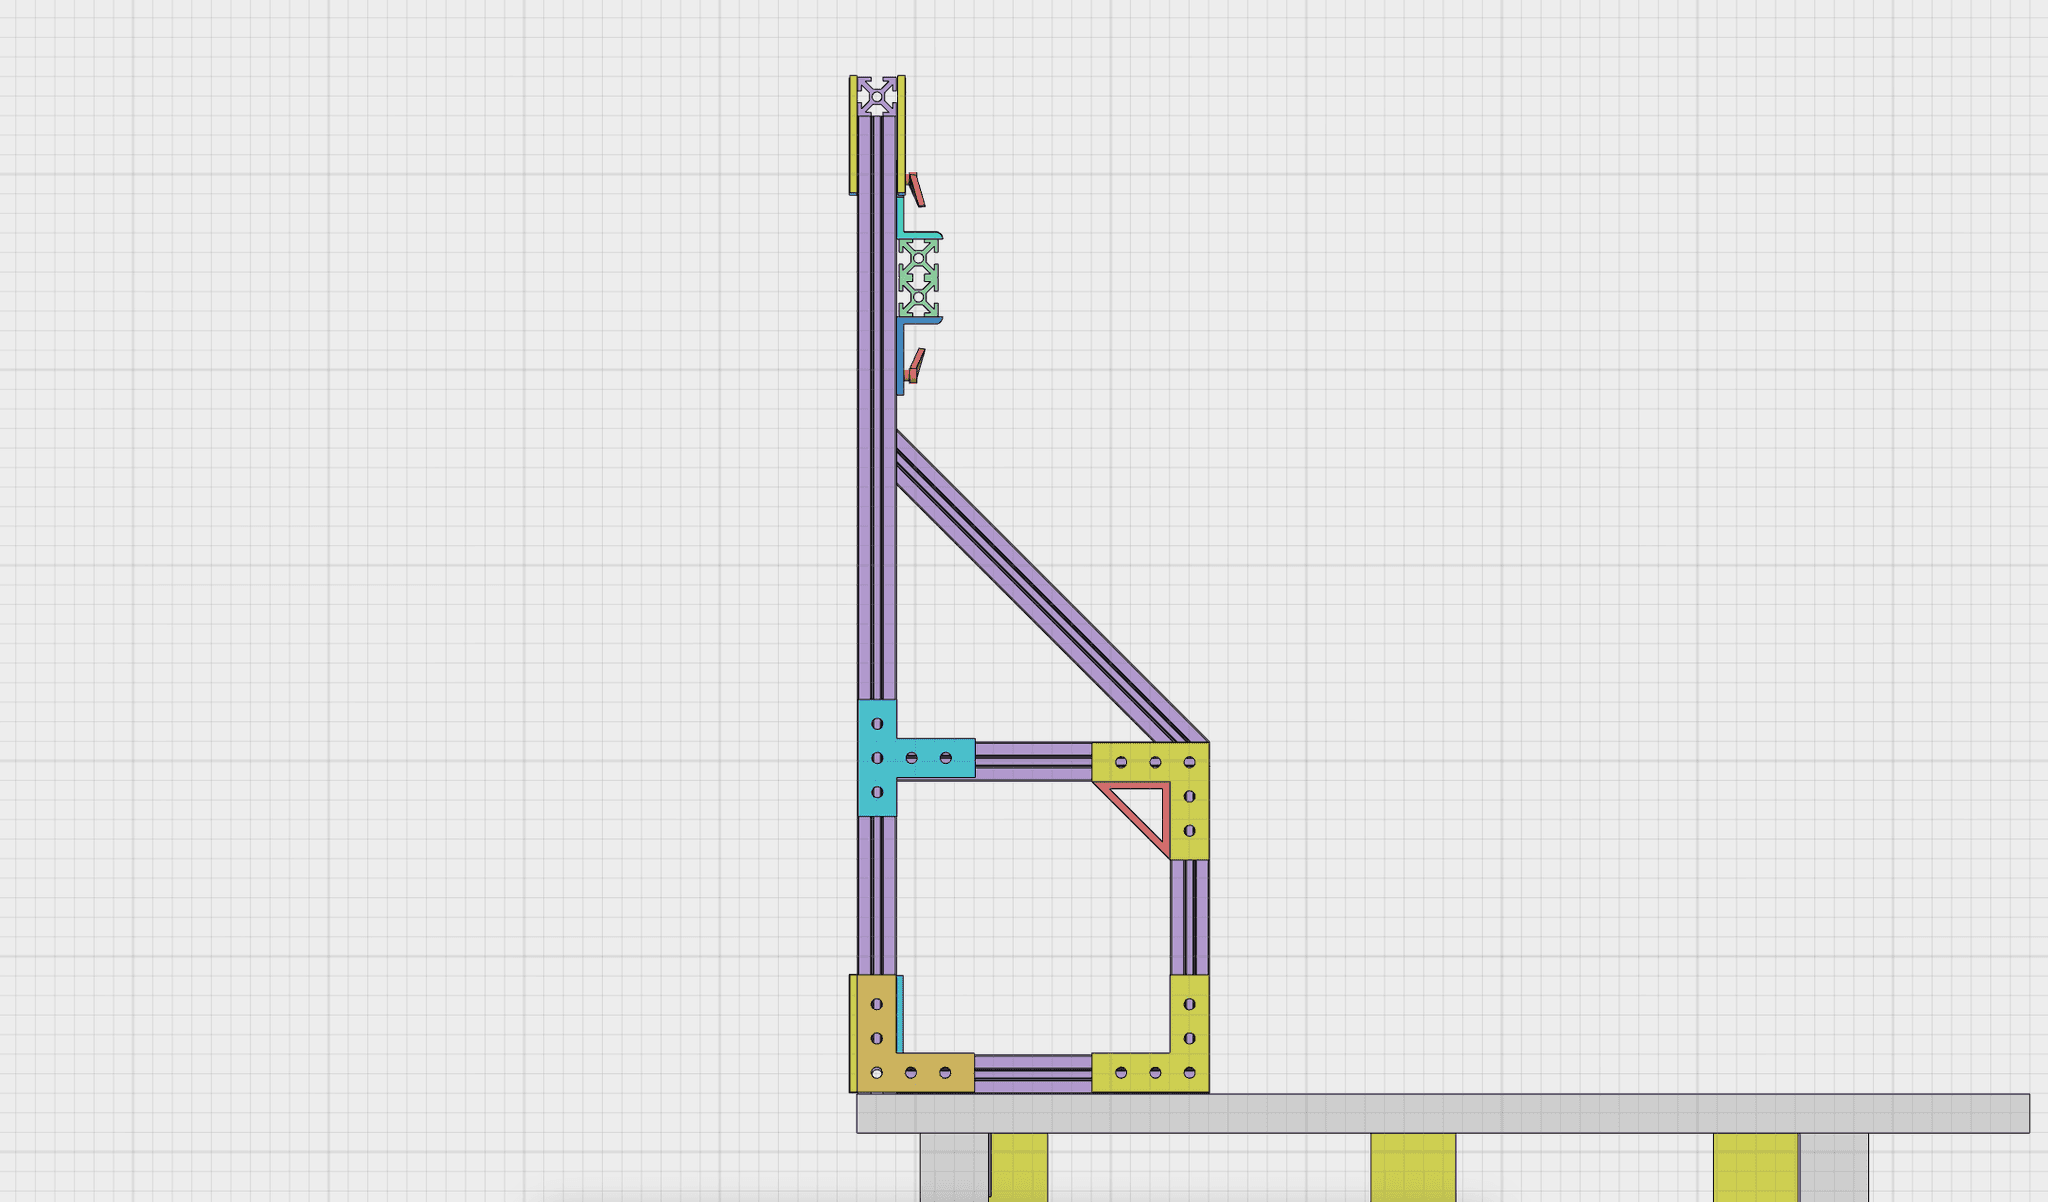
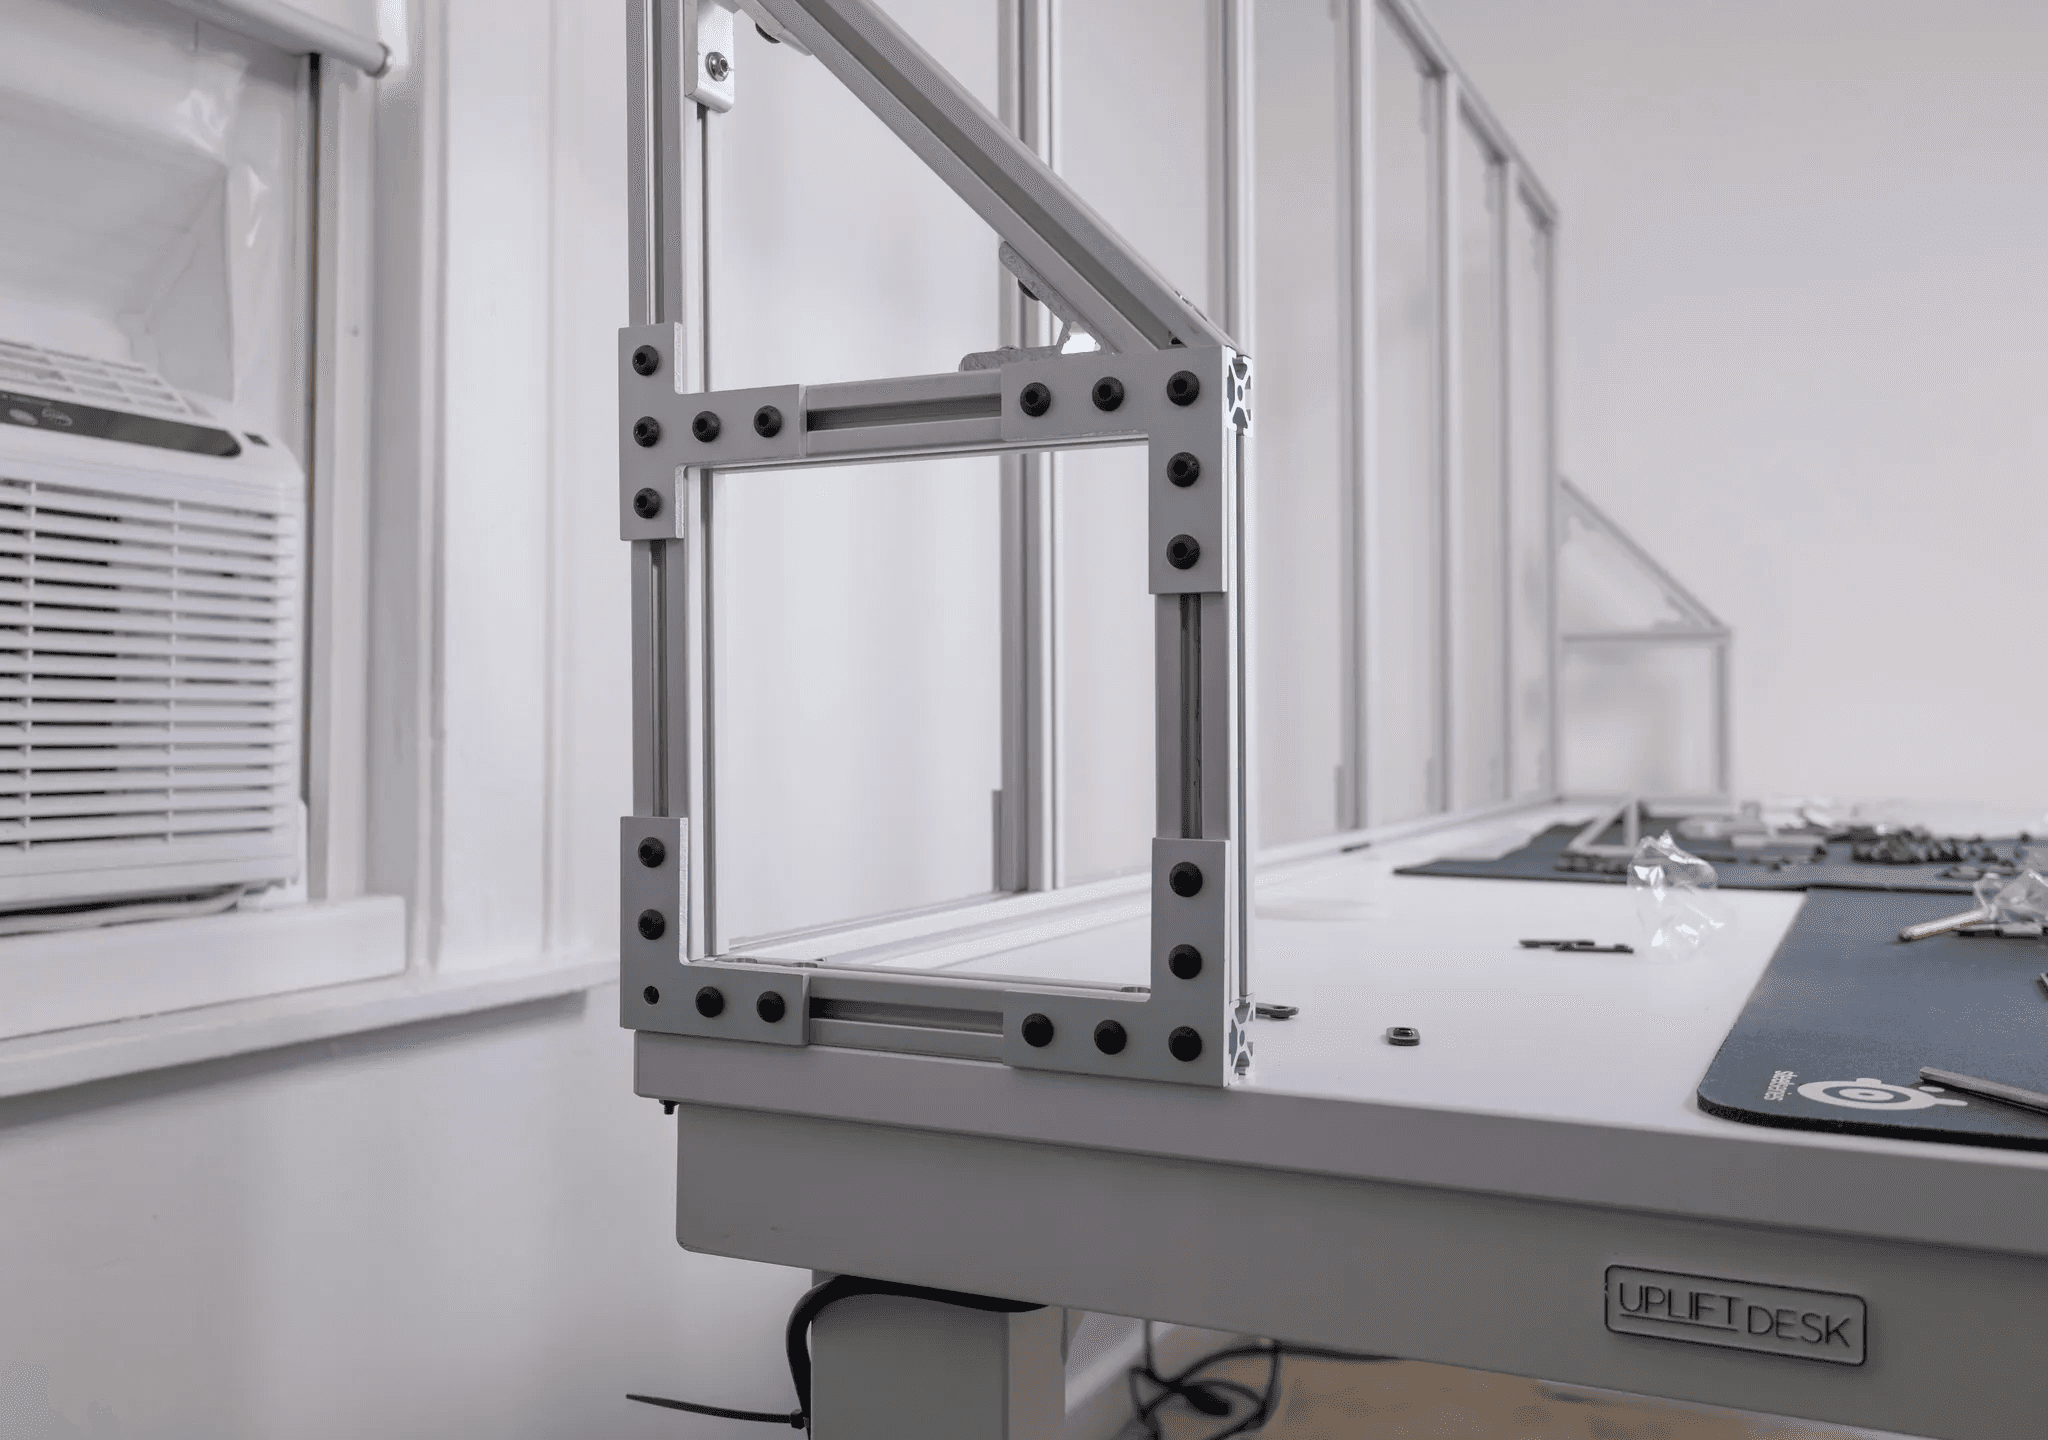
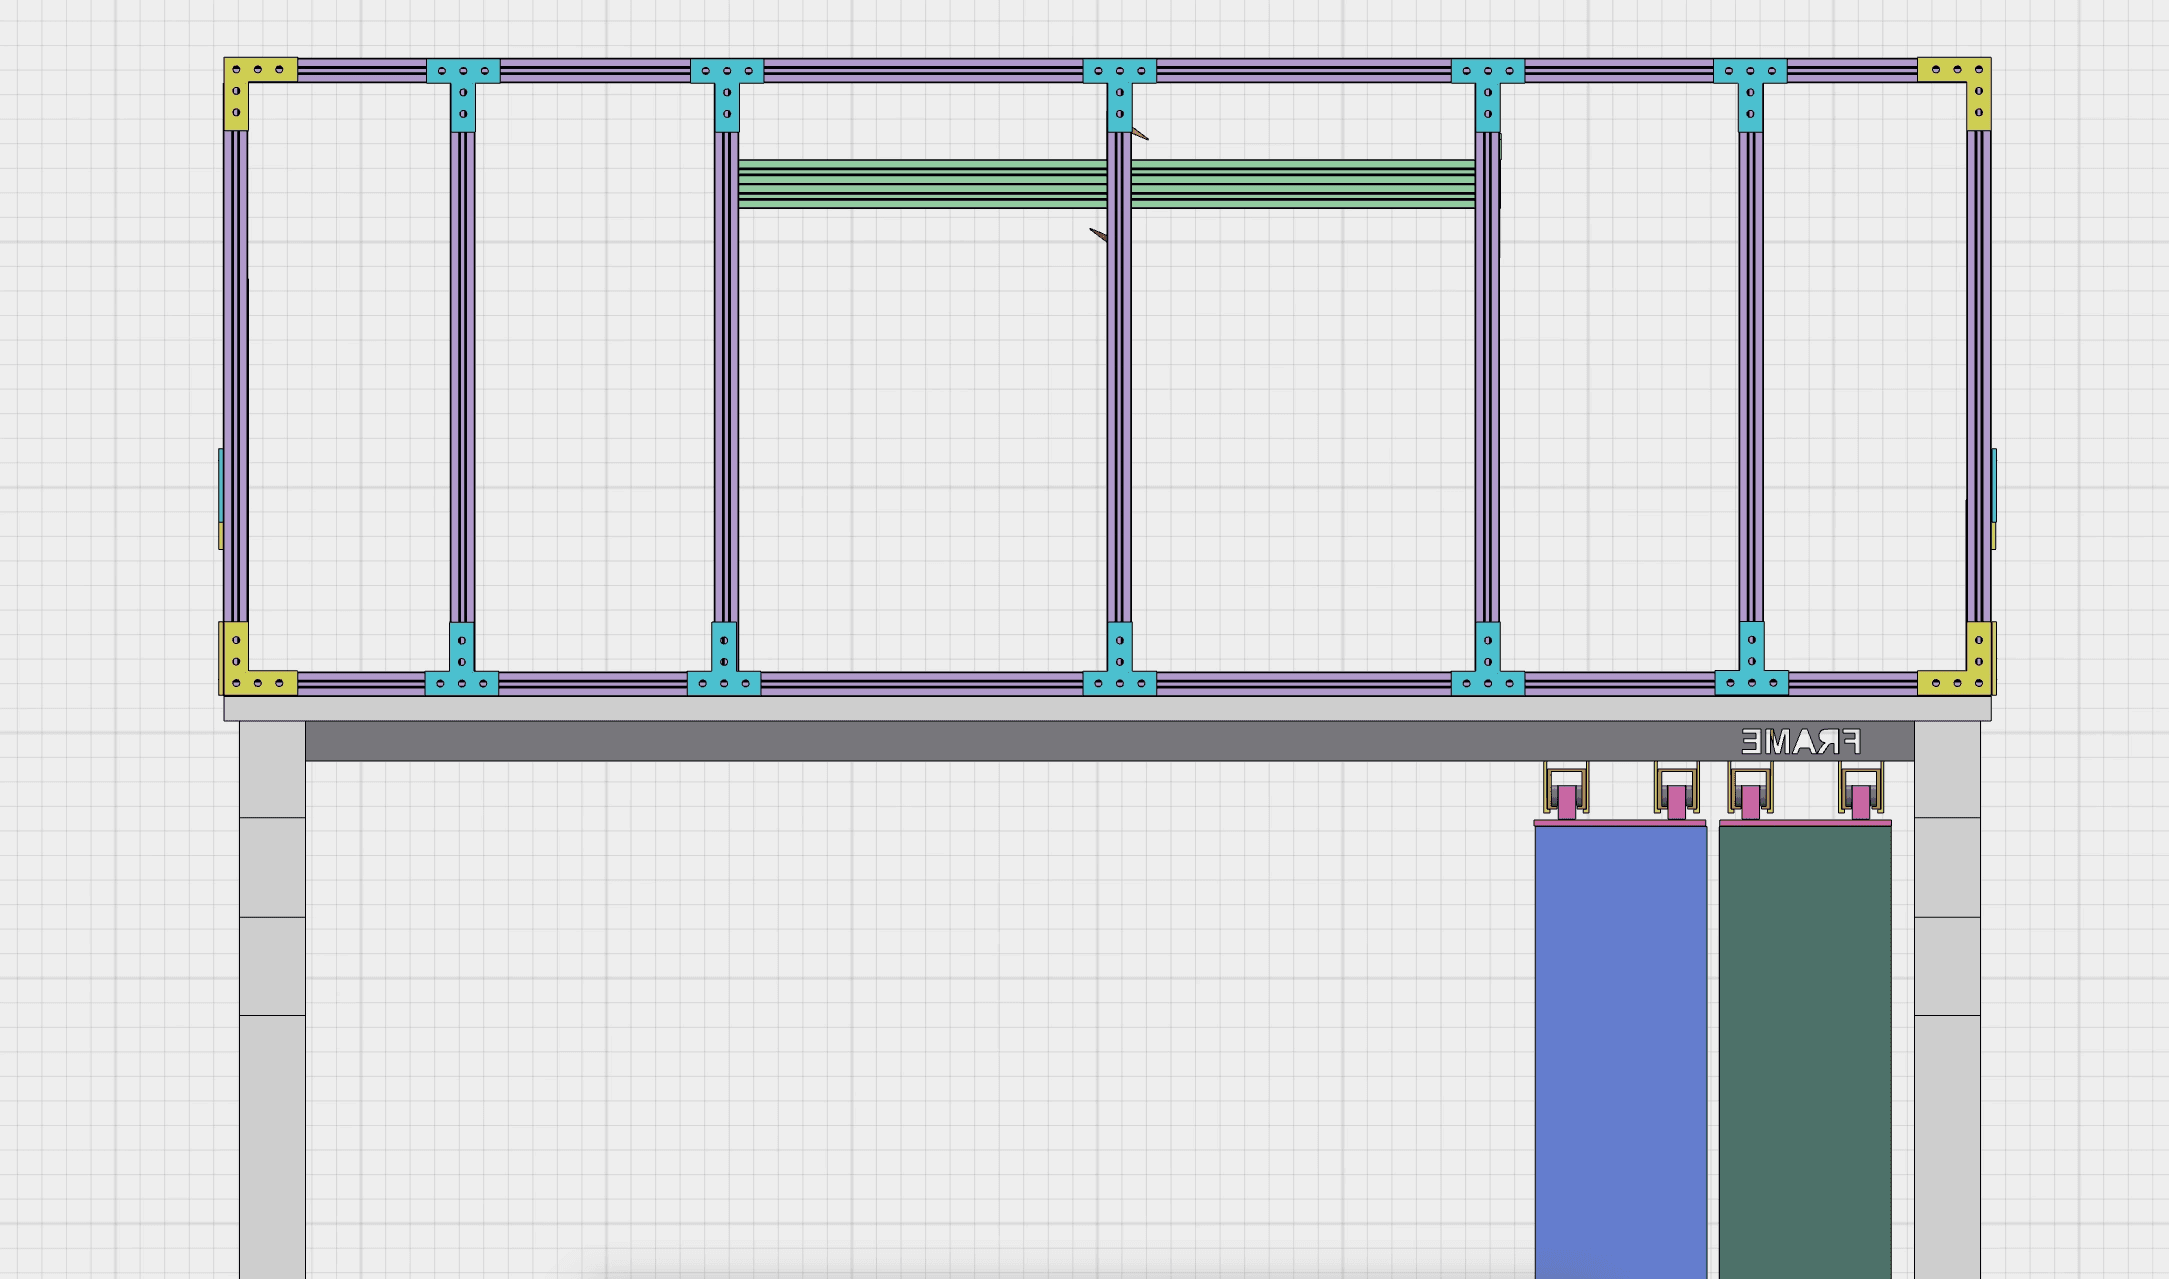
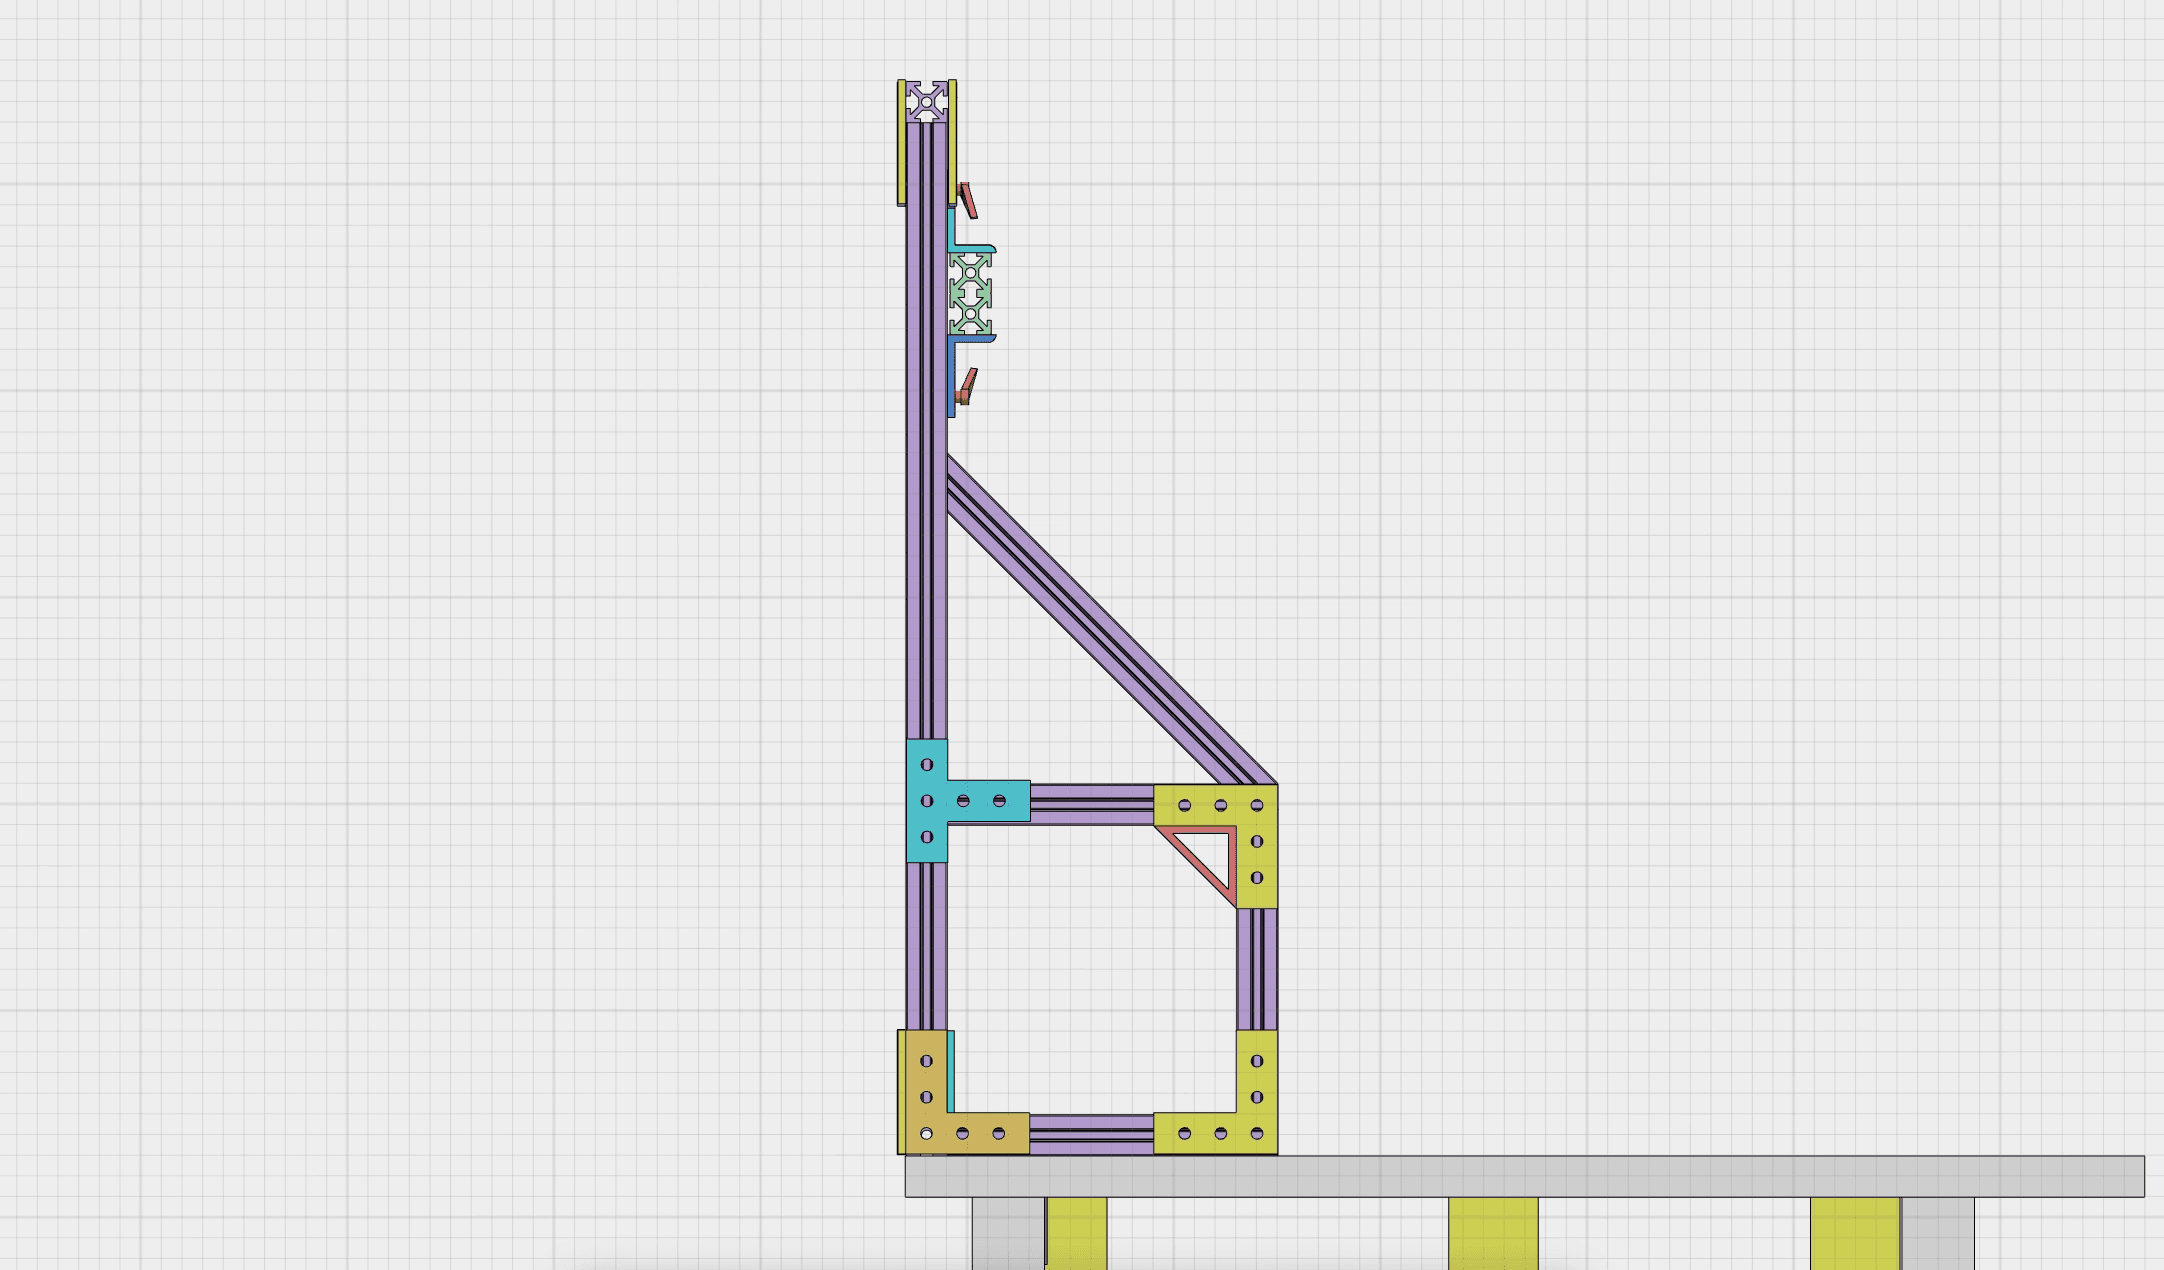
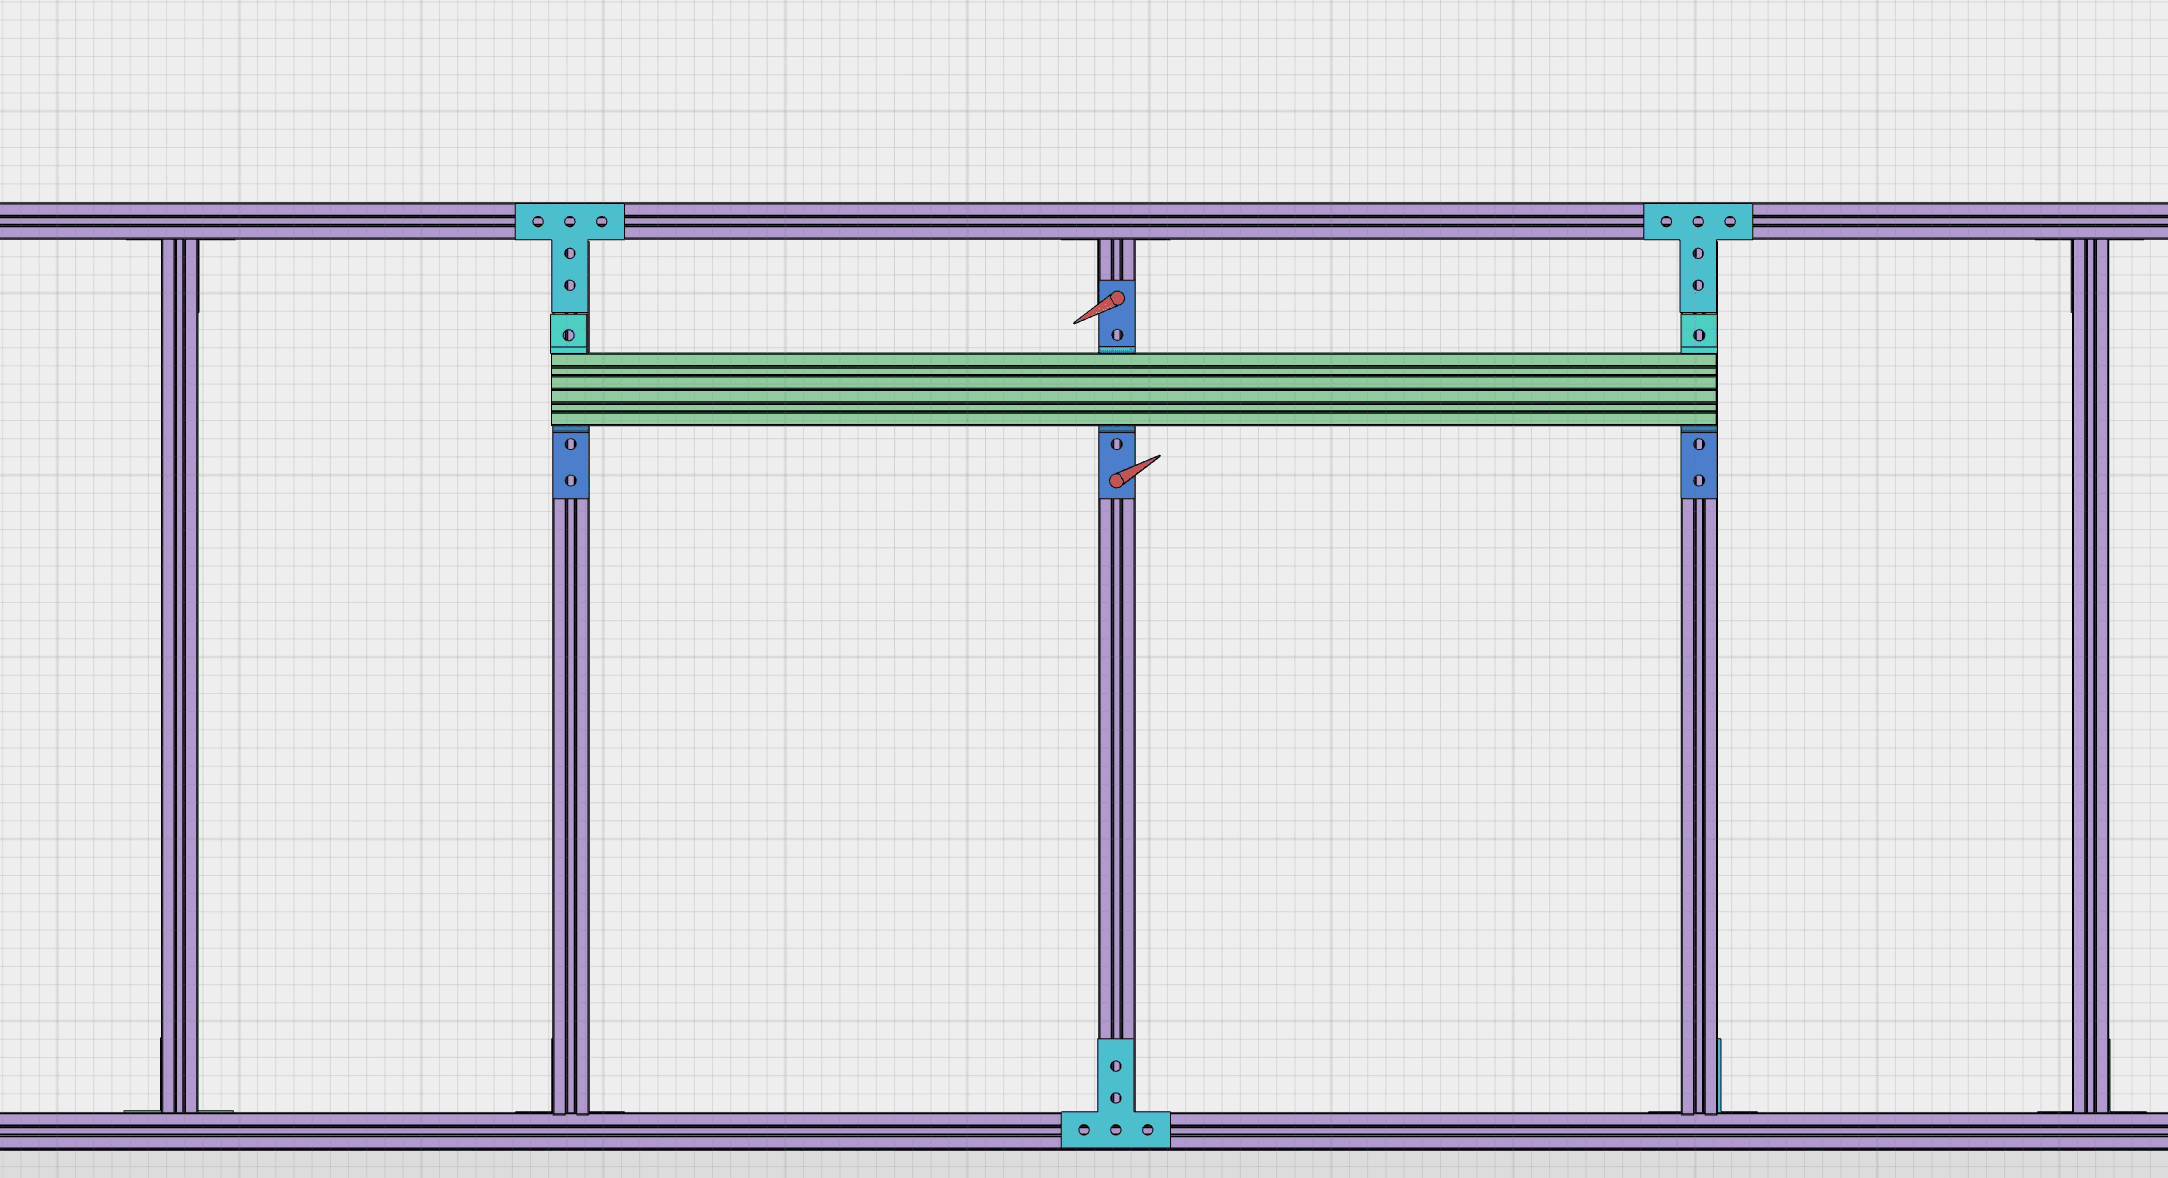
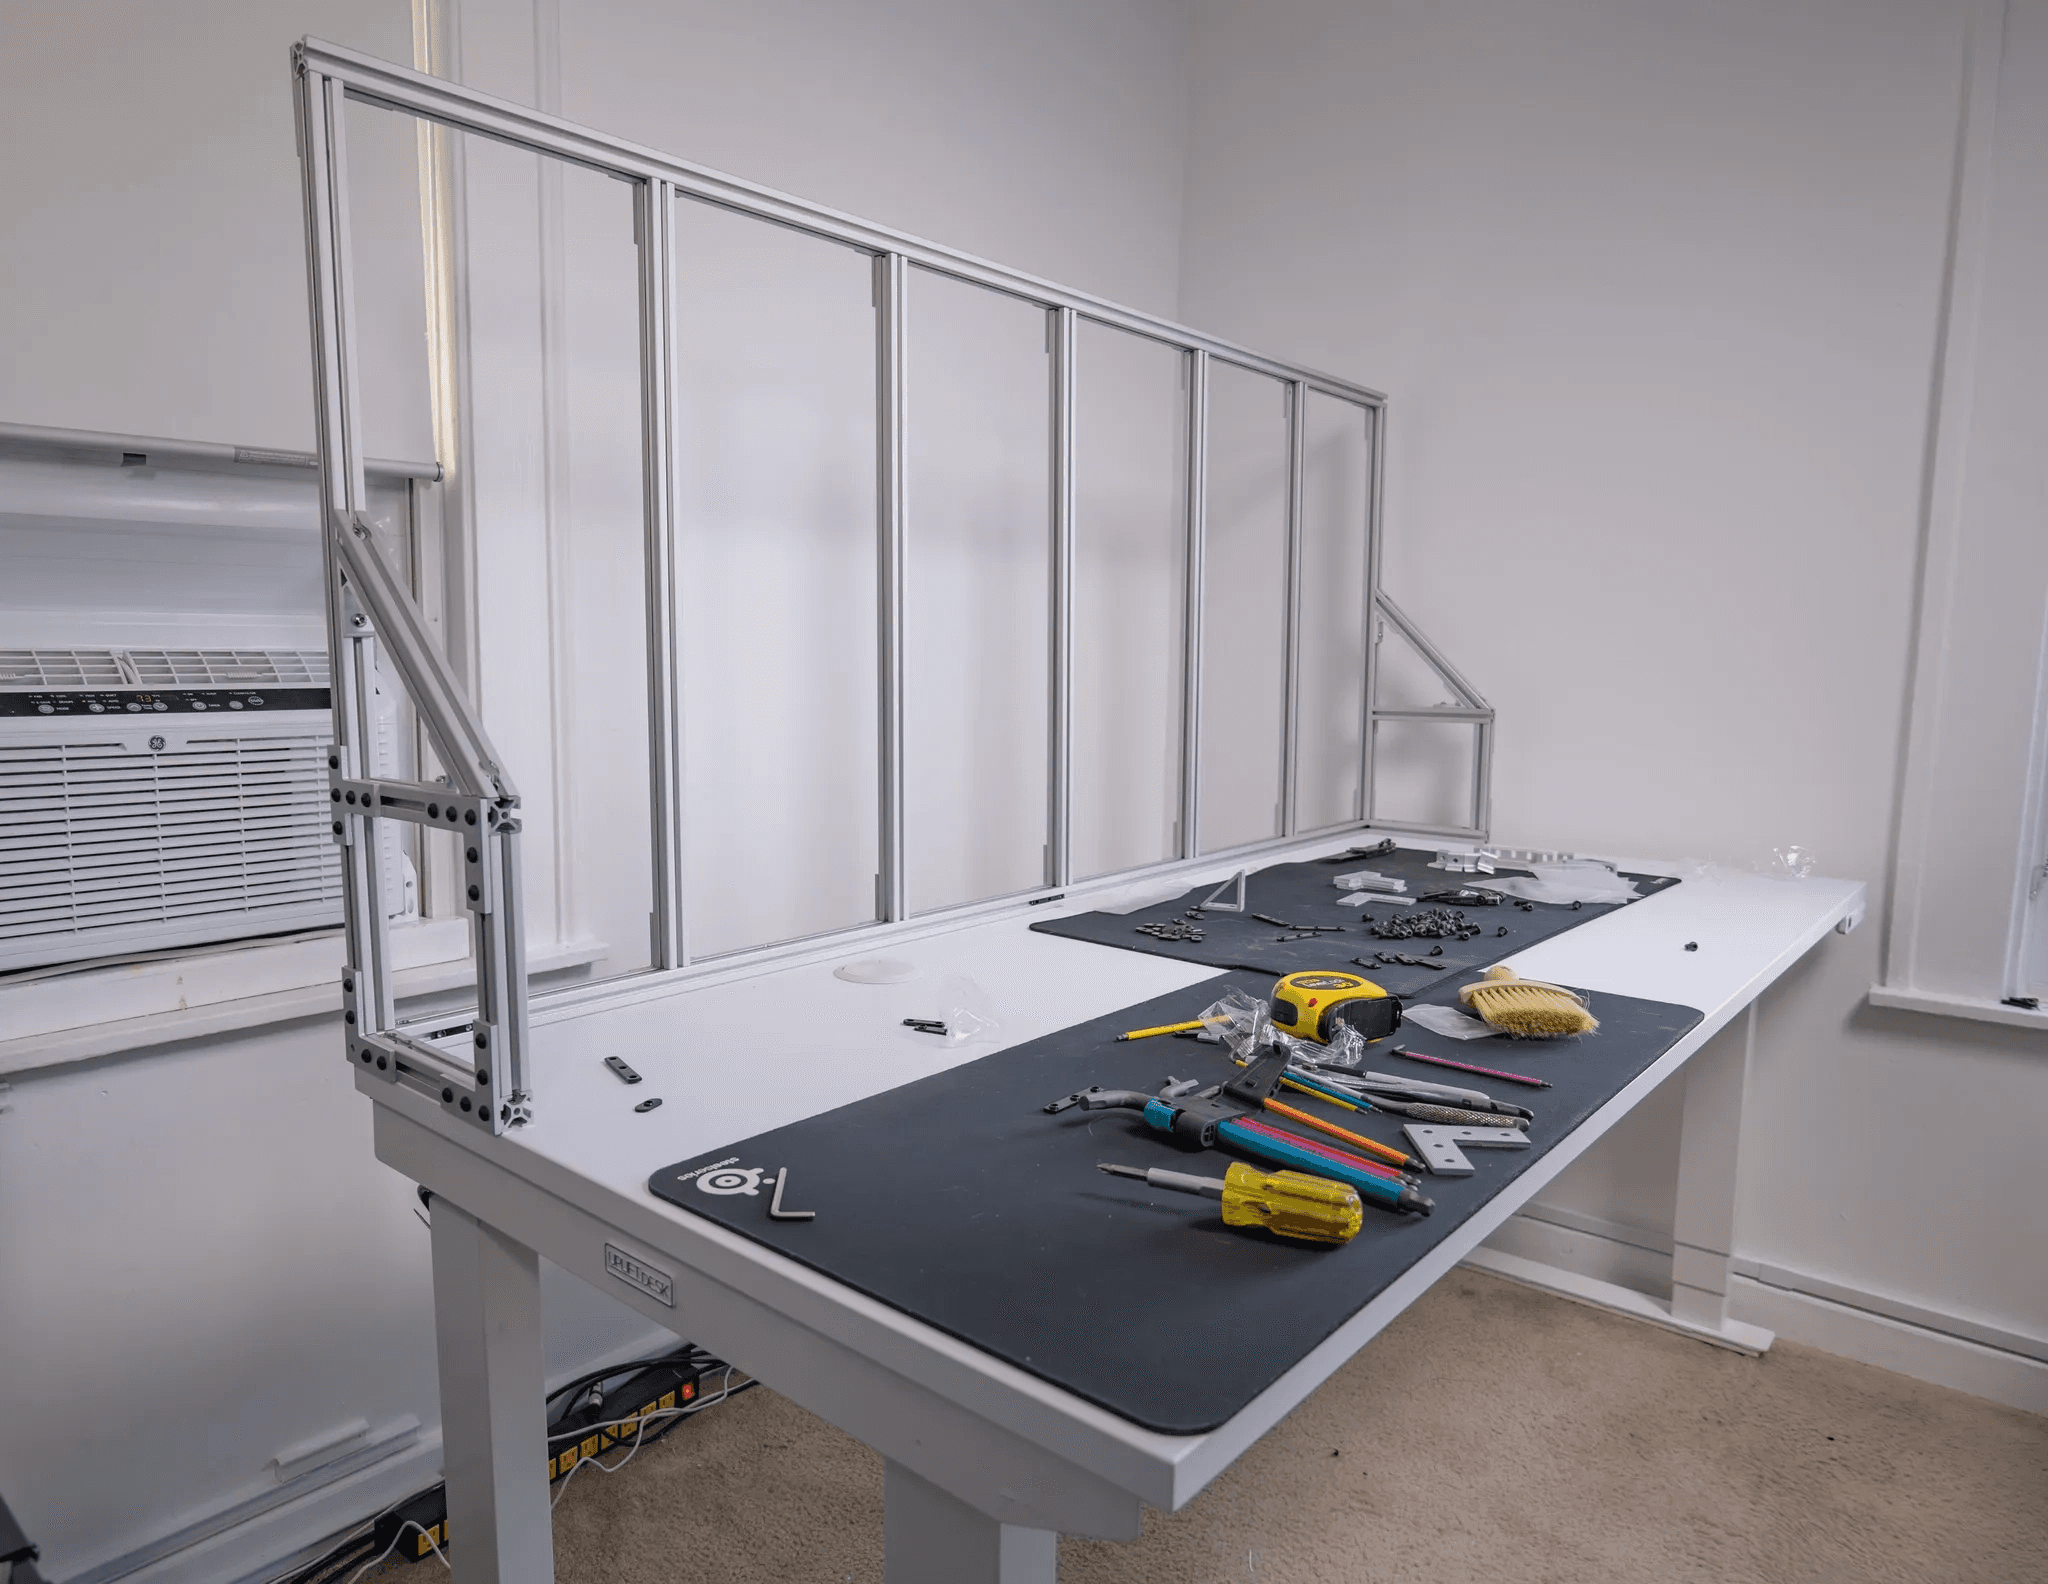
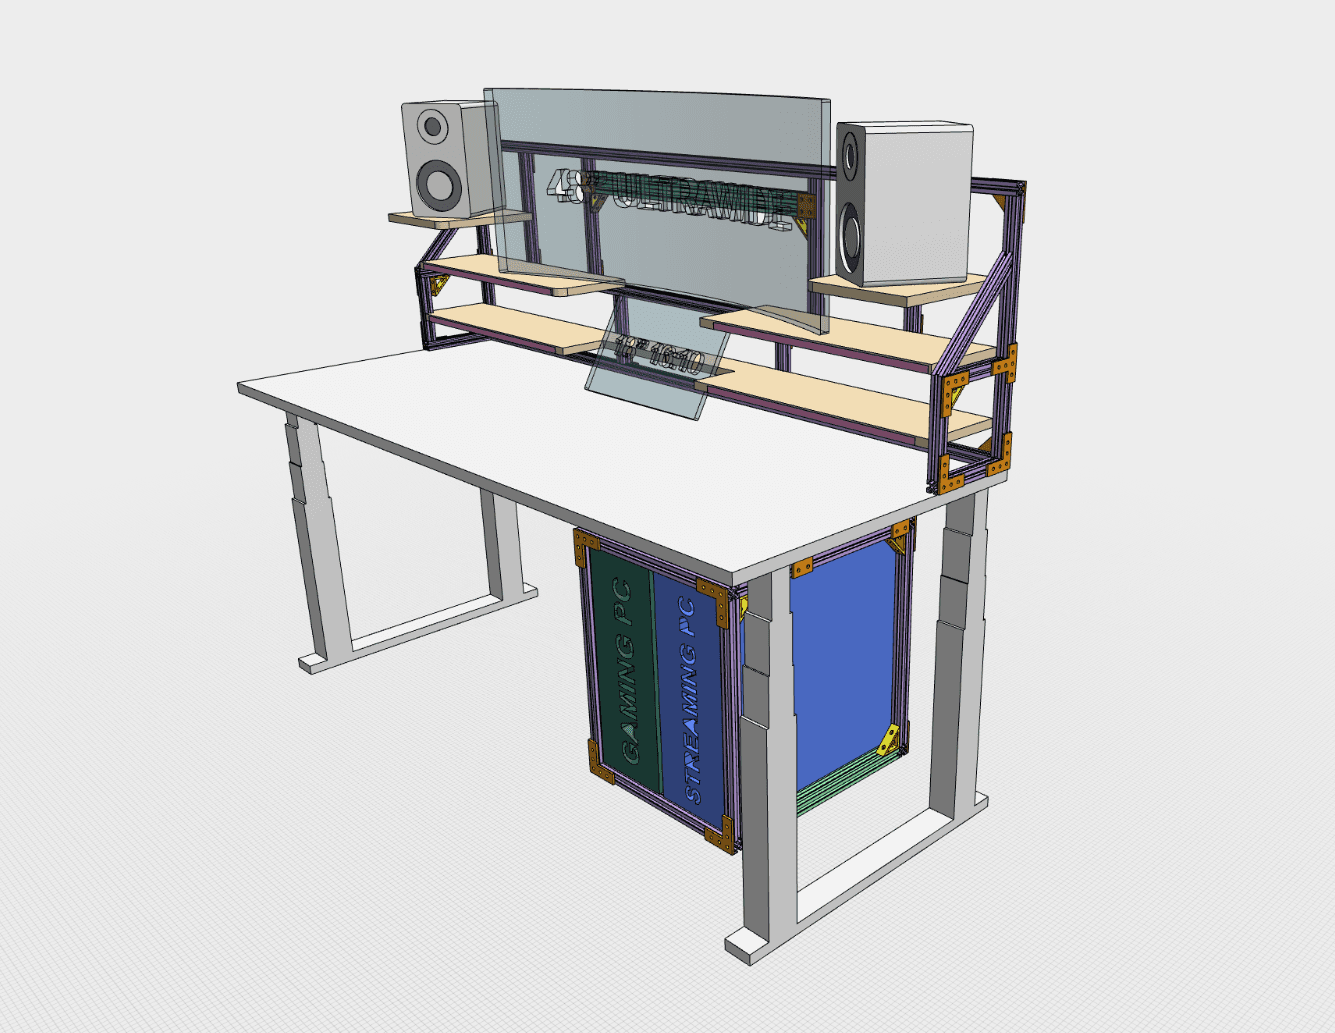
Below are a few screenshots of the UPLIFT desk and frame. These are reference images in case you wanted to get a closer look at at the design. If you’re looking for downloads of STL or STEP files, I uploaded to Printables.
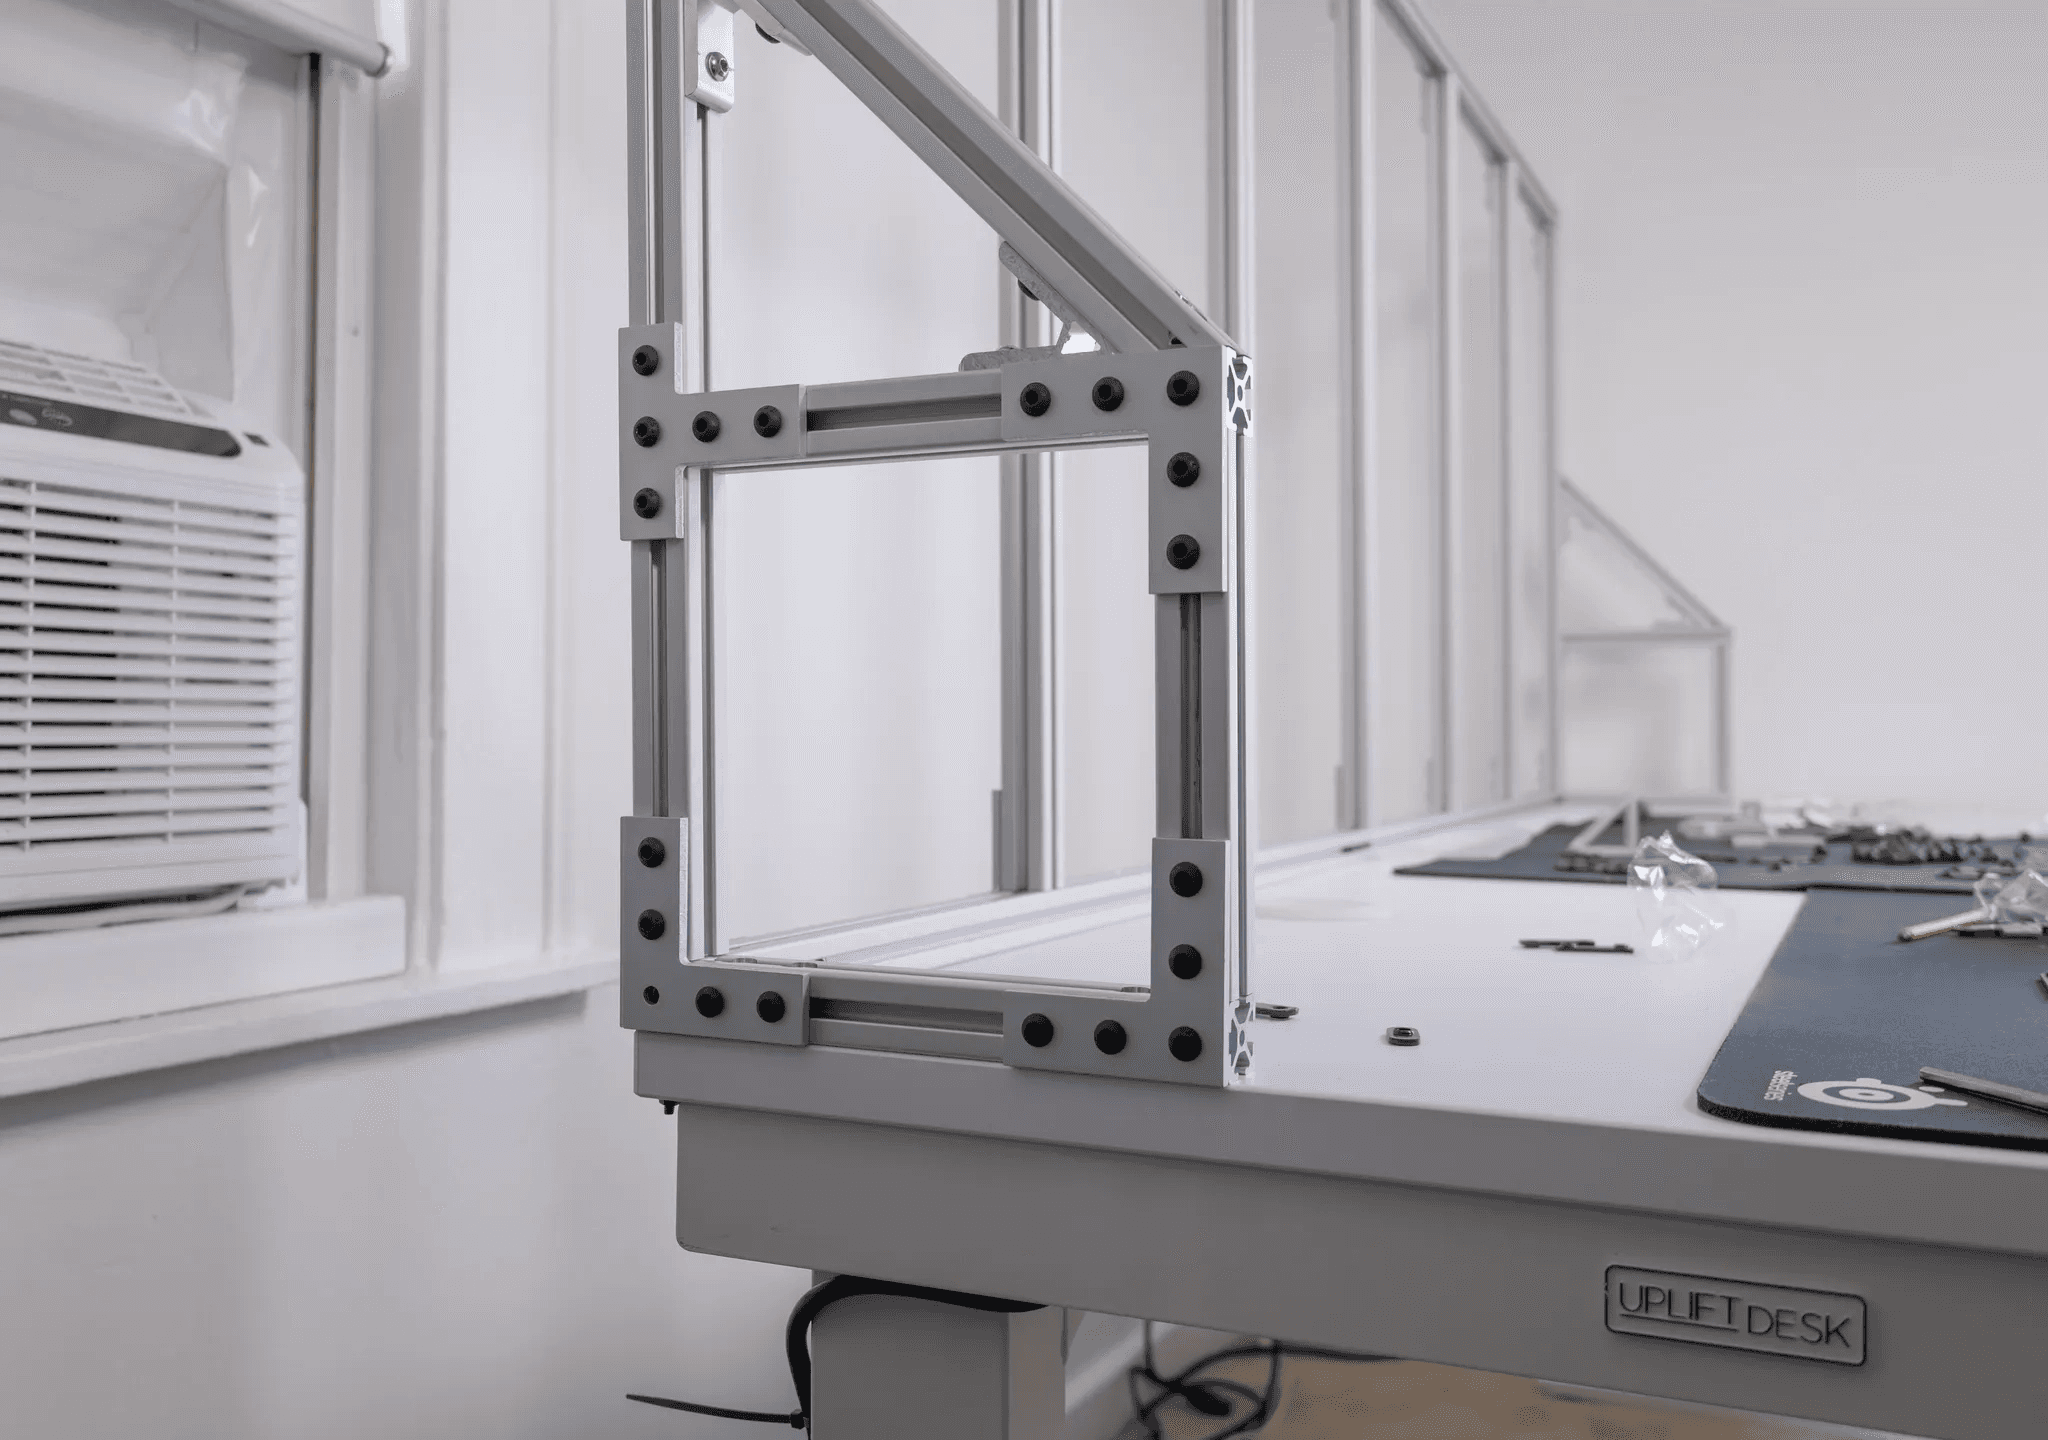
Securing the Frame to the Tabletop
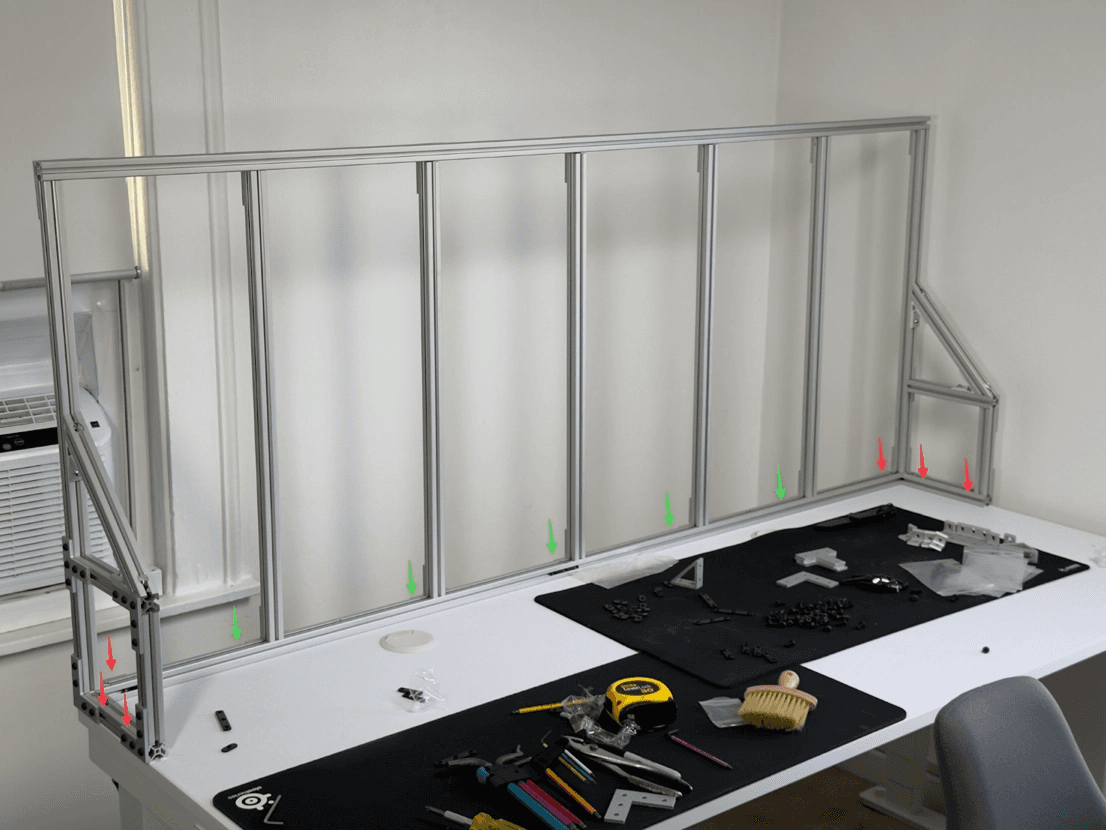
So it was a combination of two things:
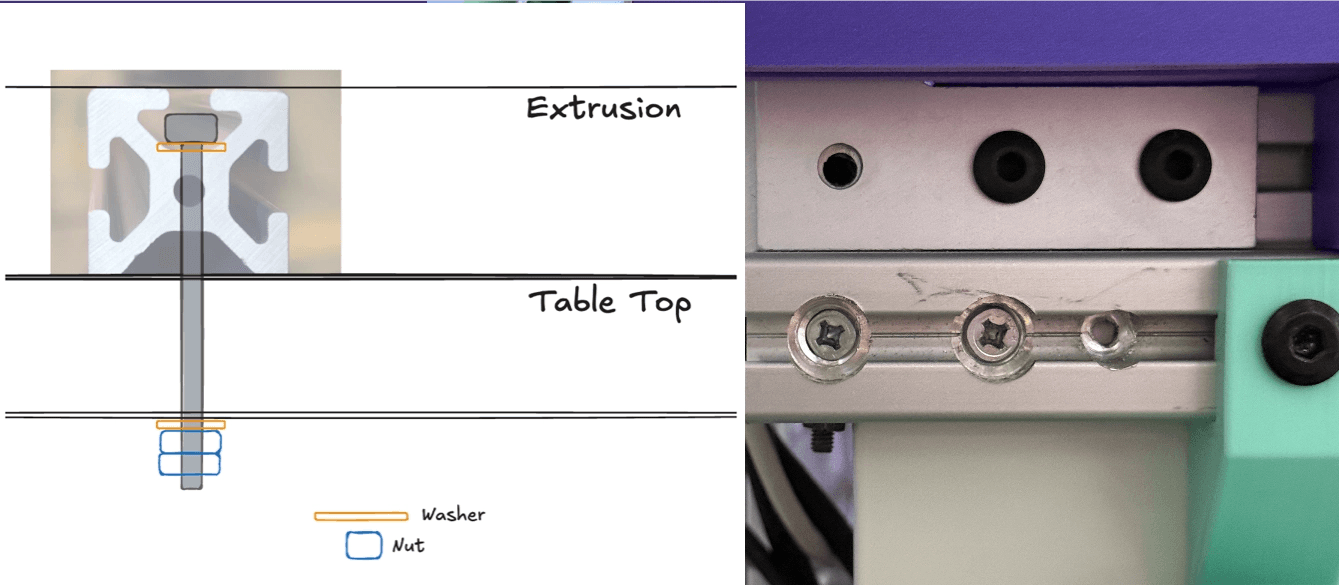
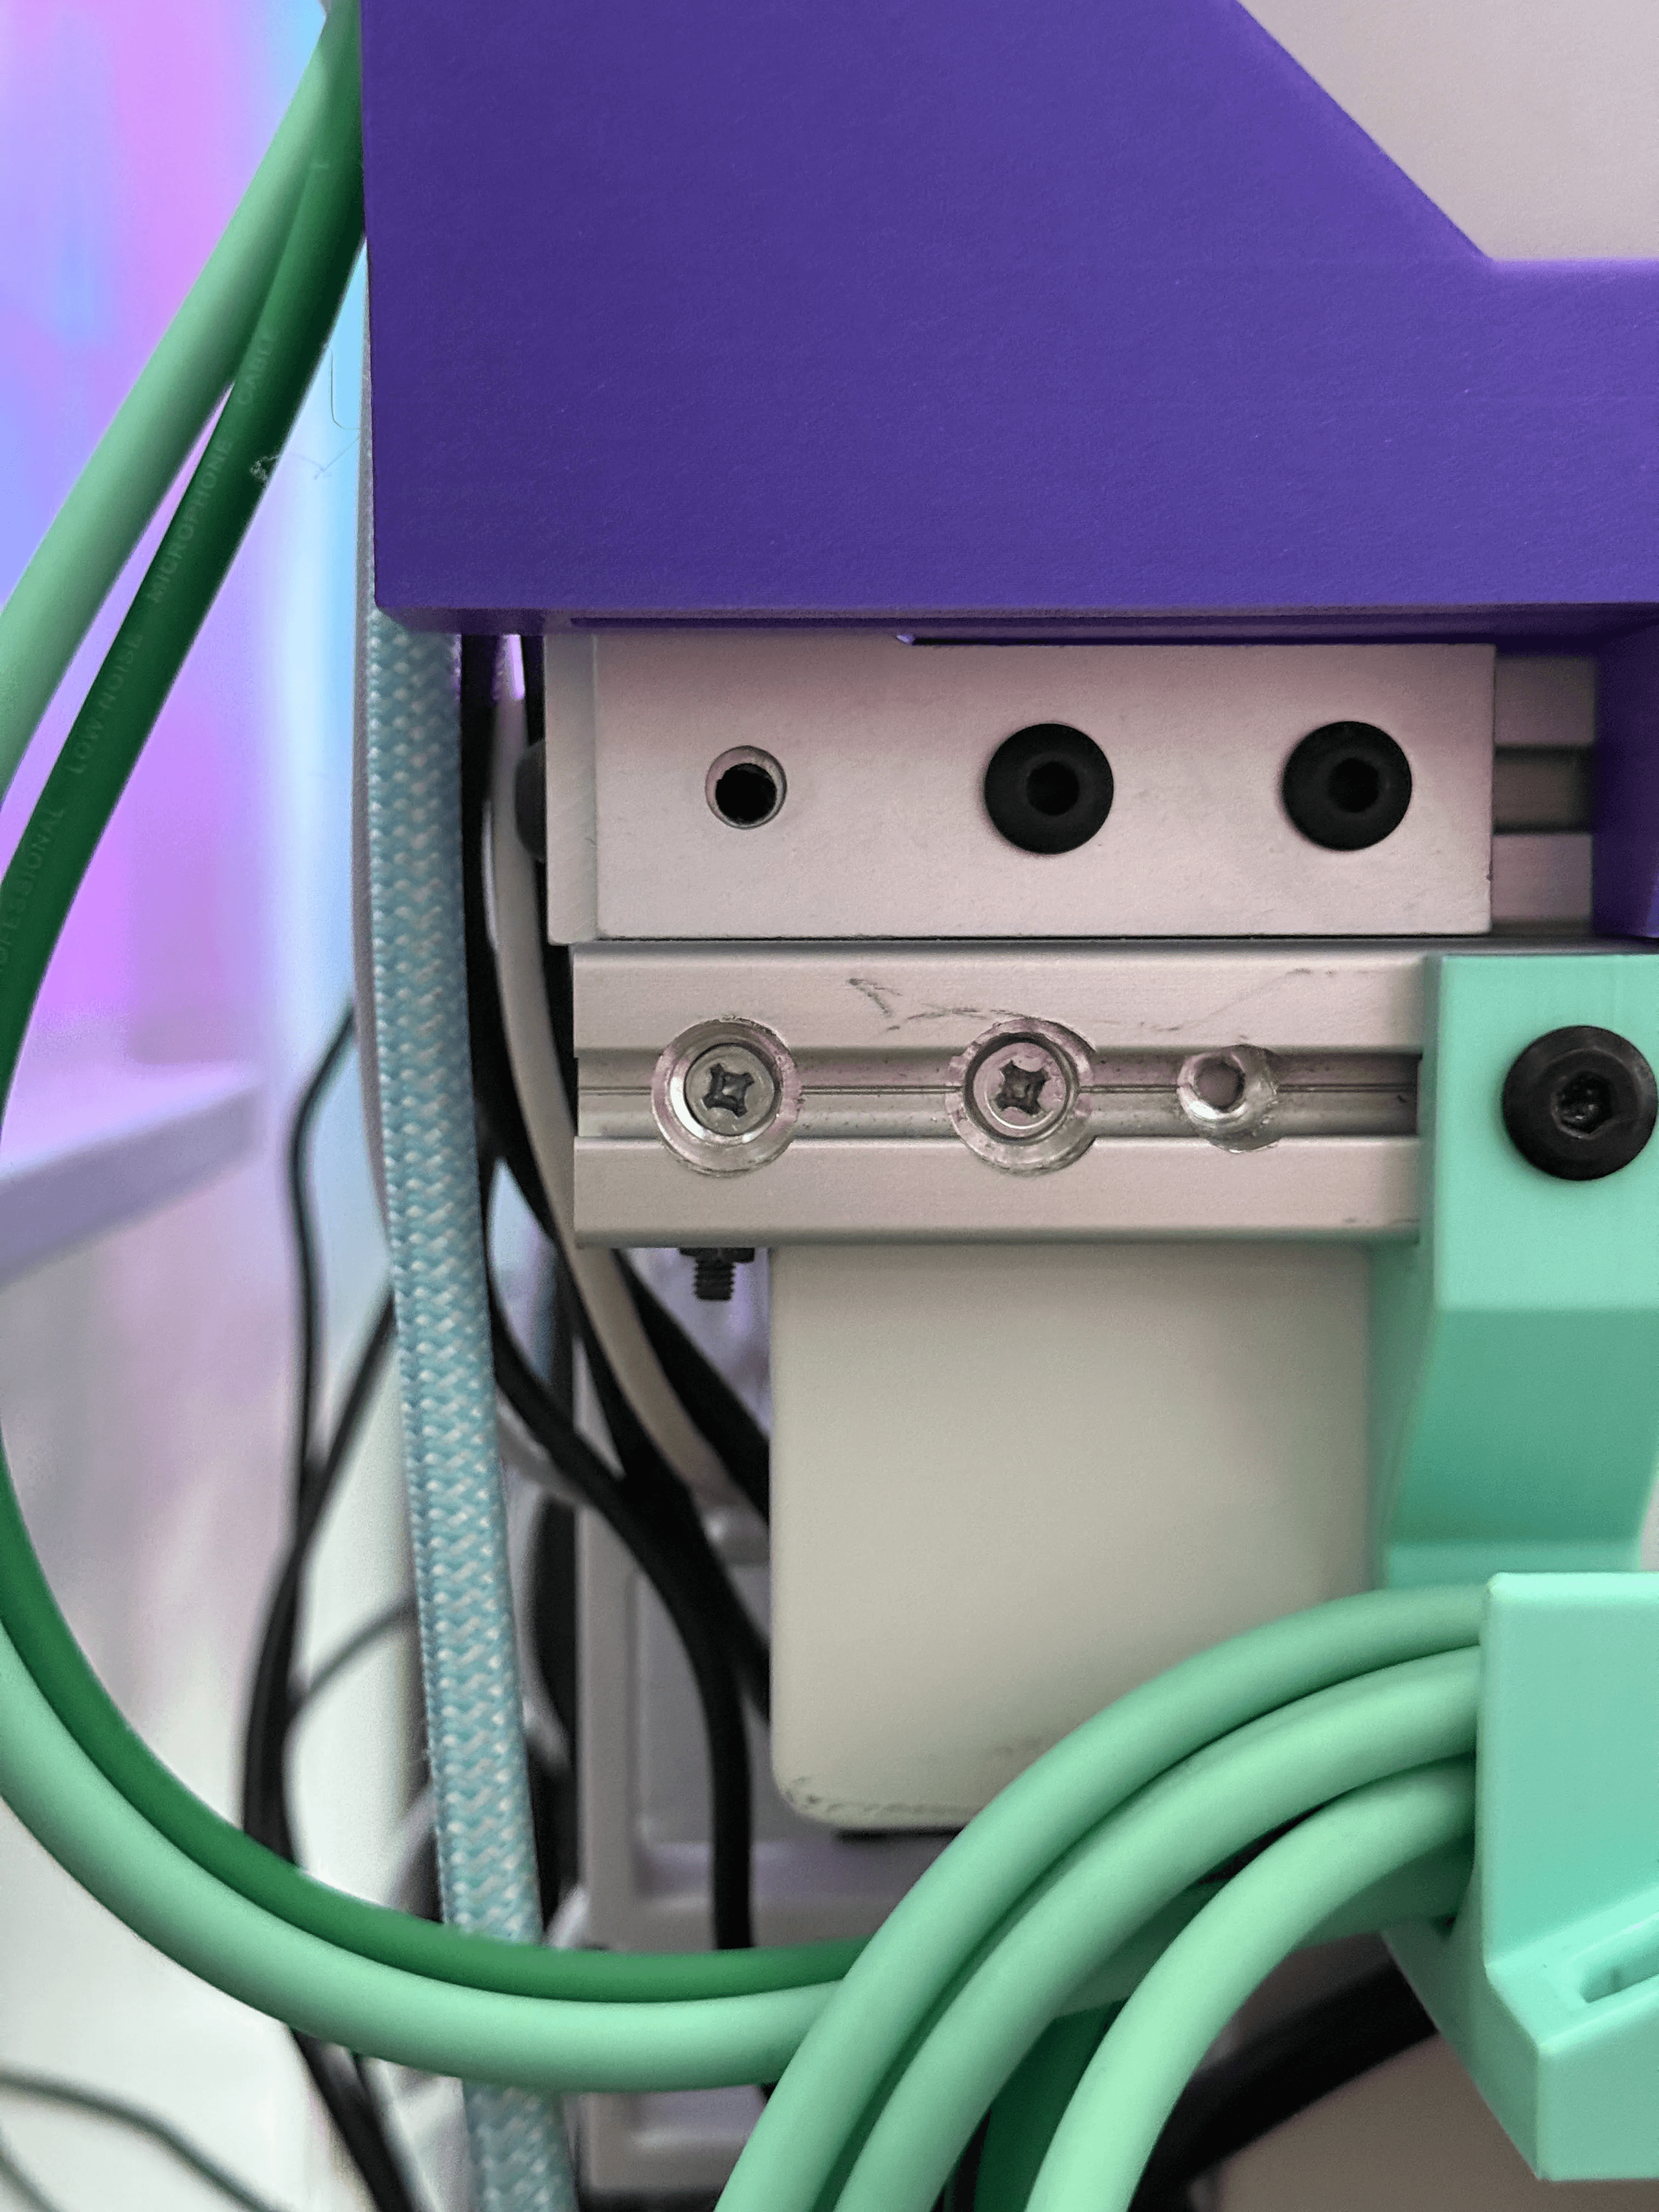
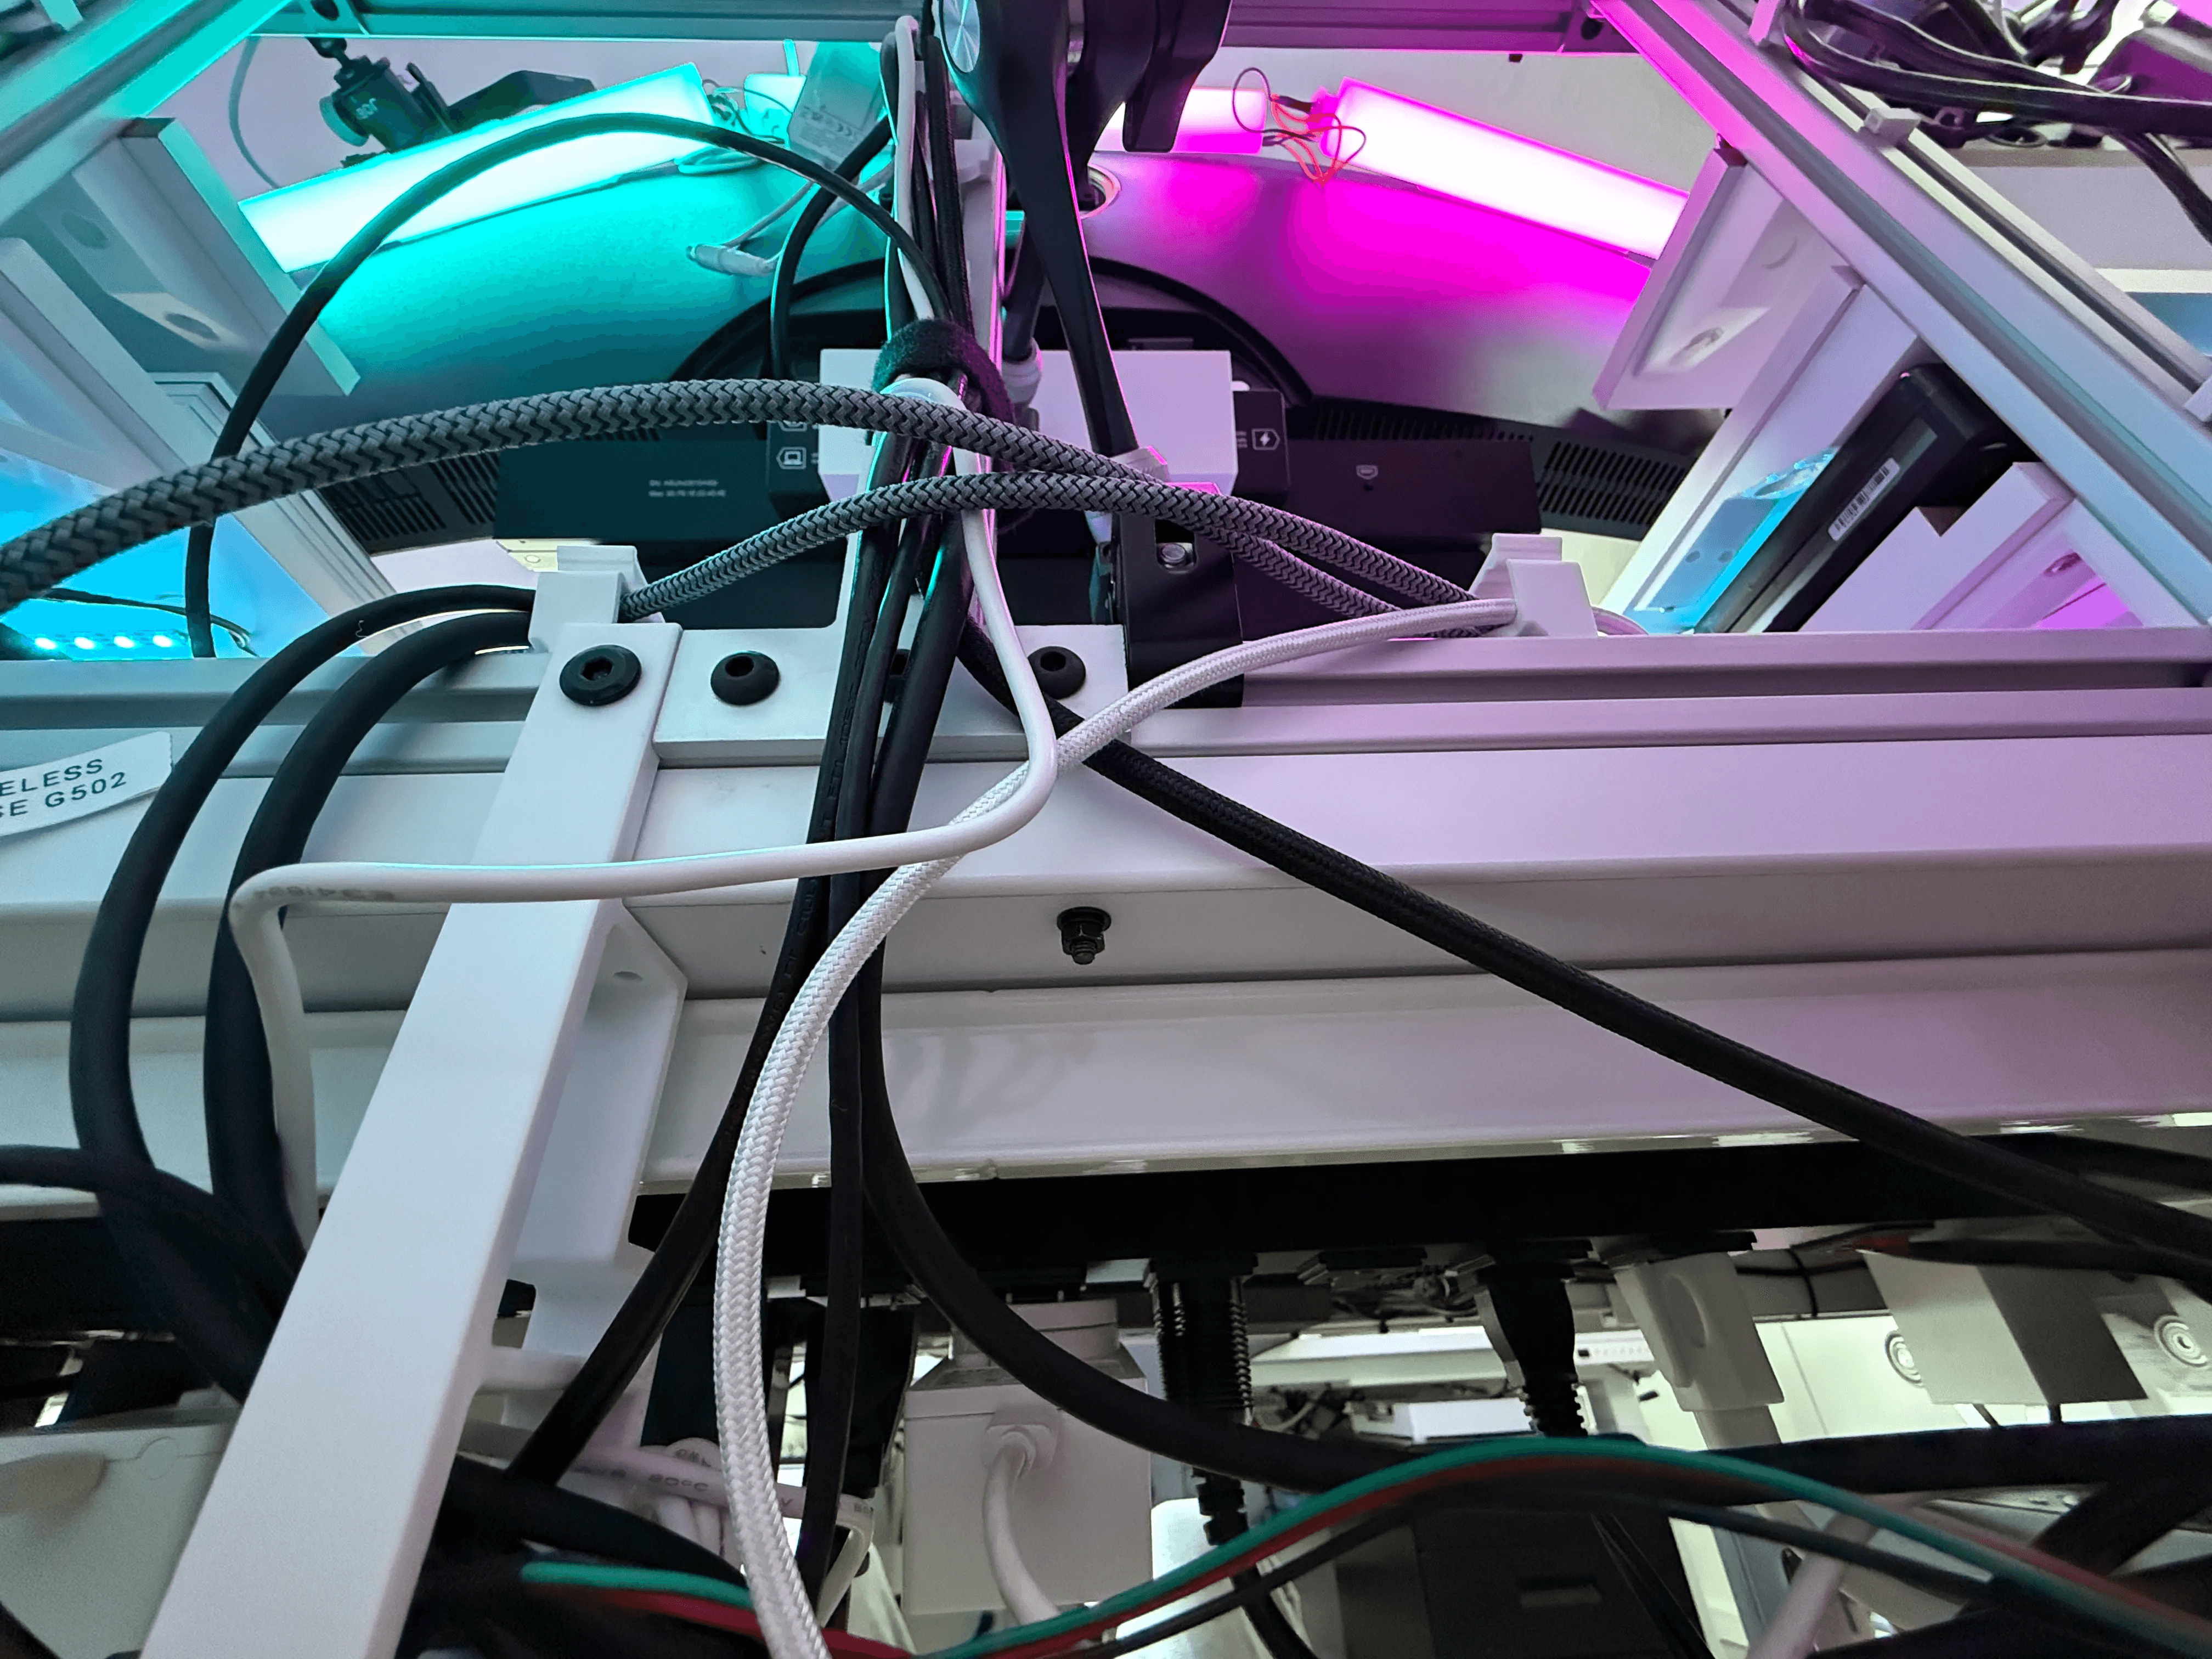
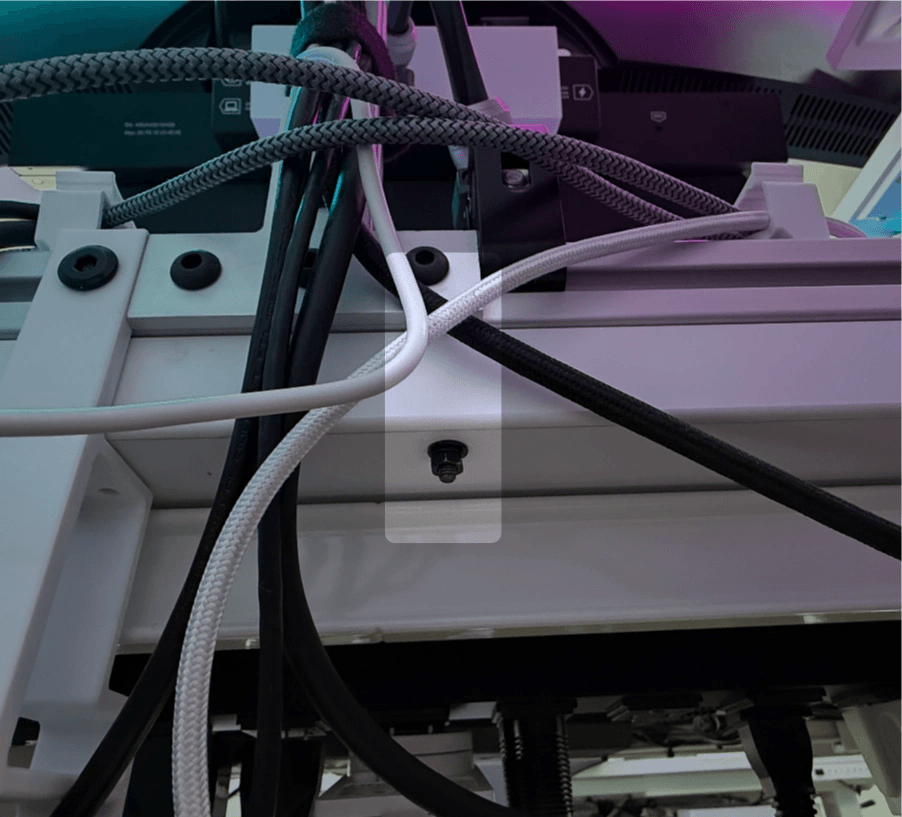
M4 socket head screws (they were long, maybe 30-40mm). These are the green arrows in my screenshot above. I did maybe 5 or 6 of these. The extrusion itself I got counterbored twice on both ends, but then I tool a drill and made my own holes through the rest of the extrusion for these M4 screws. I think I used a regular washer up top, but then on the underside of the tabletop I used a locking washer.
And then the red arrows are SPAX all purpose screws, maybe 1” or 1 ½”. I just drilled those right into the desk.
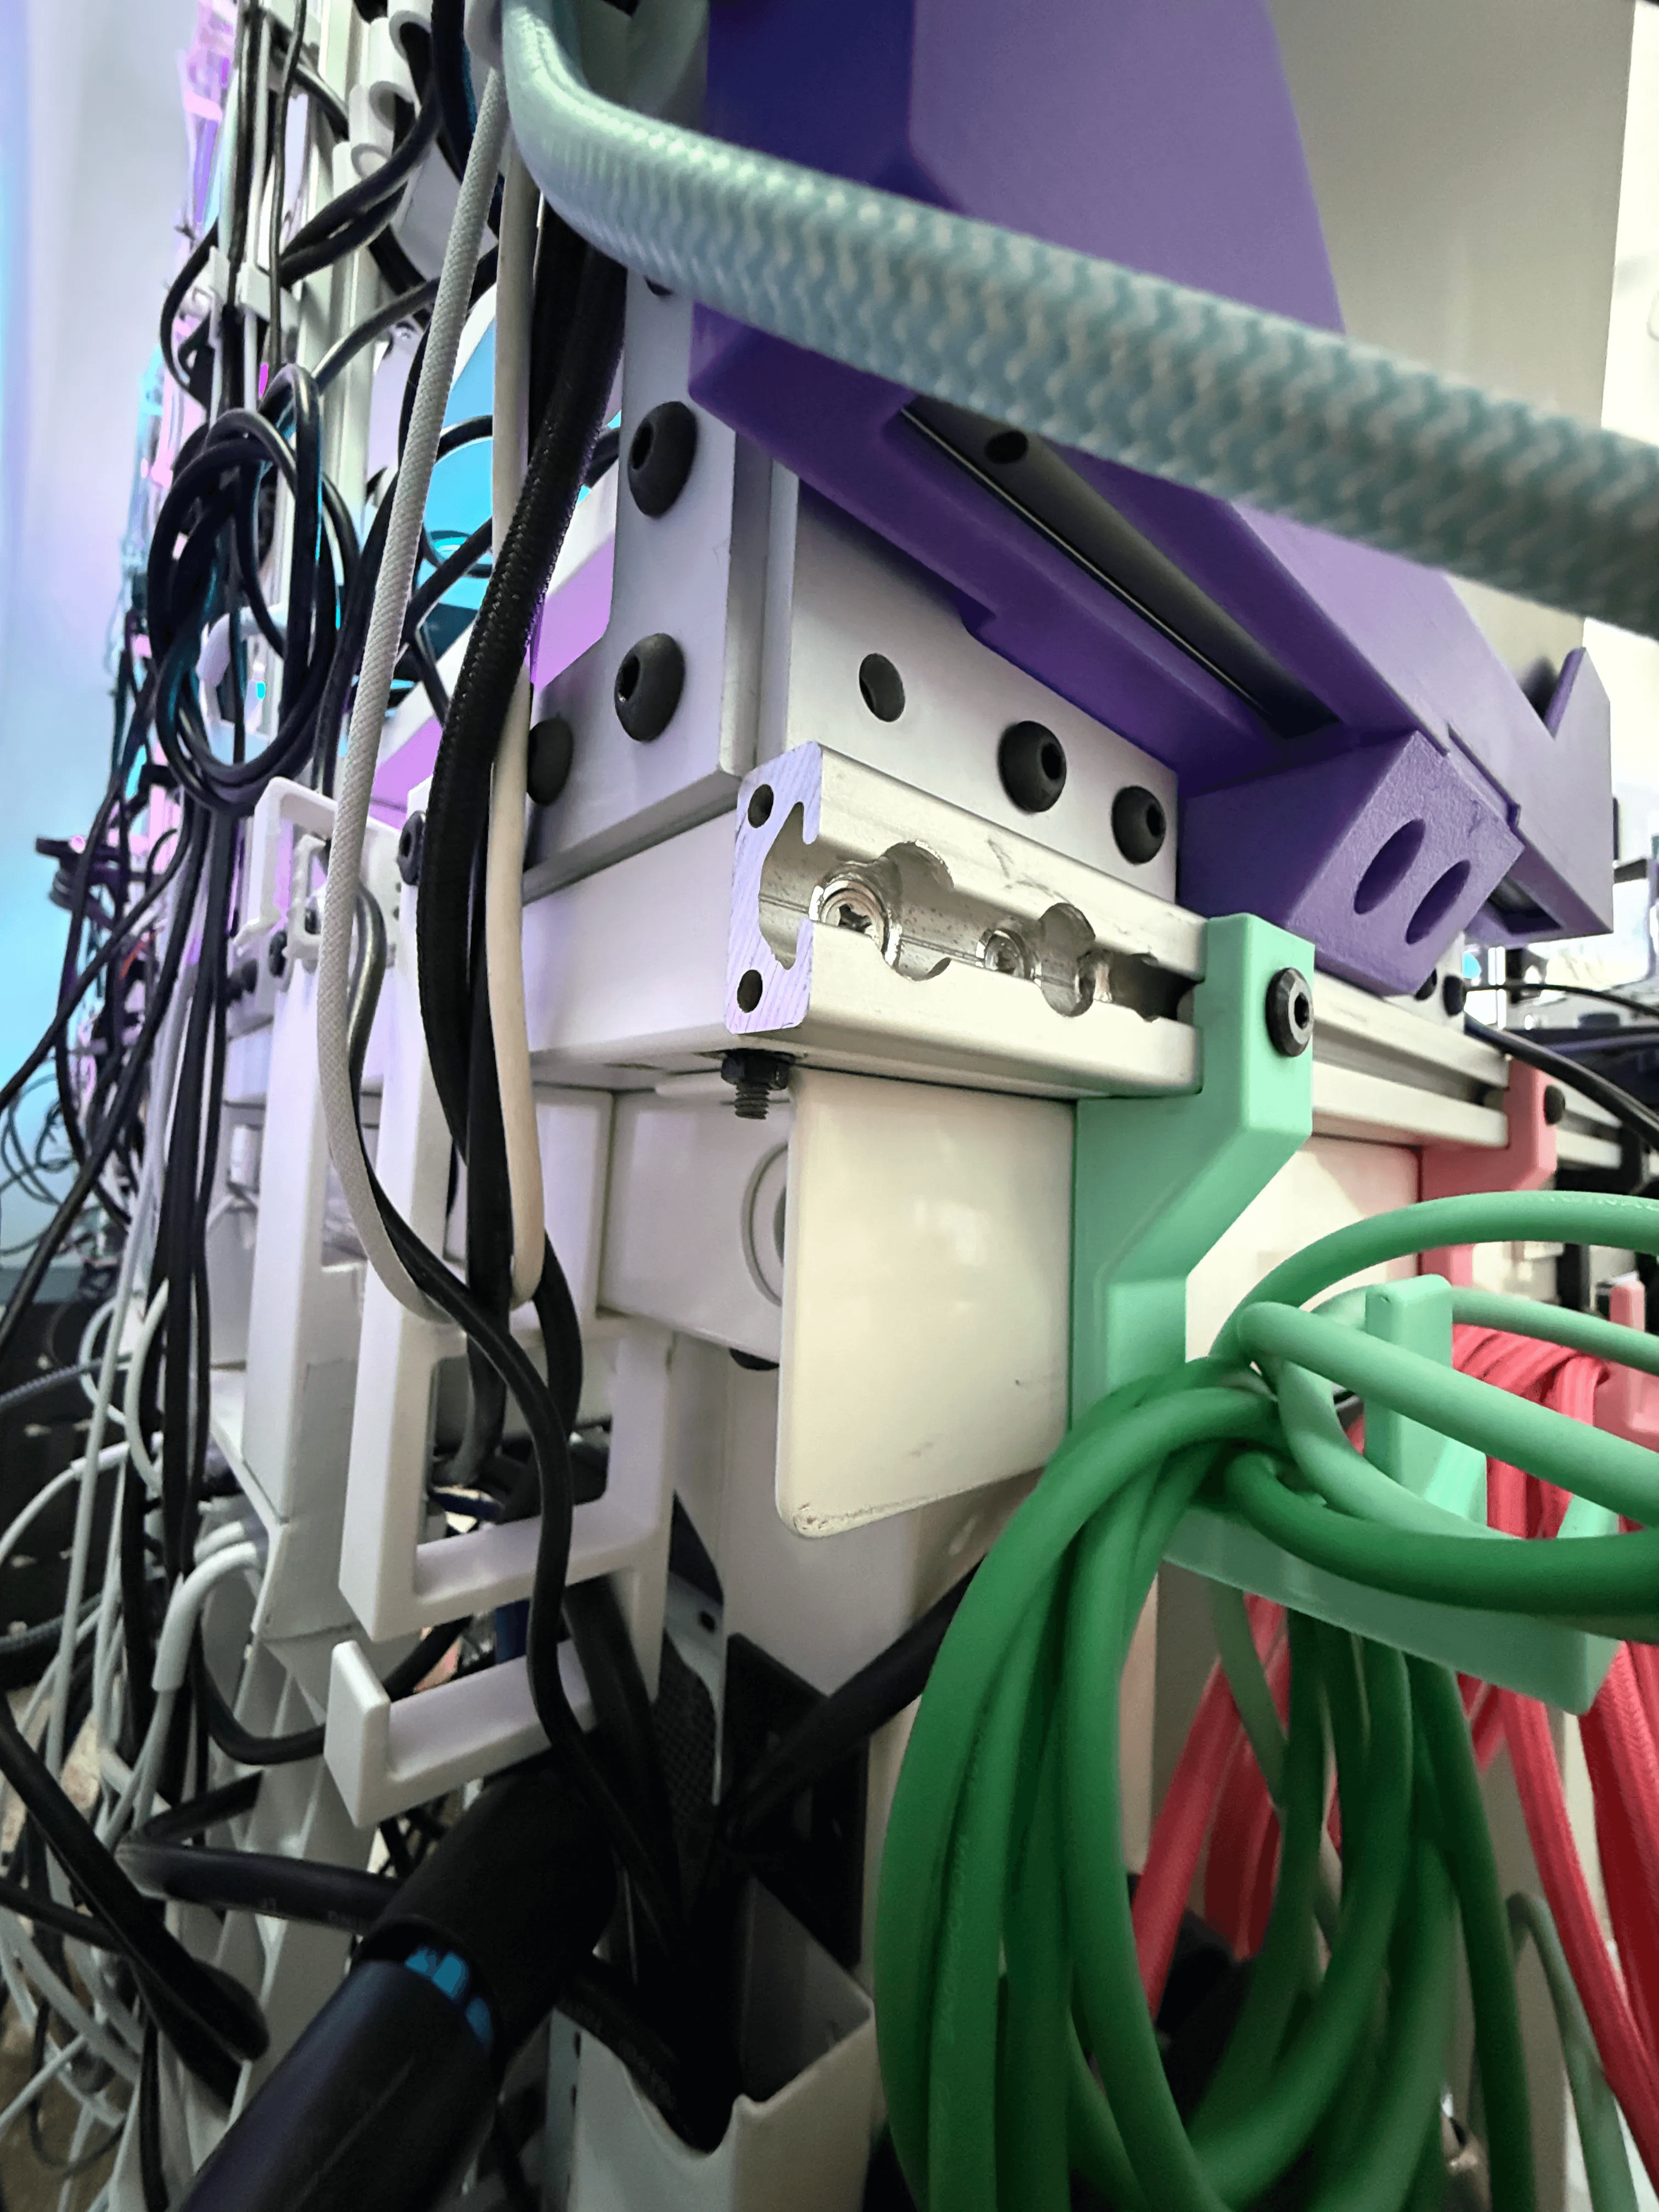
Here are a few more drawings and pictures regarding the socket head screws:
05 — Gallery
06 — Suppliers
07 — Inspiration & References
Original source
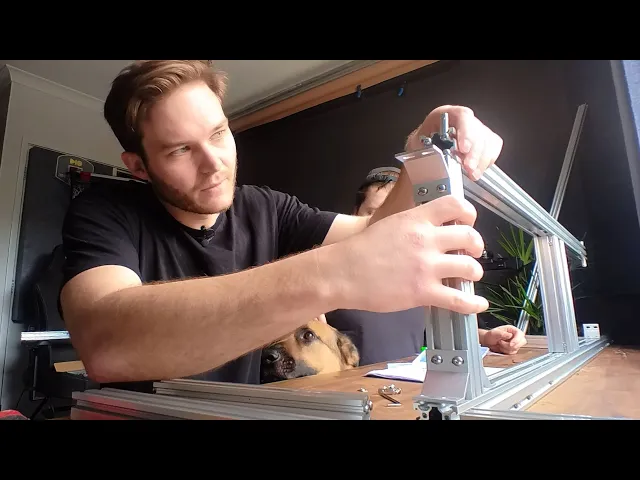
This Framer guide is based on the original Naaackers Notion project guide.